Why Milk Froths - Latte Art Steaming Methods and Coffee Integration Techniques
Professional coffee knowledge exchange and more coffee bean information, please follow Coffee Workshop (WeChat public account: cafe_style)
The Ultimate Guide to Perfect Milk Frothing: Why Does Milk Foam?
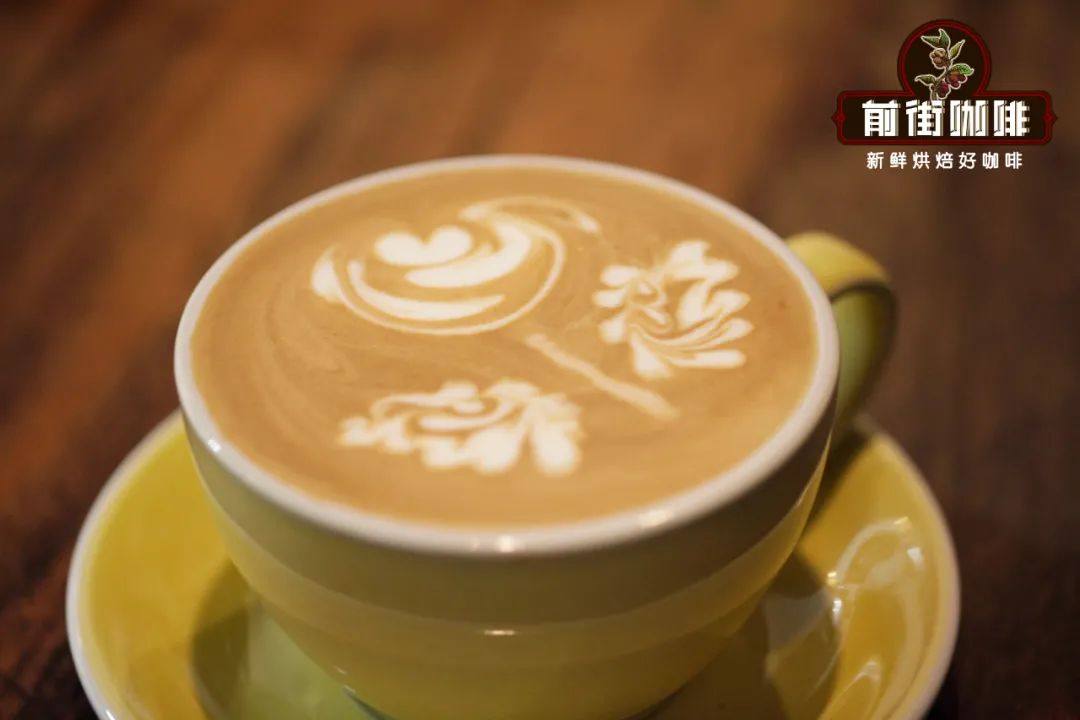
FrontStreet Coffee considers steaming milk to be a fundamental and core skill for every barista. The ability to steam perfect milk is one of the factors in determining whether a barista meets professional standards. For example, latte foam should be relatively thin, providing a smooth and delicate drinking experience. Therefore, when steaming milk for lattes, it shouldn't be too thick. The steamed milk should have a glossy surface with no obvious large or small bubbles, appearing overall delicate and beautiful.
The basic principle of milk frothing is using steam to agitate milk, incorporating air into the liquid milk and utilizing the surface tension of milk proteins to form numerous tiny bubbles, causing the liquid milk to expand in volume and become frothy milk foam.
During the frothing process, lactose dissolves in the milk as temperature increases and becomes trapped within the milk through the frothing action. The function of milk fat is to stabilize these tiny bubbles, causing them to burst in the mouth when consumed, enhancing the release and amplification of flavors and aromatic compounds, giving the milk a sweet, rich taste and texture. Moreover, when combined with coffee, the molecular bonding forces are stronger, allowing coffee and milk to fully integrate, making their respective characteristics stand out while completely merging together for a complementary effect.
FrontStreet Coffee is here to answer some common questions everyone encounters when frothing milk!
Why doesn't milk foam blend properly?
The foam immediately blends with the espresso as soon as it's poured, let alone creating patterns - not even texture lines appear, it just floats away; or alternatively, everything seems fine during blending, but when it comes to latte art, the foam clumps together and floats on top. FrontStreet Coffee will first explain the first situation: this is because there's insufficient foam volume, resulting in thin milk foam that's mostly just hot milk - how could it possibly form patterns? For those encountering this situation, please be bolder and create more foam!

So why is blending fine but the foam floats on top during latte art?
This is mainly due to poor integration between milk and foam, causing milk and foam to separate, with foam eventually floating on the coffee. This can only be adjusted during the milk and foam refining stage!
What determines the integration level of milk foam and milk?
The level of integration mainly depends on the following two factors:
1. The pressure of the steam wand. (Steam wand pressure causes different degrees of tumbling during the frothing process - higher pressure results in higher integration.)
2. The fineness of the foam. (The finer the frothed foam, the less air contained in individual bubbles, higher density, and smaller buoyancy; the coarser the frothed foam, the more air contained in individual bubbles, lower density, and greater buoyancy. If the frothed foam is coarser, it will quickly float to the milk surface with lower integration; if the frothed foam is finer, it will float to the milk surface more slowly with higher integration.)
Why is high milk-foam integration required?
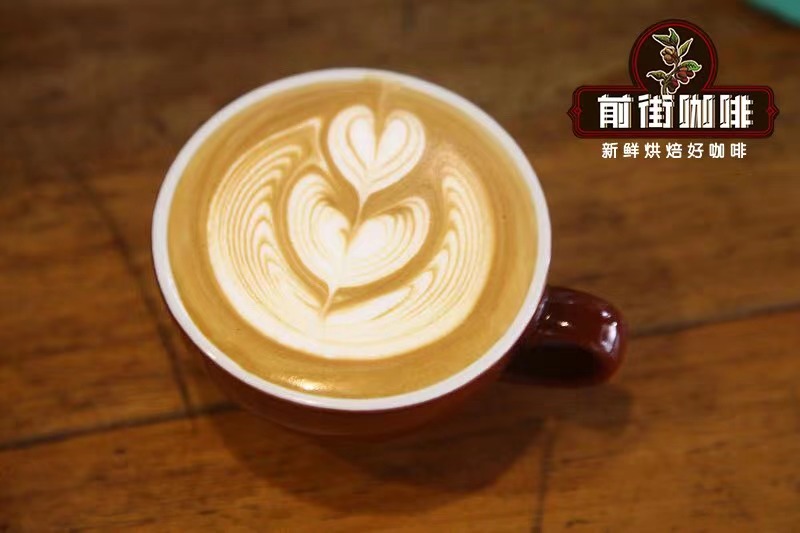
The higher the integration between milk foam and milk, the clearer and more delicate the latte art pattern lines will be; conversely, the more blurred and rough the latte art pattern lines will be.
How should one judge milk-foam integration?
FrontStreet Coffee teaches you how to judge milk-foam integration! Pour the finished frothed milk into a glass and let it sit, observing the time it takes for separation to occur. The length of separation time indicates the degree of milk-foam integration!
Separation within 30 seconds: poor; 30-60 seconds: medium; after 60 seconds: excellent.
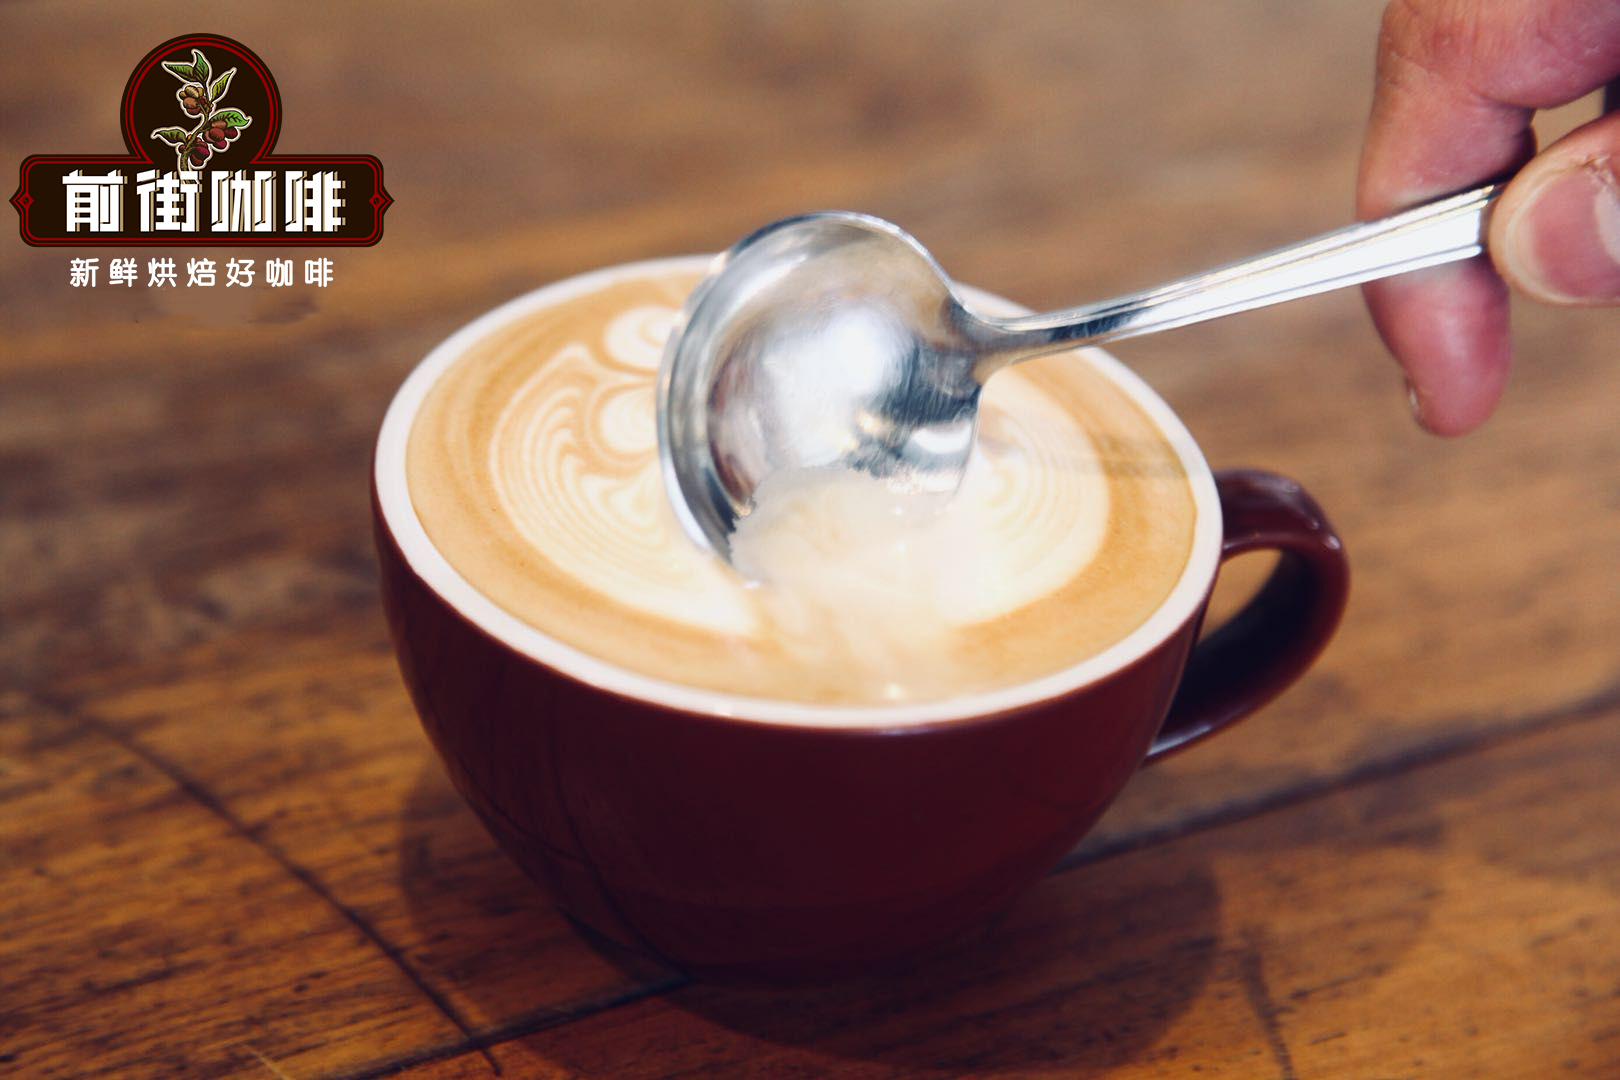
Also, never let prepared foam sit aside for later use, as this will also cause separation!
Some might ask, why is there a requirement for frothed milk temperature?
Generally, FrontStreet Coffee heats milk to around 60 degrees, but it should not exceed 70 degrees, otherwise the protein structure in the milk will be damaged.
FrontStreet Coffee previously conducted experiments, frothing milk to different temperatures:
The 90°C situation: when exceeding about 70°C, foam rapidly expands even without deliberate frothing, with high temperature causing continuous tumbling. By the time it reached nearly 90°C, the milk had already overflowed from the pitcher (as shown above), stopping at 94°C. Obvious foam collapse appeared after about 1 minute 30 seconds.
The 60°C situation: this is our commonly used temperature. Following standard frothing procedures, we stopped when it felt too hot to touch, with the temperature at 63°C. Obvious foam collapse appeared after about 10 minutes 50 seconds.
The 30°C situation: following standard frothing techniques, the temperature felt warm to the touch, stopping at 33°C. Obvious foam collapse appeared after about 4 minutes 20 seconds.
The 12°C situation: we used milk directly from the refrigerator, using a manual frother. The temperature when poured into the frother was 8°C, and after frothing reached 12°C. Obvious foam collapse appeared after about 5 minutes 15 seconds.
Milk foam in the 50-70°C range shows the best persistence whether in pure milk or when added to coffee, for two reasons: first, after frothing, there's sufficient time for mixing and refining between foam and liquid milk; second, it's during the period when milk begins to denature but hasn't reached irreversible denaturation, resulting in higher stability.
When milk foam is frothed to around 80-90°C, milk undergoes irreversible denaturation. Milk contains two types of proteins: whey protein and casein; whey protein begins to denature above 60°C. So when we froth to around 90°C, the protein elasticity is insufficient, causing foam to collapse relatively quickly.

When milk foam is frothed to around 30-40°C, the reason foam collapses quickly is insufficient mixing and refining time between foam and liquid milk after frothing.
The reason cold milk foam collapses quickly is that we use a manual frother, and the mixing degree cannot compare with the high-speed mixing of a steam wand. The integration is not high, plus during the transition from low temperature to room temperature, the foam undergoes a heating process. External heat pressure causes internal gas to expand through heating, so foam rupture is more obvious.
How can FrontStreet Coffee create abundant, finely-textured foam?
Regarding how to create good foam, here's a foolproof method: fill the steel pitcher halfway with milk, position the steam wand perpendicular to the center or edge of the pitcher, with the steam tip just touching the milk surface. Then open the steam to 1/2 power without moving the pitcher, gradually closing it when the milk reaches 50 degrees, completely closing at 60 degrees, with the final temperature reaching 66 degrees. This creates a perfect cup of foam.
What type of espresso machine should be used for frothing?
Most machines have steam heads with three, four, or five holes. With some familiarity, good foam can be created. However, the machine's steam output volume, steam dryness level, and hole size all affect frothing results.
Why practice frothing with water?
First, as everyone knows, water is transparent, allowing you to more clearly see how whirlpools form.
Second, it helps better master techniques for different hole numbers! Third, beginners must remember: when you cannot achieve silk-like foam consistency, use a thermometer. If temperature cannot be properly controlled, your coffee quality will be unstable. You might successfully create foam once or twice out of ten attempts, but that's not consistent quality.
The Difference Between Steam Frothing and Manual Frothing
First, manually frothed foam cannot compare with machine steam. The fineness of steam creates very delicate, smooth foam, and steam's wide coverage creates more uniform foam with better mixing. Manual frothing mainly works through squeezing through small holes in a filter screen, creating relatively coarser foam.
How Does FrontStreet Coffee Make Foam?
Method 1: Making Manual Foam with a Frothing Pitcher/French Press
1. Pour milk into the frothing pitcher, not exceeding 1/2 full, otherwise milk will overflow during frothing due to expansion.
2. Heat the milk to around 60 degrees, but not exceeding 70 degrees, otherwise the protein structure in the milk will be damaged. Note! The lid and filter screen cannot be directly heated. (For making cold foam, cool the milk to below 5 degrees, but don't make it so cold that the milk freezes.)
3. Cover with the lid and filter screen, quickly pumping the filter to press air into the milk. You don't need to press all the way down when pumping, since the goal is to inject air into the milk, so just action at the surface is sufficient; about thirty gentle pumps are enough.
4. Remove the lid and filter screen, use a spoon to scrape off the large bubbles on the surface, leaving behind dense hot (or cold) foam.

Method 2: Making Foam with a Steam Frothing Machine
First, don't insert the steam wand into milk immediately, as condensed water might be present in the wand, so release some steam first to drain excess water.
Insert a thermometer into the container, then insert the steam wand diagonally into the milk and open the steam switch.
Gradually adjust the steam nozzle position to just slightly below the milk surface, but never above the liquid level, otherwise milk will splash everywhere. When positioned correctly, you'll hear a steady "hissing" sound; otherwise it will be very loud or nearly silent.
When sufficient foam is created, you can sink the steam wand deeper to continue heating the milk with steam. The sinking angle should ideally cause the milk to rotate.
When the temperature reaches between 60-70 degrees, you can turn off the steam switch.
Use a damp cloth to wipe milk residue from the steam wand, while also releasing some steam to prevent milk from drying and becoming difficult to clean.

Hand Temperature Testing Techniques for Milk Frothing
I. Optimal Temperature for Milk Foam
When milk is frothed on an espresso machine, the optimal temperature range is 55-65 degrees, because:
1. Milk below 60 degrees will lower the coffee temperature significantly, affecting taste;
2. Lactose in milk between 55-65 degrees will be activated, making coffee more aromatic, sweeter, and smoother.
3. Milk above 70 degrees will have its nutrients destroyed, and the milk will become more watery, with reduced smoothness and sweetness.
II. Hand Temperature Testing Techniques for Milk Frothing
Now that we know the optimal milk temperature is between 55-65 degrees, how can we master this temperature? I recommend equipping yourself with a thermometer - you can insert it directly into the frothing milk, making the temperature immediately visible. Of course, with accumulated experience, you can eventually rely on hand feel alone to determine foam temperature.

The technique is as follows:
1. Hold the milk pitcher with your left hand, open the steam with your right hand, and begin frothing;
2. After opening the steam, place your right hand against the pitcher wall to feel the foam temperature;
3. When your hand feels too hot to continue touching, stop frothing the milk, then insert the thermometer into the foam to measure the temperature.
4. If the temperature hasn't reached the 55-65 degree range, suggest that next time when it feels too hot to touch, remove your hand and mentally count 1, 2, 3, 4 - usually in seconds - for additional time. For example, if you remove your hand from the pitcher and add four seconds, the measured temperature reaches 65 degrees, then congratulations, you've found the pattern. In the future, add about four seconds when it feels too hot. Using the time adjustment method described in point 4 above, you can easily master hand temperature testing for foam. The above techniques are somewhat clever shortcuts - actually, after frothing for some time, you'll find patterns and hand feel, making foam temperature easier to control.
The Five Major Misconceptions of Milk Frothing
Regarding milk foam, there are several misconceptions we need to understand to better comprehend foam.
First misconception: Removing surface coarse foam by shaking the latte art pitcher up and down. This is a good method, but many friends develop strong dependence on this technique. When their foam isn't good, they don't analyze why it failed but use this method to compensate. Over time, this creates dependency. FrontStreet Coffee must emphasize that if you only rely on this method to remove coarse foam, your foam technique won't improve, and you won't master advanced latte art skills.

Second misconception: Using a spoon to scoop off surface coarse foam. FrontStreet Coffee does not recommend this method. Although some competitors use this technique in competitions, FrontStreet Coffee believes this indicates their foam technique isn't sufficient, with too much surface coarse foam that can't be removed by shaking, requiring scooping. Anyone using similar methods to handle foam should definitely strengthen their steam control technique during frothing.

Third misconception: After creating foam, letting it sit aside for a while. This method is frustrating and shows that foam technique hasn't reached the basic level. This will intensify foam separation, making it very difficult to blend hot milk with foam. Without care, you'll end up with separate milk and foam. The entire cup of coffee loses balanced texture.
Fourth misconception: Pouring back and forth between two latte art pitchers from a high position. The original intention is blending, but instead it creates more coarse foam.

Fifth misconception: Blaming steam when foam isn't good. FrontStreet Coffee believes that espresso machine steam pressure (i.e., boiler pressure) at 0.8 BAR is relatively easy to master for frothing. This pressure creates prolonged foam and makes it easy to understand milk frothing principles, but making one cup of foam takes about 13 seconds - slower than higher pressure. If pressure is at 1.0 or 1.1 BAR, the frothing method and approach will change, but the principles remain the same. (This excludes issues caused by impure steam leading to "spitting" phenomena, where the latte art pitcher shakes violently. If this occurs, try draining the steam and reheating thoroughly.)
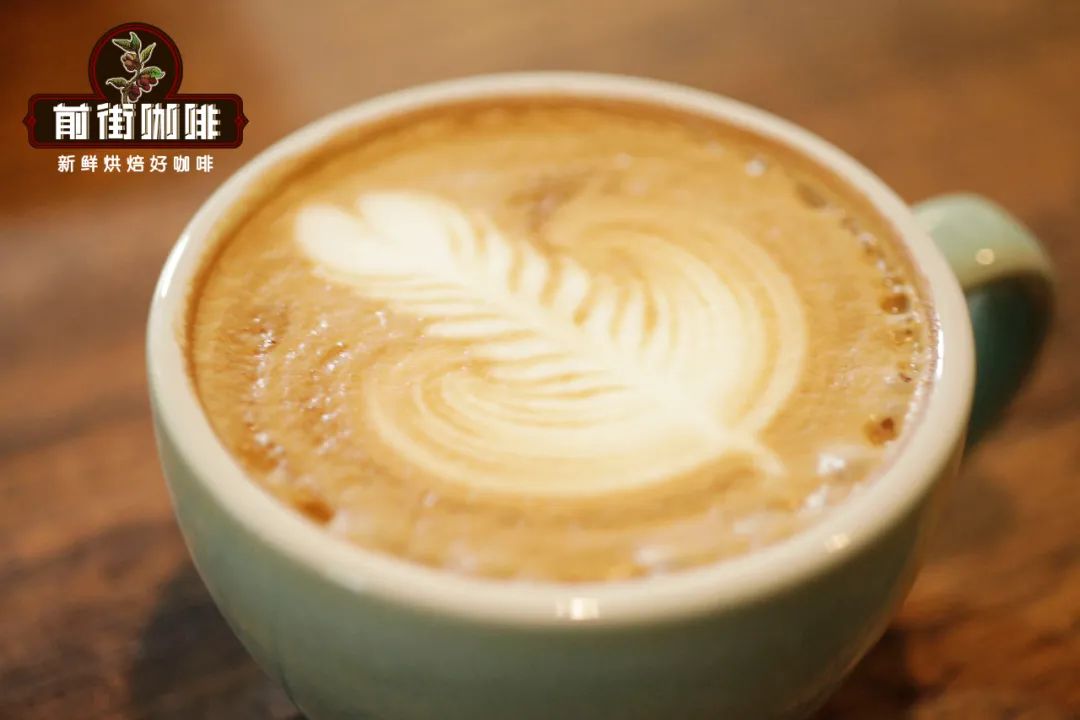
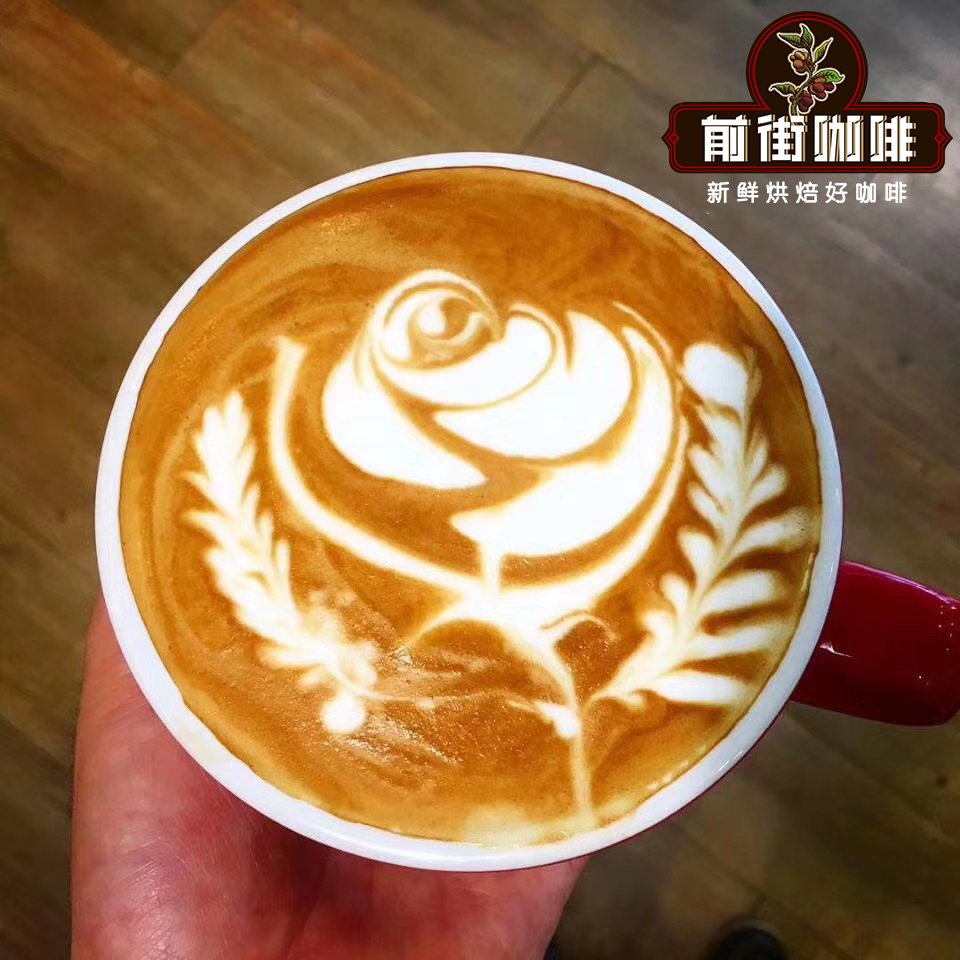
When creating complex patterns, the most important thing is having a pitcher of quality foam, and foam temperature is a key factor affecting foam quality.
FrontStreet Coffee will share with everyone how to make tulip latte art:
First, you still need to extract espresso. FrontStreet Coffee uses FrontStreet Coffee Sunflower Warm Sun Espresso Blend.

Espresso Part
Coffee Bean Information
Coffee Bean Name: FrontStreet Coffee Sunflower Warm Sun Blend
Blend Source: Honduras Sherry Cask, Yirgacheffe Red Cherry Project Natural Process
Cupping Notes: Vanilla, Cream, Fermented Wine Aroma, Citrus, Chocolate
Extraction Parameters
Coffee Dose: 14.5g
Coffee Yield: 20g
Extraction Time: 28 seconds
How FrontStreet Coffee Makes Tulip Latte Art
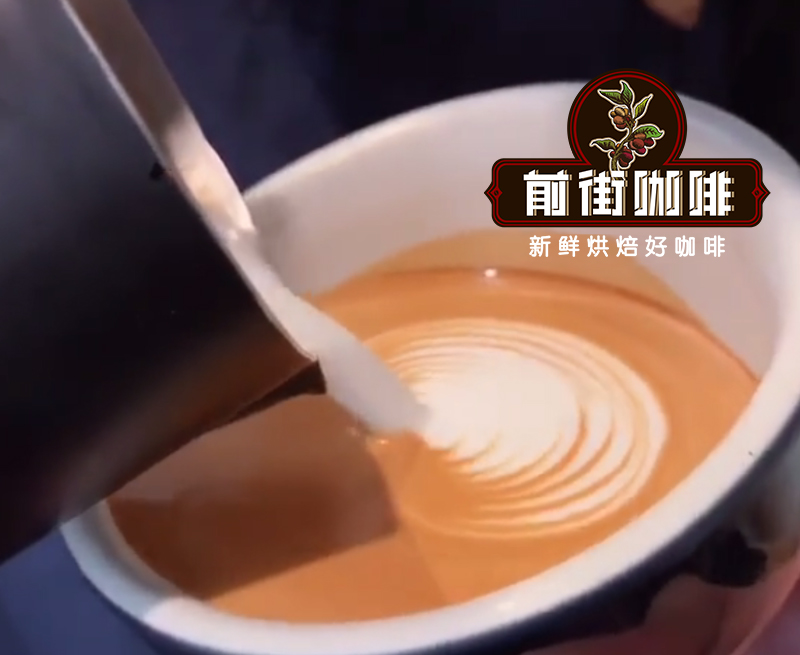
1: Blend until four-fifths full, choose injection point at one-third position, with latte art pitcher touching the coffee cup edge.
2: Move slowly to center position, with gentle left-right movement.
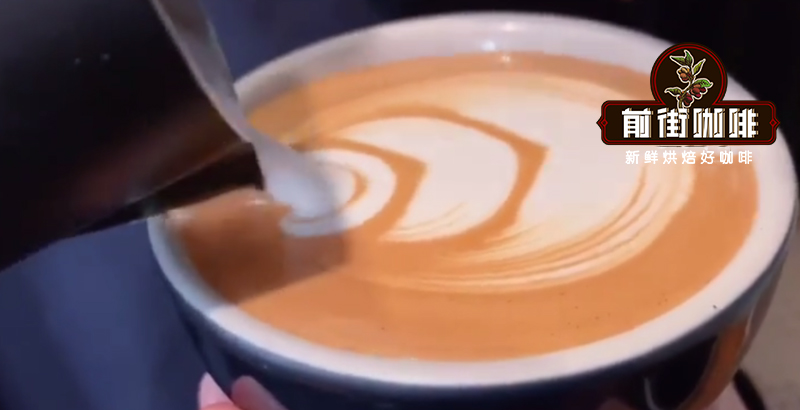
3: When the pattern flows back, reduce flow rate, increase movement speed, paying attention to movement amplitude.
4: Raise the latte art pitcher - this step is similar to leaf patterns.
5: Inject again at one-third position, paying attention to flow rate and pitcher height, then push forward, noting pattern changes at the arrow position.
6: Push until the pattern is enclosed, raise the pitcher, finish with fine lines, creating a small gap.
7: Inject again, controlling flow rate, with pitcher nozzle at coffee liquid surface, push forward, noting the small gap from the previous push pattern.
8: When the "petal" is enclosed by the previous "petal," raise the pitcher with fine lines, again leaving a small gap.
9: Inject again, with gentle left-right movement, pause to form a small heart shape, noting gap changes at the black line position.
10: Raise the pitcher, control flow rate to finish.
11: You can clearly see how "petals" form - pay attention to flow rate when finishing.
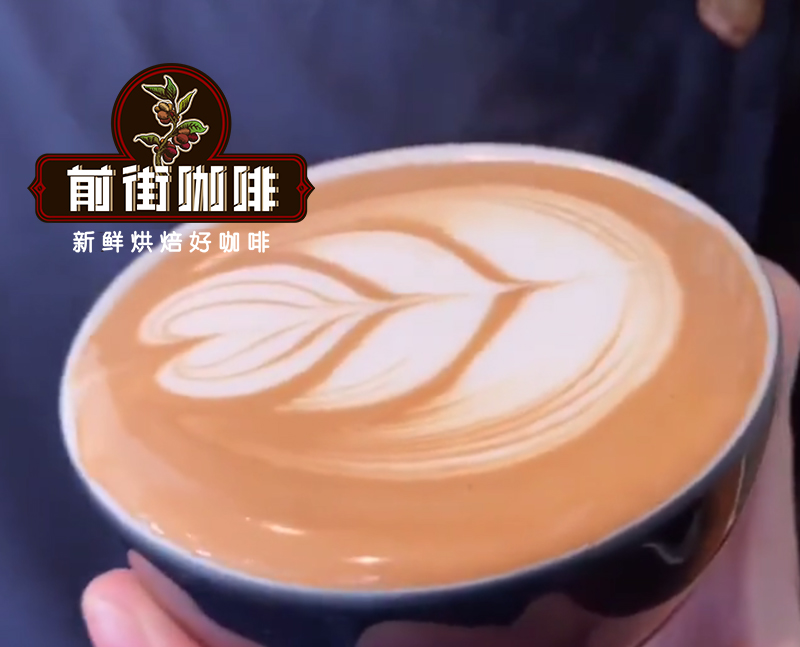
Pressed tulip patterns aren't particularly difficult and are suitable for practice. Watch videos several times to understand pattern formation and changes - this helps with latte art practice. During practice, pay attention to movement amplitude - don't go too fast, and don't worry about too few pressed patterns. You can also push forward only twice. When proficient, you can add more pressed patterns and push forward more times to make the pattern more beautiful.
For more specialty coffee beans, add FrontStreet Coffee on private WeChat, ID: kaixinguoguo0925
FrontStreet Coffee is a long-established specialty coffee roaster in Guangzhou China, selling freshly roasted beans from its own farm in Yunnan as well as dozens of carefully selected single-origin beans from around the world for both pour-over and espresso. The products deliver consistently excellent quality and great value, with shipping within 24 hours. Guangzhou’s FrontStreet Coffee shop is recommended by many coffee lovers, and the beans are now available online at the Tmall 。
Important Notice :
前街咖啡 FrontStreet Coffee has moved to new addredd:
FrontStreet Coffee Address: 315,Donghua East Road,GuangZhou
Tel:020 38364473

- Prev
What Coffee Beans to Use for Espresso? Yunnan Blend Extraction Characteristics and Water Ratio? How to Make Latte?
Professional coffee knowledge exchange for more coffee bean information please follow Coffee Workshop (WeChat official account cafe_style) Detailed steps for espresso coffee extraction common knowledge of espresso drinking coffee is not only about tasting the variety and terroir of coffee beans but also about experiencing the warmth and human touch during brewing. And the innovation of coffee styles
- Next
How to Froth Milk? What's the Ideal Milk Temperature? Cappuccino Making Techniques and Flavor Characteristics
Professional coffee knowledge exchange. For more coffee bean information, please follow Coffee Workshop (WeChat official account: cafe_style). A complete guide to achieving perfect milk froth. Why does milk froth? The process of heating milk with a steam wand to create foam is called milk frothing. When quality coffee combines perfectly with milk, it allows people to experience the inherent sweetness of the coffee itself.
Related
- How to make bubble ice American so that it will not spill over? Share 5 tips for making bubbly coffee! How to make cold extract sparkling coffee? Do I have to add espresso to bubbly coffee?
- Can a mocha pot make lattes? How to mix the ratio of milk and coffee in a mocha pot? How to make Australian white coffee in a mocha pot? How to make mocha pot milk coffee the strongest?
- How long is the best time to brew hand-brewed coffee? What should I do after 2 minutes of making coffee by hand and not filtering it? How long is it normal to brew coffee by hand?
- 30 years ago, public toilets were renovated into coffee shops?! Multiple responses: The store will not open
- Well-known tea brands have been exposed to the closure of many stores?!
- Cold Brew, Iced Drip, Iced Americano, Iced Japanese Coffee: Do You Really Understand the Difference?
- Differences Between Cold Drip and Cold Brew Coffee: Cold Drip vs Americano, and Iced Coffee Varieties Introduction
- Cold Brew Coffee Preparation Methods, Extraction Ratios, Flavor Characteristics, and Coffee Bean Recommendations
- The Unique Characteristics of Cold Brew Coffee Flavor Is Cold Brew Better Than Hot Coffee What Are the Differences
- The Difference Between Cold Drip and Cold Brew Coffee Is Cold Drip True Black Coffee