Siphon Coffee Brewing Process: Detailed Guide to Siphon Coffee Brewing Method Steps and Techniques
In the world of coffee brewing equipment, there are many choices: espresso machines, French presses, Aeropress, V60, and various other brewing methods. However, one coffee brewing method stands out as quite different—the syphon pot. The syphon pot resembles a chemical instrument in its brewing approach and takes longer to prepare than the aforementioned methods. While the brewing process certainly offers beautiful visual effects, its flavor and mouthfeel also have distinctive characteristics! Let FrontStreet Coffee guide you through this fascinating method!
What is a Syphon Pot?
The syphon pot, commonly known as "glass ball," "siphon style," or "vacuum style," is a simple yet effective coffee brewing method that is easy to operate and offers excellent visual appeal. It's also one of the most prevalent coffee brewing methods in cafés. Although syphon coffee originated in Europe and America, it has gained immense popularity in Asia. Its meticulous preparation process and clean, bright flavor profile have made it particularly popular in Japan and Taiwan.
The Science Behind Syphon Brewing
Despite being called a "syphon" pot, it actually has nothing to do with siphon principles. Instead, it utilizes the principle of thermal expansion and contraction—when water is heated, it produces steam that pushes hot water from the lower chamber to the upper chamber. When the lower chamber cools, it draws the water back down from the upper chamber. Sounds complicated? Not at all! Follow these steps once, and you'll understand it perfectly!
The syphon brewing method uses air pressure to bring hot water at the appropriate temperature into contact with coffee grounds for extraction. Watching the water in the lower chamber gradually rise as it heats to boiling, then seeing the brewed coffee slowly descend as the chamber cools, creates a truly captivating experience. Every step of the transformation is controlled by your hands, making you feel as if you're conducting a precise and delicate chemical experiment. The exceptional visual enjoyment has made many people fall in love with syphon coffee.
Coffee Selection and Brewing Parameters
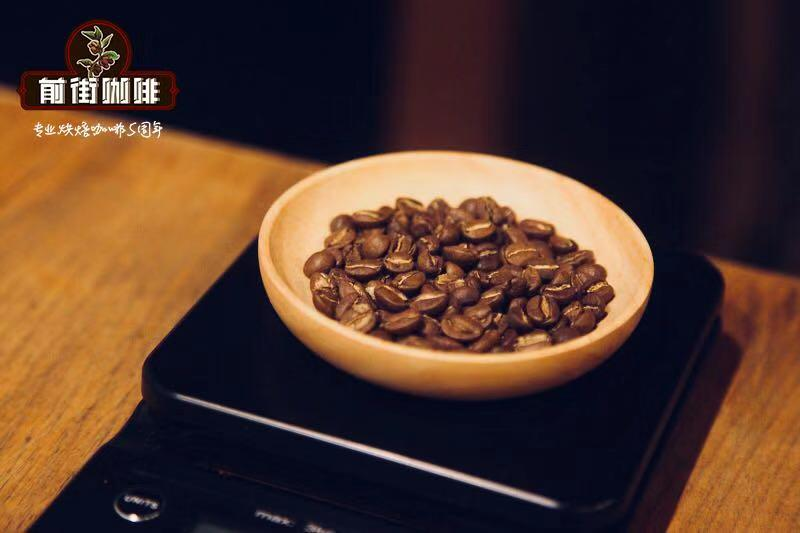
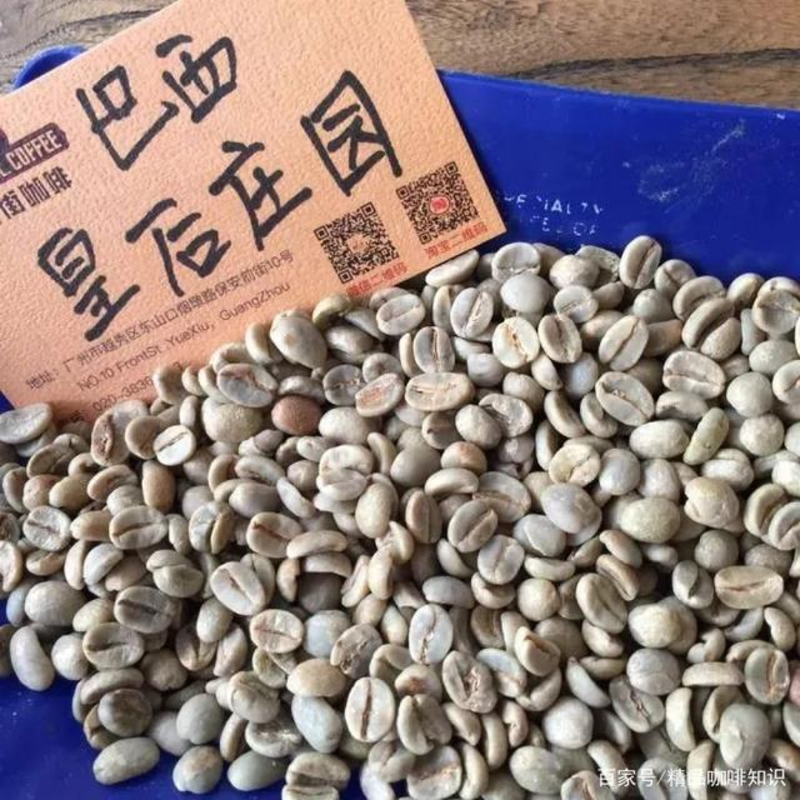
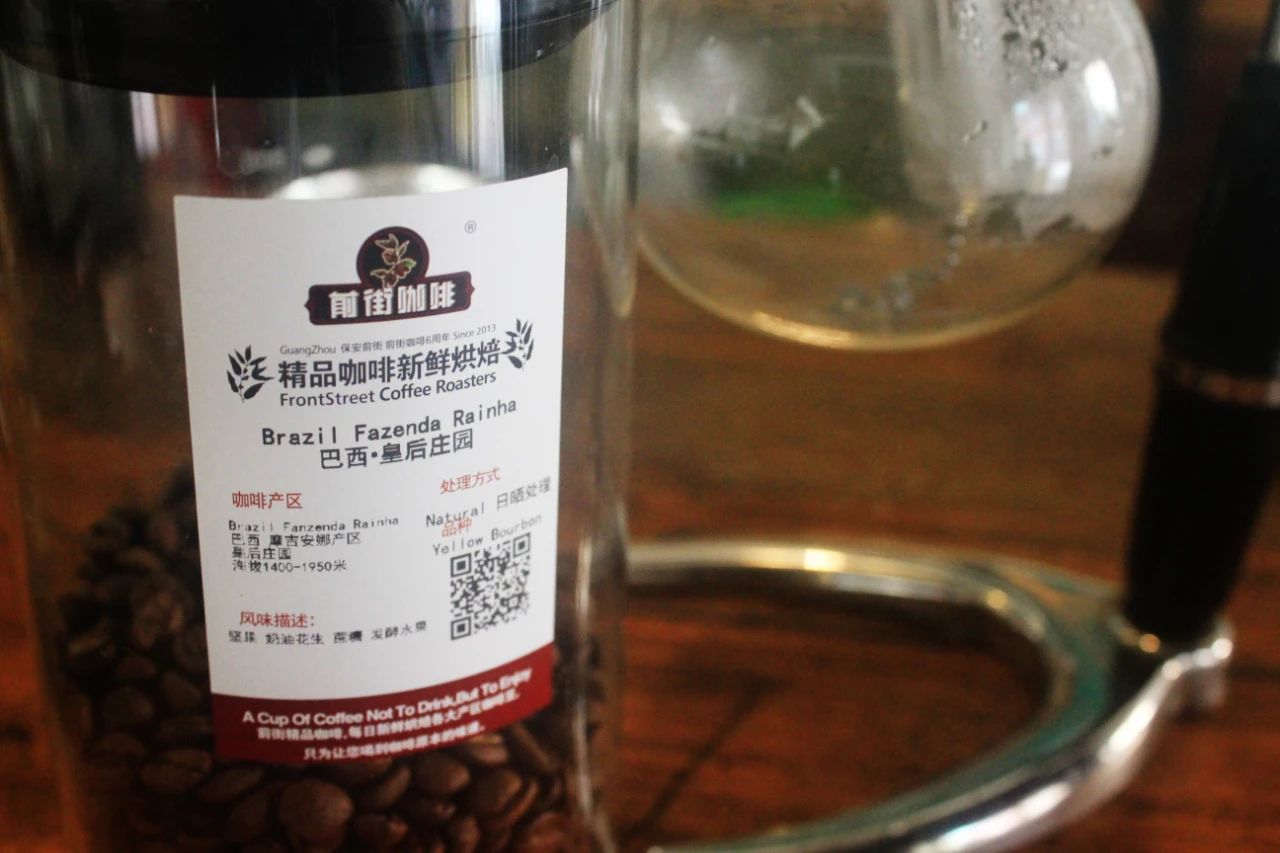
For this brewing session, we've selected FrontStreet Coffee's Brazil Queen Estate Yellow Bourbon, with the following details:
Region: Brazil, Mogiana Region
Estate: Queen Estate
Altitude: 1400-1950m
Variety: Yellow Bourbon
Processing: Natural Processing
Roast Level: Medium Roast
The brewing parameters for this session are as follows:
Grind Size: BG #6M
Dose: 18g
Ratio: 1:10
Water Temperature: 88°C
Syphon Coffee Brewing Steps
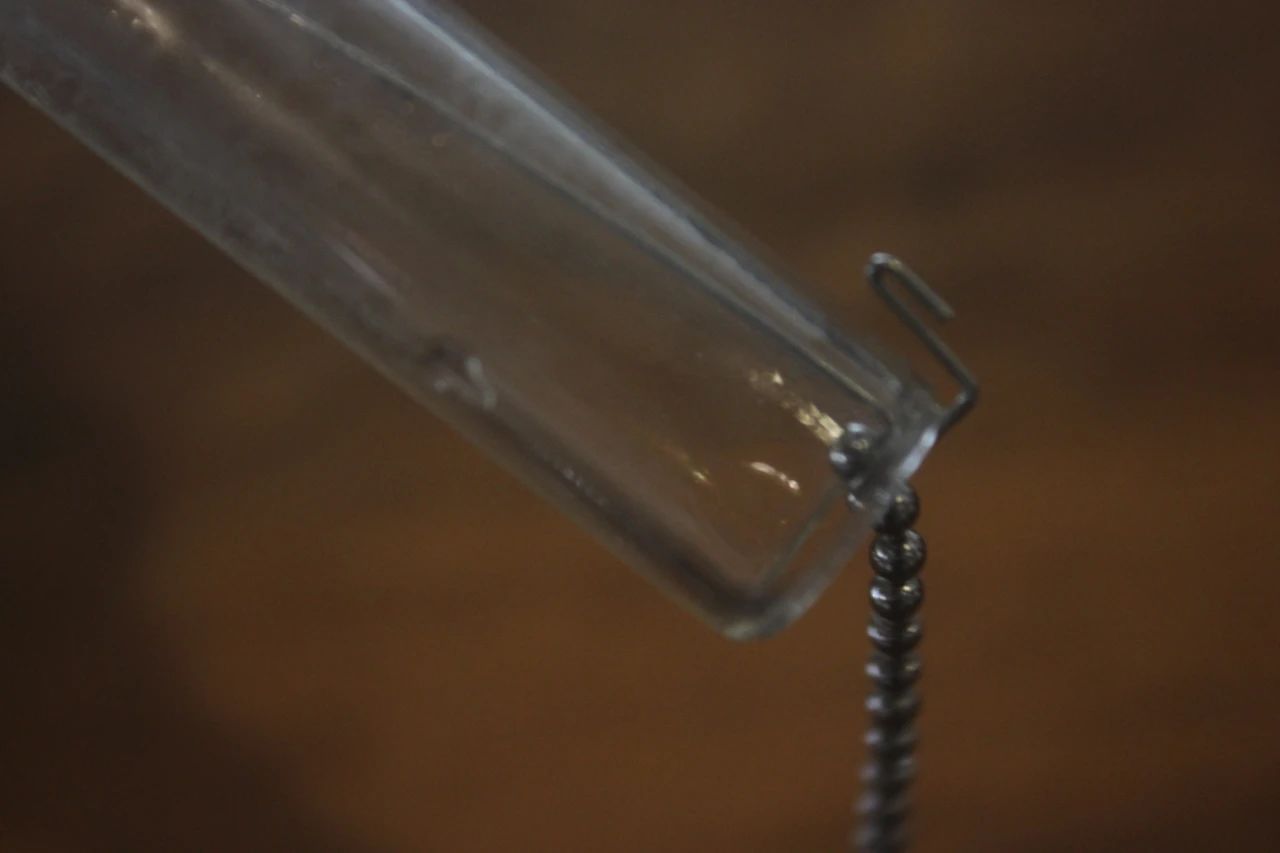
Step 1: Filter Preparation
Boil the filter in hot water for 5 minutes, then place it in the upper chamber. Pull the filter's chain through the upper chamber's tube wall and hang it on the hook. Make fine adjustments to keep the filter properly positioned in the upper chamber. Fill the lower chamber with hot water to the "two-cup" mark. Place the filter in the upper chamber, hold the end of the chain with your hand, and gently hook it onto the end of the glass tube. Be careful not to suddenly release the hook with force, as this could damage the upper chamber's glass tube.
Step 2: Initial Heating
Before heating, wipe any water droplets from the bottom of the flask to prevent damage to the vessel. Light the alcohol lamp, tilt the upper chamber, and let the rubber edge rest against the lower chamber's spout (don't worry, the upper chamber won't fall off) so that the chain is immersed in the water of the lower chamber. Then heat the water and wait for continuous large bubbles to emerge from the lower chamber. Keep the upper chamber tilted—don't let it seal tightly against the lower chamber. Small bubbles don't count; wait for the large bubbles to appear.
Step 3: Assembly
When the lower chamber begins to emit continuous large bubbles, straighten the upper chamber, rock it gently from side to side while pressing slightly downward to create a gentle seal with the lower chamber. Once the upper chamber is inserted, you'll see the water from the lower chamber begin to rise... If you have a coffee grinder, now is the time to start grinding! For a two-cup amount of water, use three tablespoons of coffee (approximately 24 grams) with a medium grind setting.
Step 4: Coffee Extraction
Wait until all the water has completely risen to the upper chamber, but don't rush—wait a few seconds for the bubbles in the upper chamber to reduce before preparing to pour in the coffee grounds. Pour in the ground coffee and use a bamboo stirrer to move it from side to side, evenly distributing the coffee grounds throughout the water. Start timing immediately with the first stir.
The stirring motion should be gentle—avoid vigorous stirring. If the coffee is fresh, it will float on the surface forming a layer of grounds. At this point, you need to stir the coffee grounds to ensure complete flavor extraction. The correct stirring technique is to move the bamboo spoon from side to side with a downward "force," pushing the floating coffee grounds "below" the water surface. When the water in the lower chamber reaches about 88°C and begins to rise to the upper chamber, note that the syphon tube should be in a straight vertical line with the heat source. When the hot water flows upward into the upper chamber and mixes with the coffee grounds, quickly stir 6-8 times with a bamboo paddle, being careful not to touch the filter. After stirring, begin timing for about 1 minute.
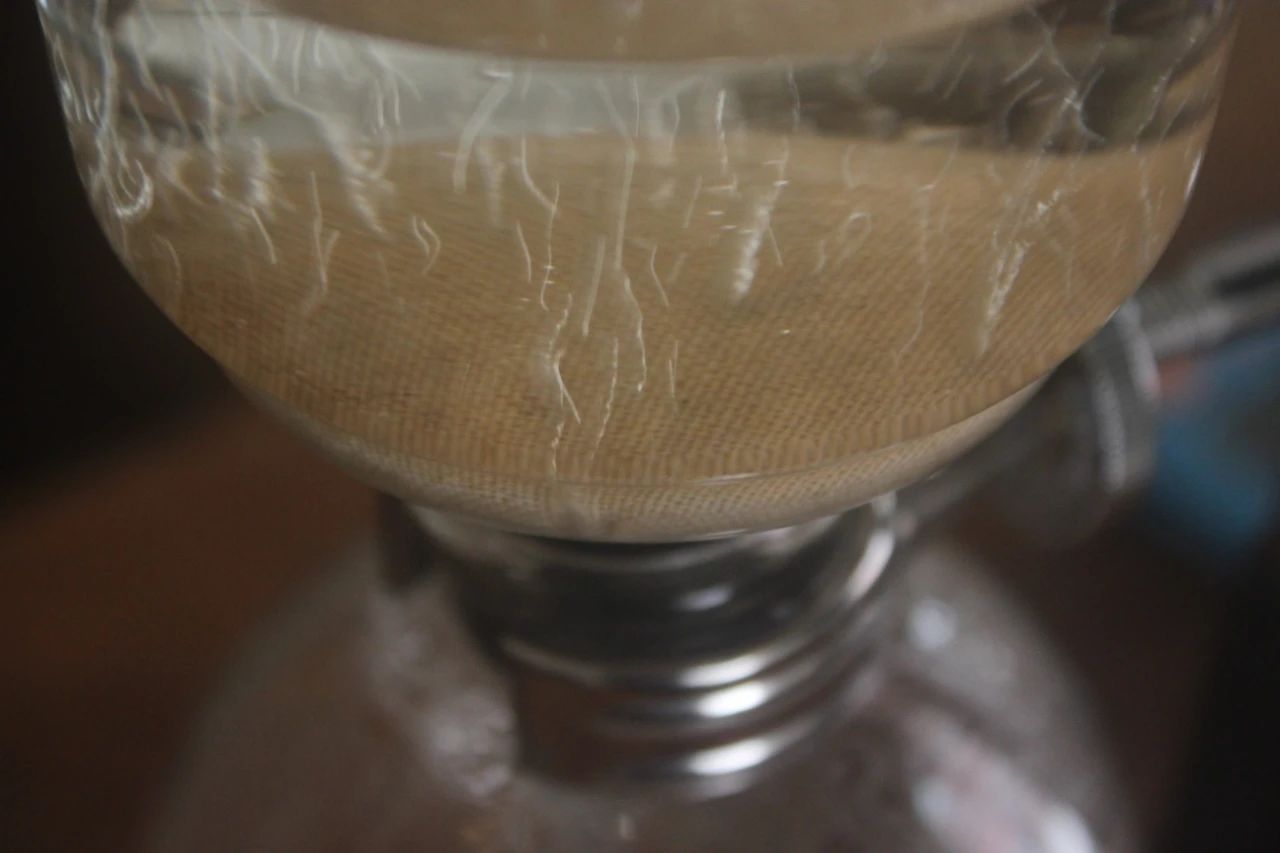
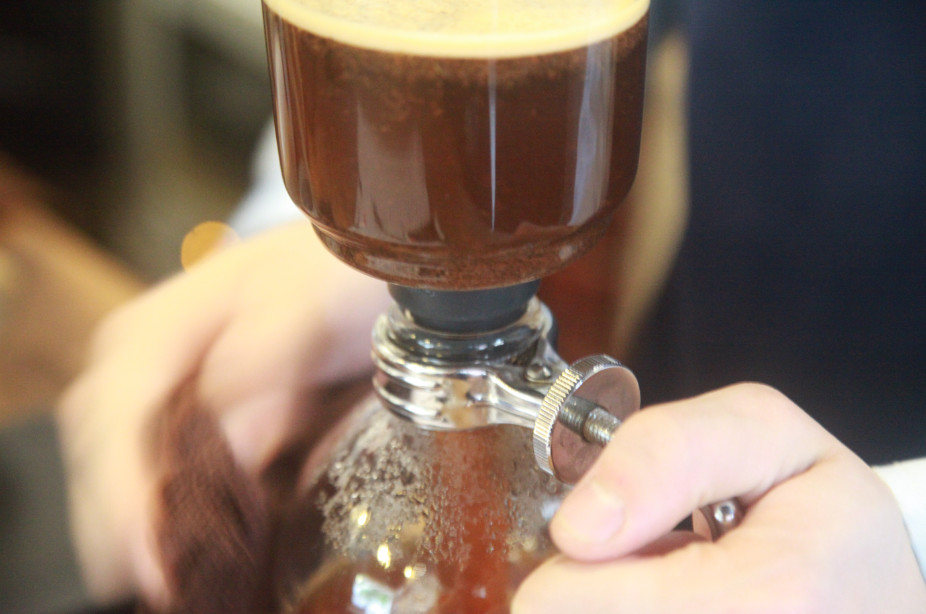
Step 5: Final Processing
By observing the state of the foam layer, you can adjust stirring, heat, and extraction time. When brewing fresh coffee grounds with the correct method, a rich, fine layer of bubbles will form on top of the coffee liquid, accounting for about 1/3 or 1/4 of the coffee volume. After extraction is complete, extinguish the alcohol lamp and stir 6-8 more times before the coffee liquid drips down. After the first stir, time for thirty seconds, do a second stir, then time for twenty seconds, do a final stir, and then remove the alcohol lamp. Take a slightly damp cloth (pre-wrung out) and gently wrap it around the side of the lower chamber from the side, making sure the damp cloth doesn't touch the bottom of the lower chamber where the alcohol lamp flame made contact, to prevent the lower chamber from cracking. At this point, you'll see the water from the upper chamber being rapidly "pulled" down to the lower chamber. If your coffee is fresh enough, there will be many light brown bubbles in the lower chamber at this time.
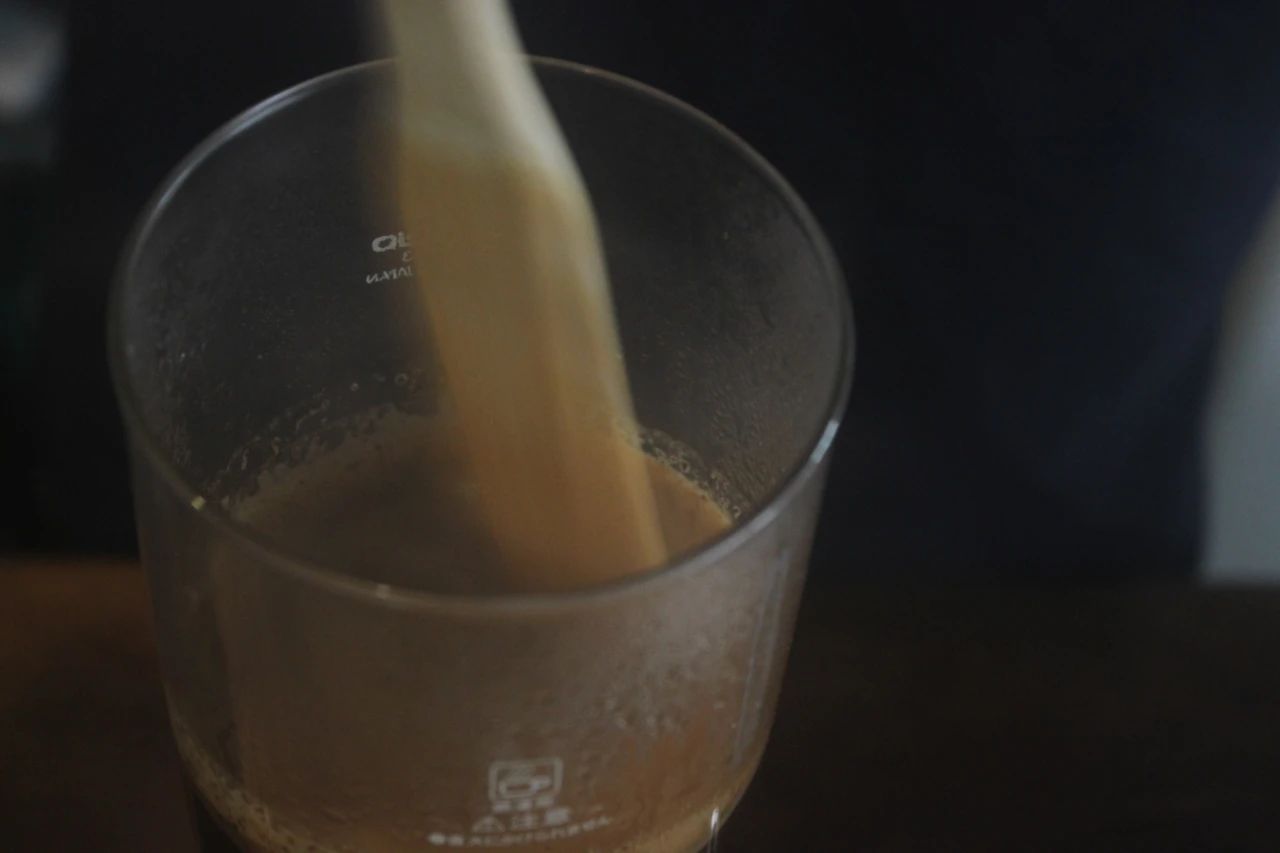
Step 6: Filtration Completion
When the air has completely reversed flow and the coffee liquid has fully dripped into the lower chamber, filtration is complete.
Step 7: Serving
After the coffee has been drawn into the lower chamber, hold the upper chamber with one hand and the handle of the lower chamber with the other, gently rock the upper chamber from side to side, and you'll be able to separate the upper and lower chambers. Pour the coffee into pre-warmed coffee cups and enjoy this aromatic coffee that you've personally prepared! Hold the connection point at an angle to remove the upper chamber, pour the coffee into the coffee cup, and you're done.
Final Thoughts
Because syphon pots use high-temperature extraction, they tend to produce aromatic coffee with higher body, though one drawback is that the flavor layers aren't as varied as with drip coffee methods. Additionally, since the coffee grounds are soaked in high-temperature hot water, subtle flavor differences may not be as pronounced.
FrontStreet Coffee is a long-established specialty coffee roaster in Guangzhou China, selling freshly roasted beans from its own farm in Yunnan as well as dozens of carefully selected single-origin beans from around the world for both pour-over and espresso. The products deliver consistently excellent quality and great value, with shipping within 24 hours. Guangzhou’s FrontStreet Coffee shop is recommended by many coffee lovers, and the beans are now available online at the Tmall 。
Important Notice :
前街咖啡 FrontStreet Coffee has moved to new addredd:
FrontStreet Coffee Address: 315,Donghua East Road,GuangZhou
Tel:020 38364473

- Prev
Moka Pot Usage Tutorial with Illustrated Guide: How to Brew Crema with Moka Pot and Which Coffee Beans to Use
The impression of moka pots originates from some French movies, where the heroine wakes up in the morning, puts coffee powder into the moka pot, then elegantly places it on the gas stove to heat. After a while, the coffee aroma awakens the male protagonist. Their first cup of coffee in the morning is usually one with lots of milk and rich foam
- Next

Tutorial: The Simplest Latte Art Steps for Beginners | What's the Best Milk for Coffee Latte Art?
The steps for coffee latte art: First, extract a shot of Espresso. Second, create milk foam. Step one: First, understand the correct operating procedures of the coffee machine's steam system, recognize the purpose of purging the steam wand before and after frothing milk, and comprehend the significance of towels and immediate cleaning in coffee preparation. Step two: learn how to
Related
- How to make bubble ice American so that it will not spill over? Share 5 tips for making bubbly coffee! How to make cold extract sparkling coffee? Do I have to add espresso to bubbly coffee?
- Can a mocha pot make lattes? How to mix the ratio of milk and coffee in a mocha pot? How to make Australian white coffee in a mocha pot? How to make mocha pot milk coffee the strongest?
- How long is the best time to brew hand-brewed coffee? What should I do after 2 minutes of making coffee by hand and not filtering it? How long is it normal to brew coffee by hand?
- 30 years ago, public toilets were renovated into coffee shops?! Multiple responses: The store will not open
- Well-known tea brands have been exposed to the closure of many stores?!
- Cold Brew, Iced Drip, Iced Americano, Iced Japanese Coffee: Do You Really Understand the Difference?
- Differences Between Cold Drip and Cold Brew Coffee: Cold Drip vs Americano, and Iced Coffee Varieties Introduction
- Cold Brew Coffee Preparation Methods, Extraction Ratios, Flavor Characteristics, and Coffee Bean Recommendations
- The Unique Characteristics of Cold Brew Coffee Flavor Is Cold Brew Better Than Hot Coffee What Are the Differences
- The Difference Between Cold Drip and Cold Brew Coffee Is Cold Drip True Black Coffee