Why Does Your Latte Art Foam Always Have Stubborn Bubbles? How to Create Perfectly Silky Microfoam
Frustrated with Excess Bubbles in Your Latte Art?
For those who frequently create latte art, you may have encountered this frustrating problem: after frothing milk, it often contains numerous small bubbles. No matter how vigorously you tap or swirl the pitcher, once surface bubbles disappear, new ones immediately emerge, making it seemingly impossible to eliminate them all!
If you're troubled by this issue, FrontStreet Coffee invites you to read this article! The solutions are immediately effective—once you understand the techniques, the problem will be resolved!
Why Do So Many Bubbles Form?
The milk frothing process consists of three steps: aeration, texturing, and integration. These three steps collectively control the quality of milk foam, much like the four essential elements of pour-over coffee extraction—each is indispensable.
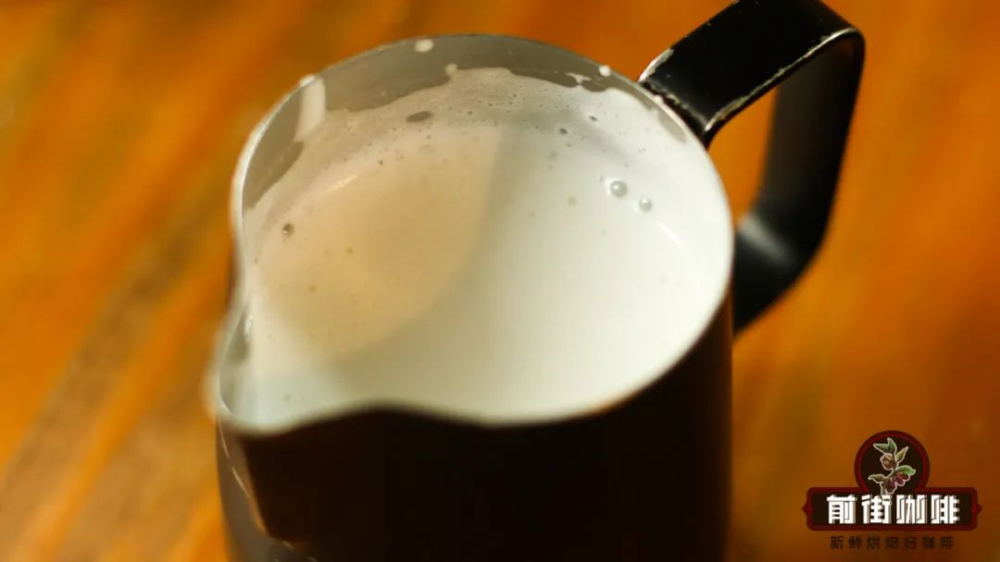
The aeration step is straightforward—it's literally "creating something from nothing." Through steam, large bubbles are created on the milk's surface. However, it's obvious that these large bubbles cannot produce beautiful latte art patterns. Therefore, we need the second step—"texturing"—to repeatedly break down these large bubbles. The vortex created during texturing cuts and disperses large bubbles into countless tiny micro-bubbles. Finally, through the integration step, the foam and milk are thoroughly combined. This completes the process of creating a pitcher of dense, delicate milk foam!
The scenario described at the beginning is typically caused by three main factors:
1. Inadequate Texturing
The texturing step is crucial. During this process, we need to create a vortex in the milk pitcher, drawing all the initial large bubbles into the vortex center for repeated breaking down. However, if a proper vortex doesn't form or its suction isn't strong enough, some bubbles won't be broken down multiple times, resulting in numerous persistent small bubbles.
Therefore, correct texturing is essential. FrontStreet Coffee will share here how to properly texture milk:
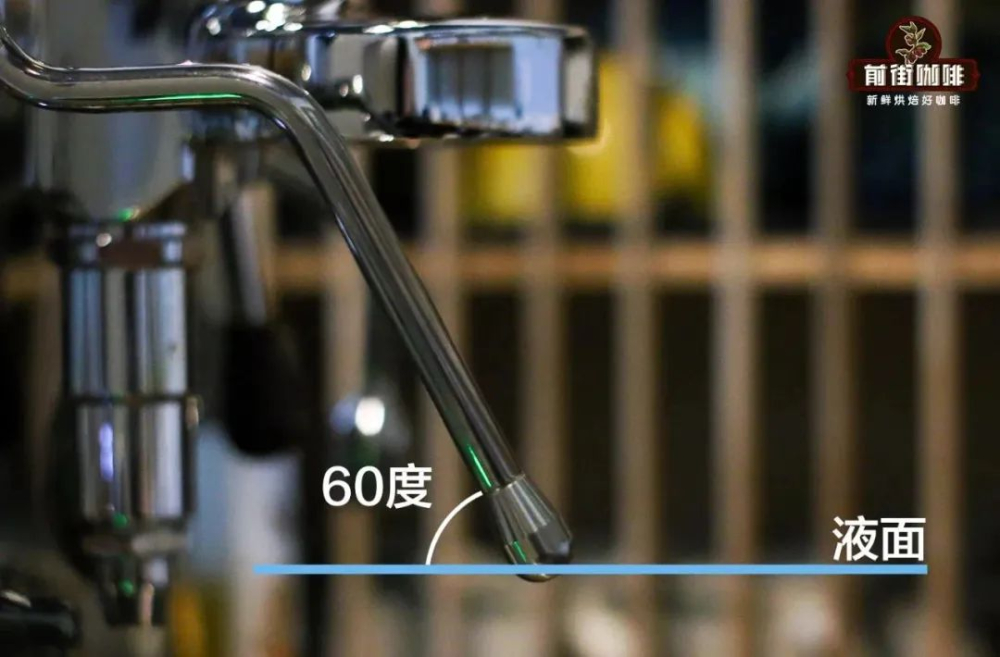
First, we need to find the right angle and position for the steam wand, allowing the emitted steam to create a force that acts parallel to promote vortex formation. FrontStreet Coffee suggests positioning the steam wand at the 3 o'clock (or 9 o'clock) direction from the center of the pitcher. This allows the steam to push the milk and form a vortex.
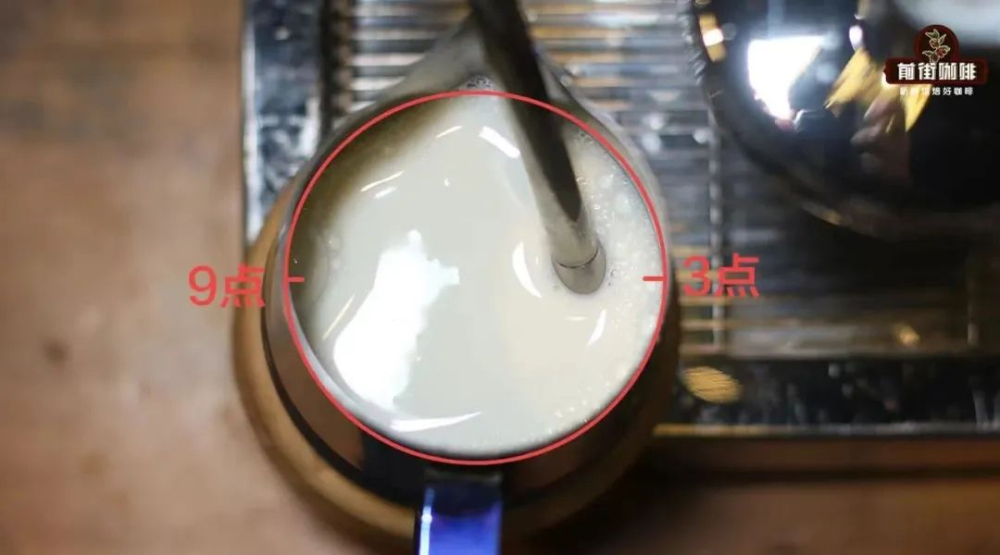
The steam wand should ideally form a 60-degree angle with the milk surface, which creates a vortex with stronger suction during texturing, drawing bubbles in and breaking them down completely.
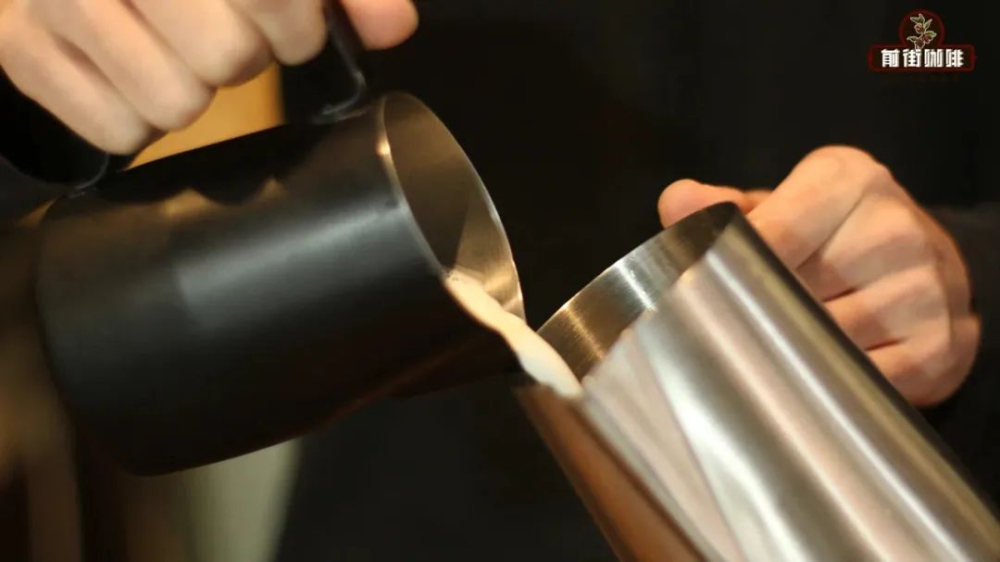
Additionally, we can tilt the pitcher to enlarge the liquid surface, which also enhances the vortex's suction power. Of course, this isn't always due to technique limitations. Many home coffee machines have surrounding components that prevent tilting large pitchers sufficiently to create a surface area that generates a large vortex. Therefore, FrontStreet Coffee suggests using a smaller capacity pitcher during frothing to increase the vortex's range and suction power. After frothing is complete, you can pour the milk into a larger pitcher for latte art creation.
2. Repeated Aeration After Texturing
Although many may successfully complete the texturing process, they might accidentally allow the steam holes to surface above the milk multiple times during the subsequent integration phase, causing additional aeration.

While you can use remaining time for texturing and integration, the resulting milk foam will rarely achieve the desired density. Therefore, friends should remember to minimize additional aeration at the end.
3. Insufficient Milk Temperature
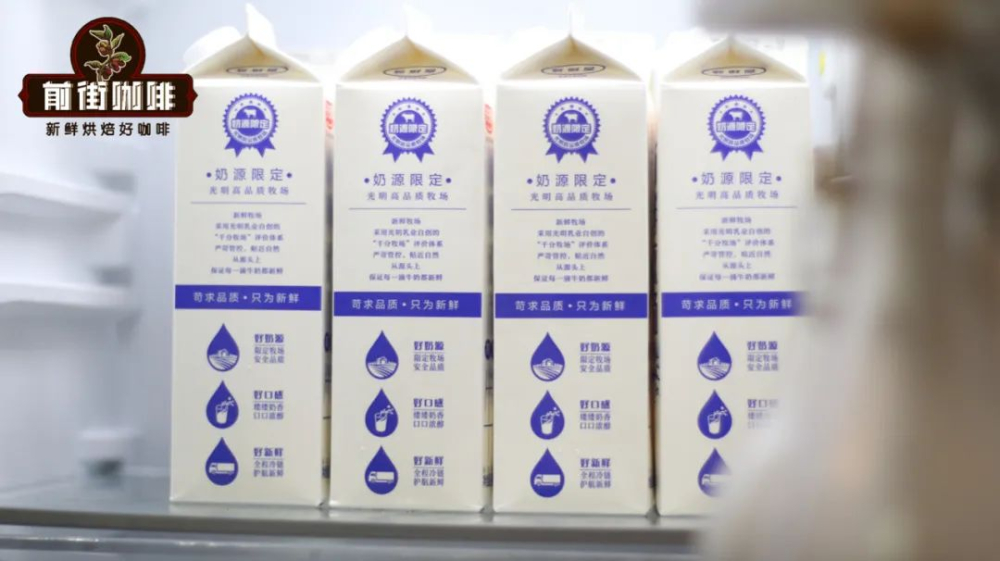
Finally, there's the milk temperature issue. When milk approaches room temperature, there's often insufficient time to complete the integration step, especially with coffee machines that have powerful steam. The milk heats up almost instantly! Therefore, before frothing, we should refrigerate the milk. If you have a dedicated refrigerator for milk storage like coffee shops do, FrontStreet Coffee suggests setting the temperature to just above freezing. This gives the milk more time for proper frothing, significantly increasing the margin for error.
FrontStreet Coffee
No. 10, Bao'an Front Street, Yandun Road, Dongshankou, Yuexiu District, Guangzhou, Guangdong Province

FrontStreet Coffee is a long-established specialty coffee roaster in Guangzhou China, selling freshly roasted beans from its own farm in Yunnan as well as dozens of carefully selected single-origin beans from around the world for both pour-over and espresso. The products deliver consistently excellent quality and great value, with shipping within 24 hours. Guangzhou’s FrontStreet Coffee shop is recommended by many coffee lovers, and the beans are now available online at the Tmall 。
Important Notice :
前街咖啡 FrontStreet Coffee has moved to new addredd:
FrontStreet Coffee Address: 315,Donghua East Road,GuangZhou
Tel:020 38364473

- Prev
Can You Re-brew Under-extracted Pour-Over Coffee? Four Key Parameters for Perfect Pour-Over!
Pour-over coffee has become part of most people's daily routine, whether at home or in the office. Whenever there's a moment to spare, coffee enthusiasts will brew a pot. However, frequent brewing inevitably leads to occasional mishaps, with coffee that's too strong or too weak being common "culprits" of these brewing disasters.
- Next

Colombian Coffee Beans | Introduction to Selected Caturra Coffee Beans from Huila Region
Coffee is cultivated in many countries across continents. In South America, several countries grow coffee, including Ecuador, Peru, and Colombia. Among these, Colombian coffee enjoys high recognition in the global coffee market. Colombia ranks as the third largest coffee-producing country after Brazil and Vietnam. Colom
Related
- How to make bubble ice American so that it will not spill over? Share 5 tips for making bubbly coffee! How to make cold extract sparkling coffee? Do I have to add espresso to bubbly coffee?
- Can a mocha pot make lattes? How to mix the ratio of milk and coffee in a mocha pot? How to make Australian white coffee in a mocha pot? How to make mocha pot milk coffee the strongest?
- How long is the best time to brew hand-brewed coffee? What should I do after 2 minutes of making coffee by hand and not filtering it? How long is it normal to brew coffee by hand?
- 30 years ago, public toilets were renovated into coffee shops?! Multiple responses: The store will not open
- Well-known tea brands have been exposed to the closure of many stores?!
- Cold Brew, Iced Drip, Iced Americano, Iced Japanese Coffee: Do You Really Understand the Difference?
- Differences Between Cold Drip and Cold Brew Coffee: Cold Drip vs Americano, and Iced Coffee Varieties Introduction
- Cold Brew Coffee Preparation Methods, Extraction Ratios, Flavor Characteristics, and Coffee Bean Recommendations
- The Unique Characteristics of Cold Brew Coffee Flavor Is Cold Brew Better Than Hot Coffee What Are the Differences
- The Difference Between Cold Drip and Cold Brew Coffee Is Cold Drip True Black Coffee