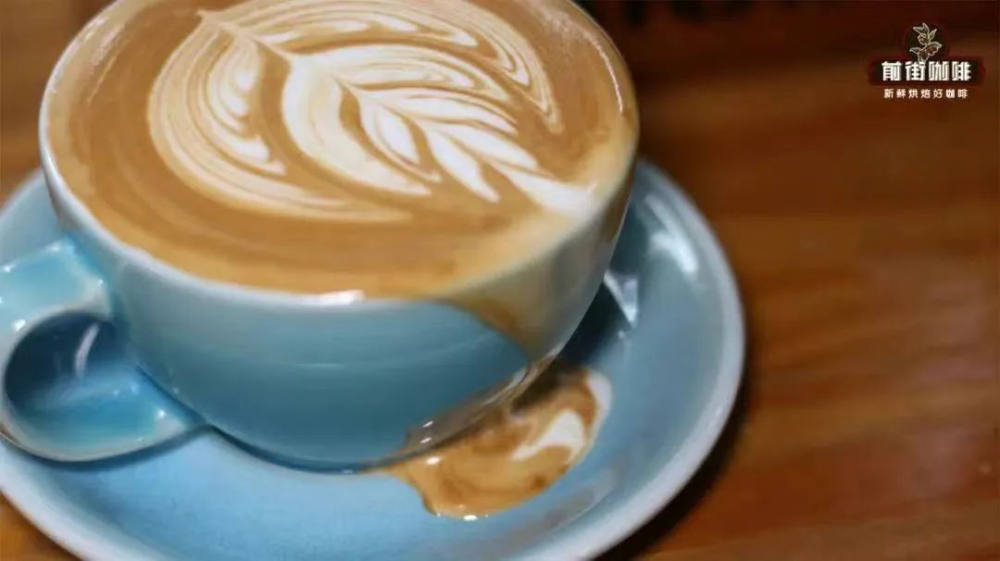
A Beginner-Friendly Guide to Coffee Latte Art That's Easy to Master!
Latte art has attracted many friends to step into the world of coffee from other places, all for the goal of being able to create delicate and exquisite latte art patterns at will someday. So, the question arises: how long does it take to master latte art techniques?
Actually, latte art techniques aren't as complicated as you might imagine. If you're just aiming to create a good-looking pattern, then with good luck, one day is enough! Even with bad luck, it would take at most two to three days~
If, however, you're referring to complex combination patterns, then we need to understand the relevant principles and combine them with practice. I believe you'll soon be able to create the target patterns you want! Next, FrontStreet Coffee will share the principles of latte art, as well as some easily overlooked details, hoping to help everyone get started with latte art more easily! For milk frothing techniques, please refer to "How to Froth Milk."
The Principles of Pattern Creation
The main actions in latte art are divided into two: fusion and pattern creation! The difference in operation between these two lies in the height at which milk foam is poured! When the latte art pitcher spout is at a higher distance from the liquid surface, the poured milk foam will flow directly into the coffee, merging with it. This action is called "fusion."
When you pour milk foam with the pitcher spout nearly touching the liquid surface, then different white stripes will appear on the brown coffee surface depending on the force of your pour. This action is called "pattern creation."
Usually, we need to first blend the coffee and milk to half the cup capacity before starting pattern creation. One reason is to allow better fusion of milk and coffee, and another reason is that after reaching half the cup capacity, it's easier to create patterns.
Fusion Techniques
Fusion isn't just an action that can be completed by swirling milk foam at a high level! If you want the fused liquid surface to not look frustrating like a white shirt stained with spots, then we need to pay attention to the height of fusion.

The conventional fusion technique is: hold the cup with your left hand, hold the pitcher with your right hand, then offset your hands by half a turn for relative circular motion. What we need to pay attention to is controlling the height at about 5-10 centimeters during fusion, combined with slightly stronger up-and-down stirring movements, which will rarely result in messy stripes.
Pattern Creation Techniques
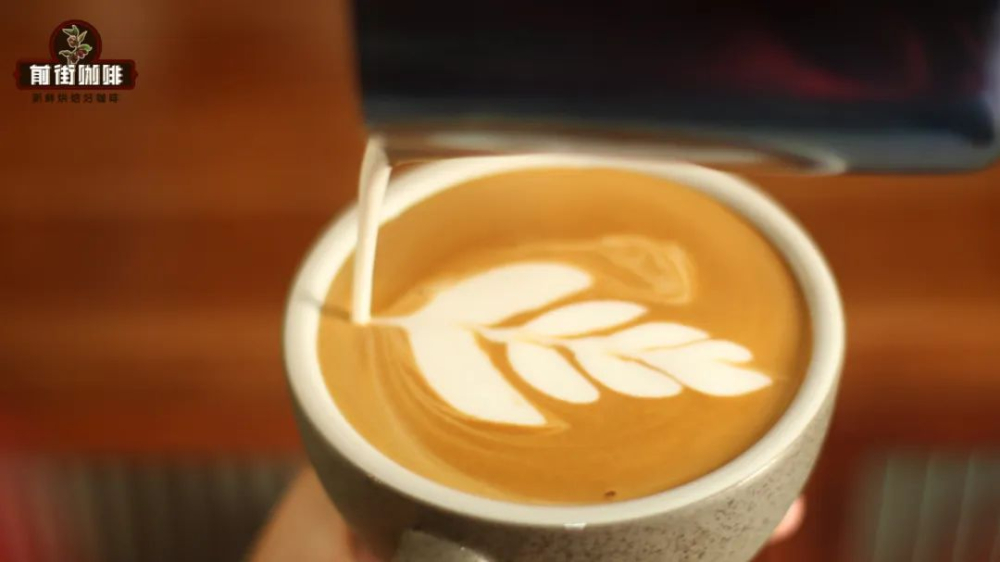
The most crucial part is pattern creation! At this point, the coffee in our cup has reached half its capacity, so now it's time to create patterns! There are four key points in total~
Key point 1: During pattern creation, besides using your right hand to control the milk foam output, your left hand also needs to control the rotation of the coffee cup. This action is generally called "cup return."
The cup return action is quite important. Returning too early will make it difficult for the pattern to form, while returning too late can easily cause the coffee to overflow. Therefore, when creating patterns, the first thing we need to practice is using both hands simultaneously, so that when the right hand outputs milk foam, the left hand can also perform appropriate cup return actions based on the output amount!
Key point 2: The greater the force you use when pouring milk foam, the more milk foam will be injected. Then, the latte art stripes presented with the shaking motion will be somewhat thicker (this also happens when the milk foam is frothed too thick); if you use less force when pouring milk foam, then the injected milk foam combined with shaking can easily present distinctly textured stripes on the liquid surface (with appropriate milk foam thickness, the stripes can be clearer!).
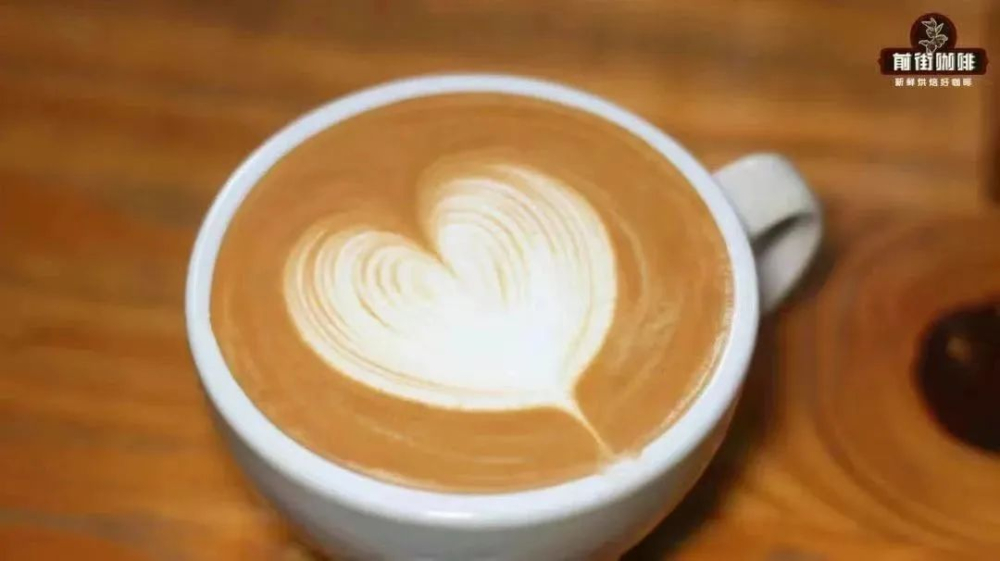
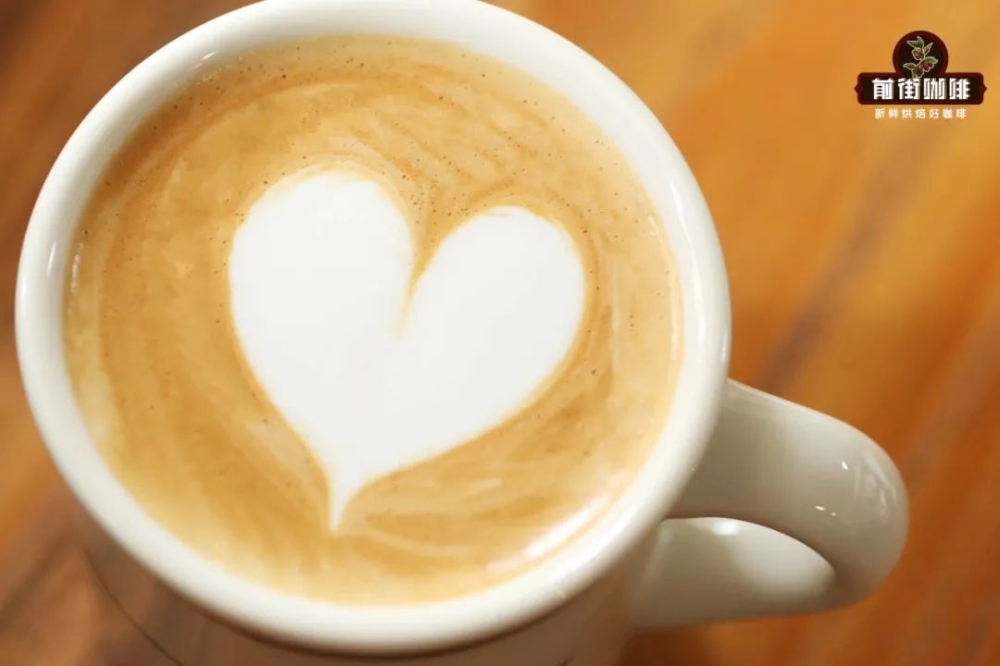
Key point 3: Different patterns have different landing points. Under normal circumstances, there will be some deviation between the position of the latte art pattern you can see and the landing point during pattern creation! For example, the final presentation position of a heart-shaped latte art is in the center of the cup, so when we create the pattern, the landing point needs to move slightly to the right of the center (in the direction of the latte art pitcher), because the movement of cup return and the flow of milk will change its final position!
Key point 4: The finishing touch is extremely important. A good finish is like adding the finishing touch to a masterpiece; a bad finish is like drawing a snake with legs - even if your pattern was perfect before, if you don't control the height well during the finish, it will cause your entire carefully planned pattern to collapse!
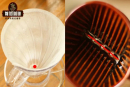
(Poor finishing caused the middle lines to be too thick and made the entire pattern unbalanced left and right) Therefore, we need to control the height of the latte art pitcher well during finishing, not letting the pitcher get too close to the liquid surface, leaving extra "strokes"~ Another point is that the finishing action should start no later than when the cup is nine-tenths full, otherwise it will easily cause the coffee to seep out due to excessive volume!
Latte Art Practice Suggestions
Suggestion 1: When we first start learning latte art, we can directly use milk and coffee to try 1-2 times, first experiencing what it feels like to create latte art with "real ammunition." Then remember this resistance and feeling, as it will be very helpful for the subsequent practice with dish soap and soy sauce. (Wealthy folks can also practice with real milk and real coffee)
Suggestion 2: The main purpose of practice is to train the muscle memory of both hands. First, let's not think about what kind of patterns we want to create, but first train "the posture of holding the cup and pitcher, fusion techniques, cup return skills, and details of pattern creation." Although it may be somewhat boring and tedious, this is the most important part. When you practice for one to two days, you'll be able to master the latte art techniques for basic patterns!
Suggestion 3: Control your practice time. You cannot practice continuously for long periods, as this can easily lead to rigid thinking and fatigue, making it ineffective. Therefore, take a break every twenty minutes to reflect on which details of your recent practice need improvement. This way, you can get started more quickly.
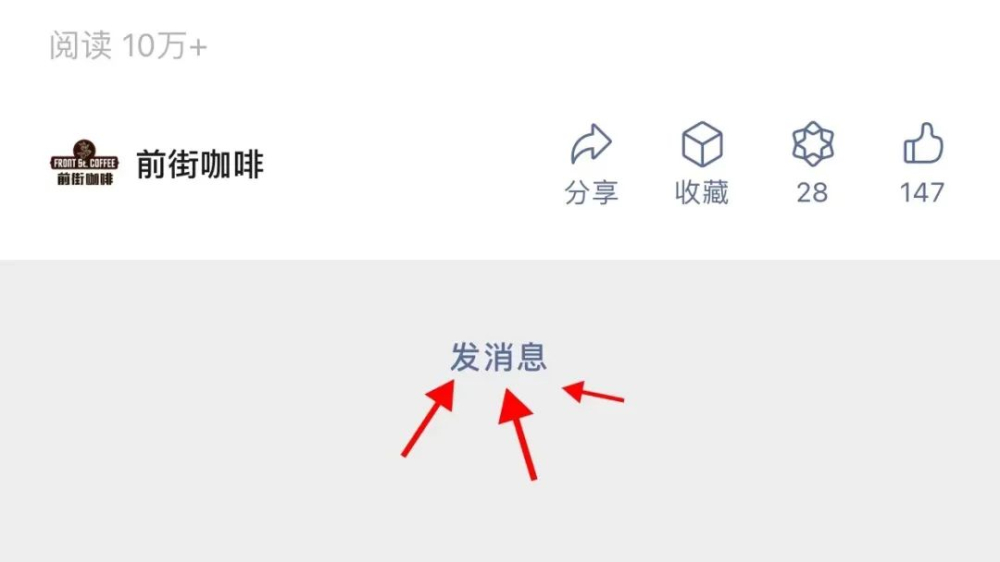
Suggestion 4: If you encounter something that confuses you, you can take photos and then boldly send a private message to FrontStreet Coffee in the backend or at the bottom of the article. FrontStreet Coffee can provide some suggestions~
A Small Detail That's Easy to Overlook
When you've mastered basic patterns (heart, leaf, tulip) and plan to move toward the realm of combination patterns, you can observe the cup you're using. Perhaps many friends' latte art skills have actually reached a peak state (exaggerating), but due to the limitations of the coffee cup, they're unable to fully display their abilities.
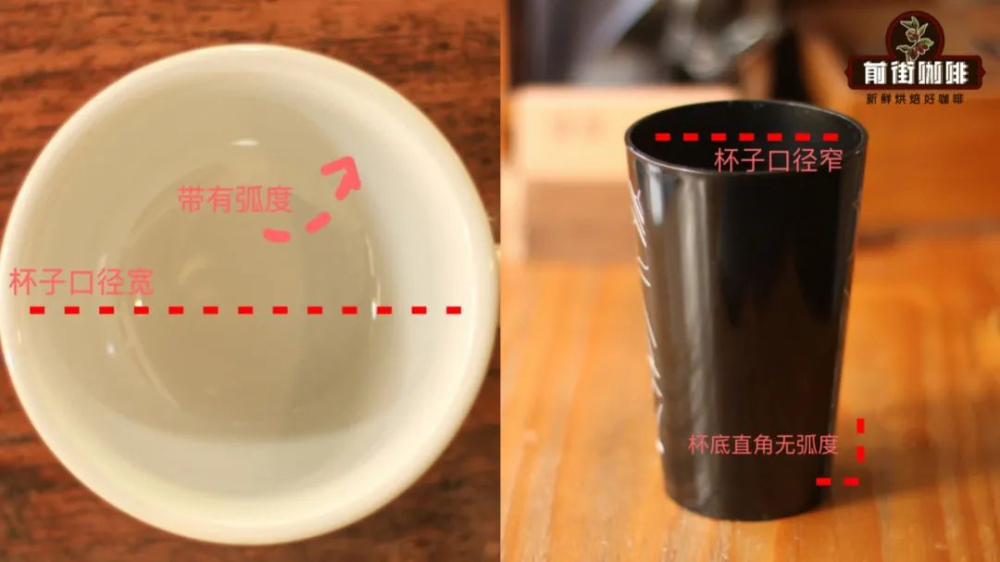
The wider the cup's opening, the larger the area available for pattern creation; the smaller the opening, the smaller the area available for pattern creation. And the more curved the bottom of the cup, the more thoroughly the poured milk and coffee can fuse. Simply put, cups with wide openings and curved bottoms are more suitable for high-difficulty latte art pattern creation~
- END -
FrontStreet Coffee (FrontStreet Coffee)
10 Bao'an Qianjie, Yandun Road, Dongshankou, Yuexiu District, Guangzhou, Guangdong Province

FrontStreet Coffee is a long-established specialty coffee roaster in Guangzhou China, selling freshly roasted beans from its own farm in Yunnan as well as dozens of carefully selected single-origin beans from around the world for both pour-over and espresso. The products deliver consistently excellent quality and great value, with shipping within 24 hours. Guangzhou’s FrontStreet Coffee shop is recommended by many coffee lovers, and the beans are now available online at the Tmall 。
Important Notice :
前街咖啡 FrontStreet Coffee has moved to new addredd:
FrontStreet Coffee Address: 315,Donghua East Road,GuangZhou
Tel:020 38364473

- Prev
What's the Difference Between Milk Coffee Made with Bobo Purified Milk and Regular Milk?
Milk-based coffee beverages have long reigned as the top-selling products in most coffee establishments, capturing the hearts of countless coffee lovers. In response, innovators have crafted an array of distinctive milk alternatives designed to complement coffee perfectly, including plant-based milks derived from whole grains, luscious coconut cream pressed from coconut flesh, and Bobo—a concentrated milk product boasting a richness that surpasses traditional dairy
- Next
What Are the Characteristics of Coffee Brewed with a Flat-Bottom Dripper?
Whether it's a cone-shaped dripper or a fan-shaped dripper, the bottom is either a hollow point or has bottom grooves! This naturally raises the question: "Why must the bottom of a dripper be a point or lines? Can't it be a flat-bottomed 'surface'?" As it happens, Kalita Company thought exactly the same. Recently...
Related
- How to make bubble ice American so that it will not spill over? Share 5 tips for making bubbly coffee! How to make cold extract sparkling coffee? Do I have to add espresso to bubbly coffee?
- Can a mocha pot make lattes? How to mix the ratio of milk and coffee in a mocha pot? How to make Australian white coffee in a mocha pot? How to make mocha pot milk coffee the strongest?
- How long is the best time to brew hand-brewed coffee? What should I do after 2 minutes of making coffee by hand and not filtering it? How long is it normal to brew coffee by hand?
- 30 years ago, public toilets were renovated into coffee shops?! Multiple responses: The store will not open
- Well-known tea brands have been exposed to the closure of many stores?!
- Cold Brew, Iced Drip, Iced Americano, Iced Japanese Coffee: Do You Really Understand the Difference?
- Differences Between Cold Drip and Cold Brew Coffee: Cold Drip vs Americano, and Iced Coffee Varieties Introduction
- Cold Brew Coffee Preparation Methods, Extraction Ratios, Flavor Characteristics, and Coffee Bean Recommendations
- The Unique Characteristics of Cold Brew Coffee Flavor Is Cold Brew Better Than Hot Coffee What Are the Differences
- The Difference Between Cold Drip and Cold Brew Coffee Is Cold Drip True Black Coffee