Coffee Basics: Authentic Cappuccino Brewing Method - Cappuccino Golden Circle

As everyone becomes more fascinated with coffee latte art, many baristas showcase their latte art skills when serving beverages, whether it's latte, flat white, or even cappuccino. This has left many people wondering: "So is there really a difference between cappuccino and latte?"
The Origin of Cappuccino
Cappuccino is a phonetic translation of "Cappuccino," a term derived from the Italian word "Cappuccio," meaning hood. However, as a coffee, it is related to a local religious order called the Capuchin friars.
When this religious order came to Italy to preach, they wore dark brown robes and hoods folded into small pointed caps. At that time, Italians had an ingenious idea - they frothed milk into a dense, stable foam and poured it into espresso. The coffee in the cup presented a circle of brown color similar to the robes, and then they used a spoon to shape the foam on the coffee surface into a pointed cap shape. Since the pronunciation of Capuchin and Cappucci were similar, Italians incorporated the "n" into Cappuccio without changing the rhythm of pronunciation, and finally named this milk coffee "Cappuccino."
Why Does Cappuccino Need a "Coffee Golden Ring"?
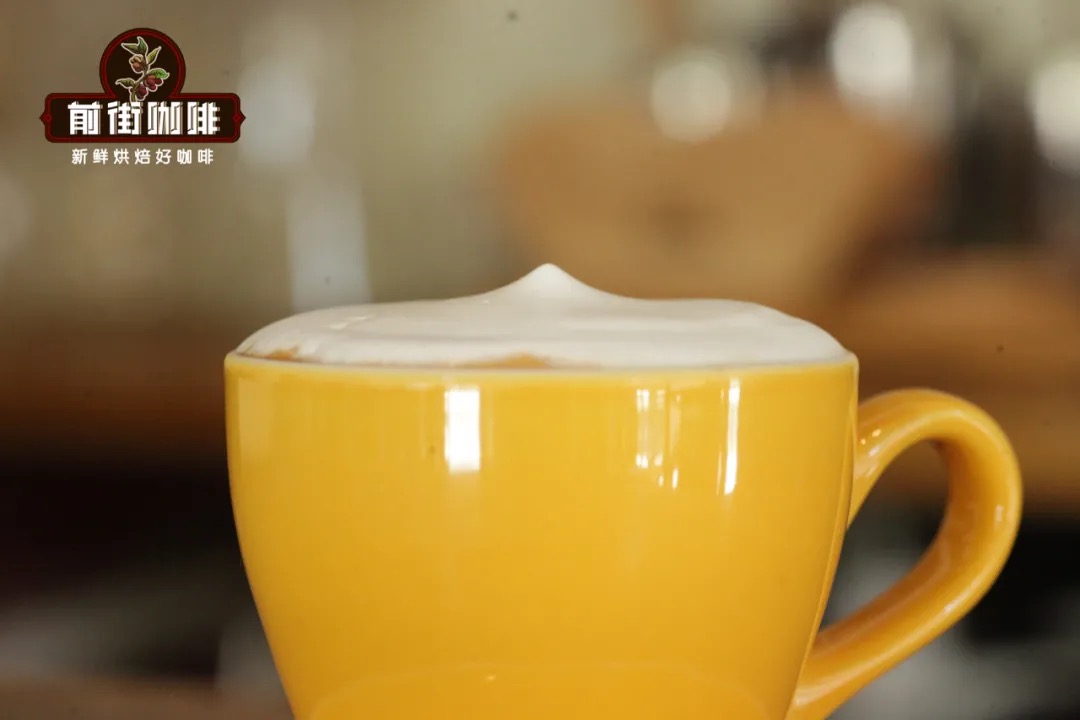
With the emergence of cappuccino, many Italians gradually began to accept milk coffee. Since the small foam cap required shaping, which increased preparation time, people gradually stopped making the "small pointed cap" on cappuccino. However, tradition couldn't be abandoned, so cappuccino still retained a circle of brown coffee while allowing the dense foam to rise above the cup rim, presenting a "hat" state to commemorate the missionaries.

Thus, the tradition of having a "coffee golden ring" in cappuccino emerged. Everyone knows that when coffee mixes with milk, the brown coffee turns light brown. To preserve the "coffee golden ring," it's necessary to ensure that milk doesn't disperse the coffee oils. Therefore, when frothing the milk, it needs to be denser and thicker, allowing the foam to form a protective layer between the milk and the coffee oils.
Why Isn't Latte Art Made on Cappuccino?
The foam thickness for making coffee latte art is 1cm. Foam of this thickness has strong fluidity, allowing it to blend evenly with espresso and create latte art patterns. However, making cappuccino requires not dispersing the coffee oils to preserve the "coffee golden ring," which means the espresso cannot blend evenly with milk.

At the same time, to ensure the foam doesn't collapse when rising above the cup rim and has sufficient surface tension to remain stable at the cup edge, the foam thickness needs to be frothed to 1.5cm. Foam of this thickness has poor fluidity and cannot be used to create latte art patterns.
How Should a Proper Cappuccino Be Made?
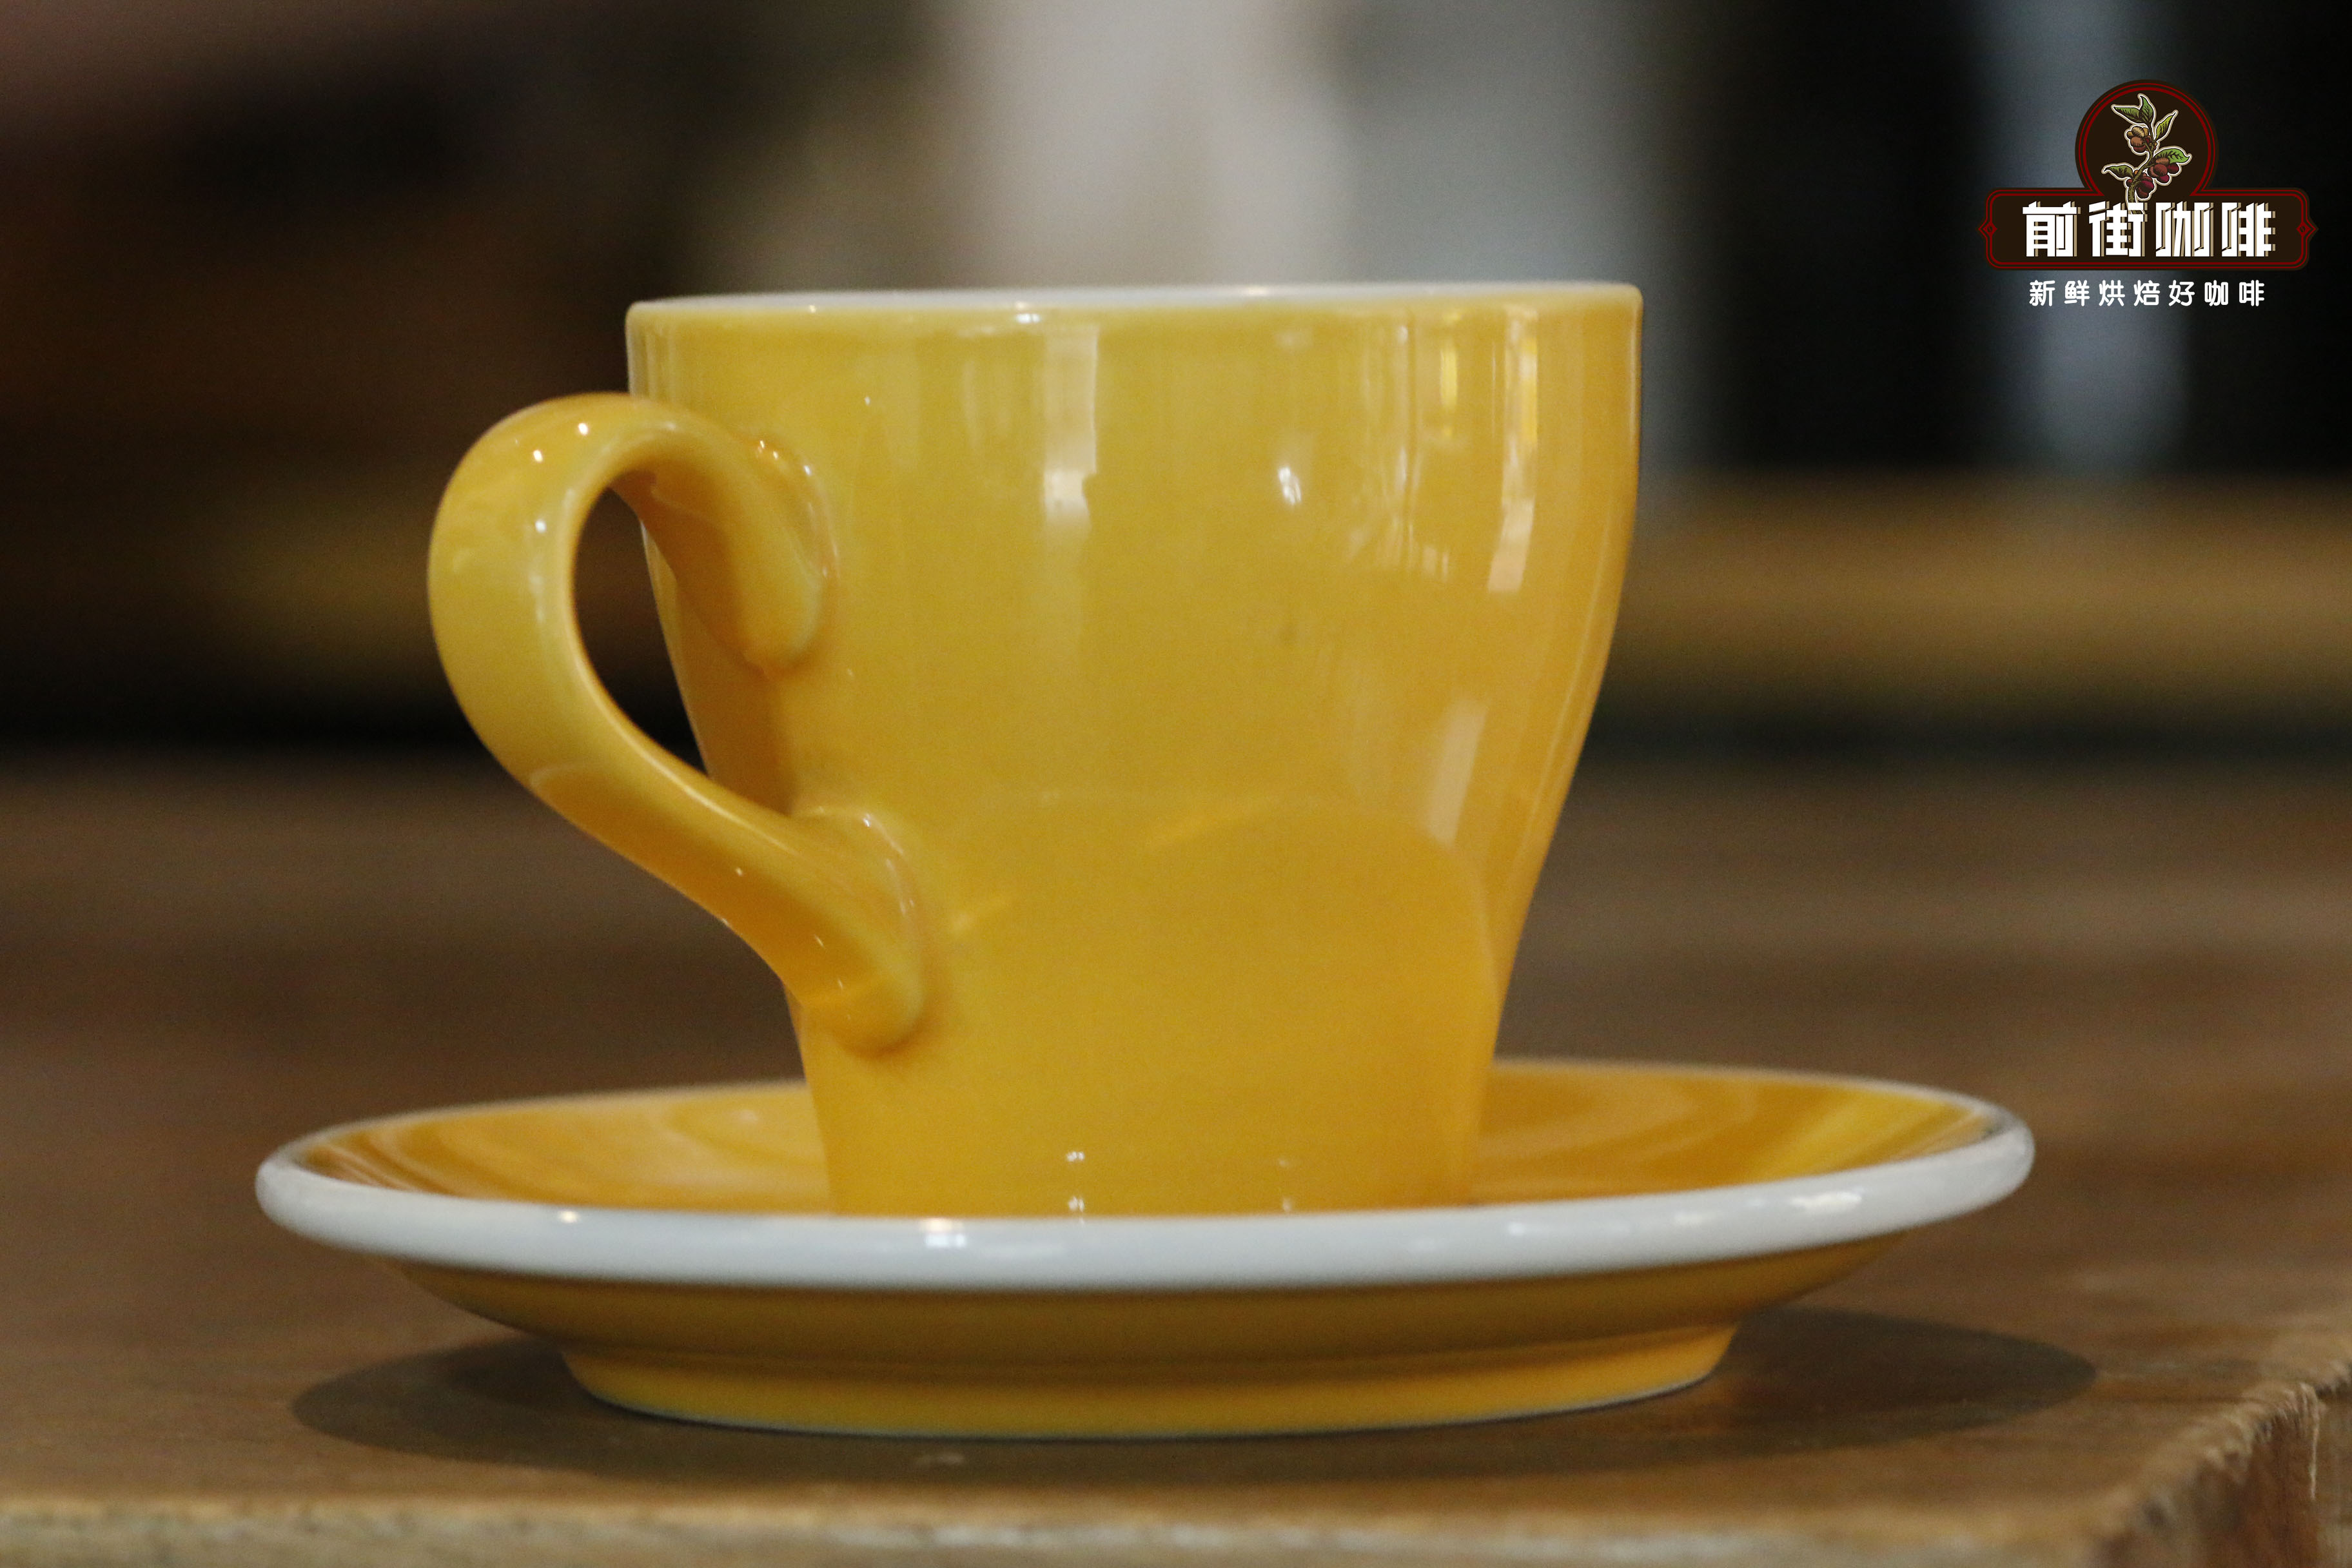
Coffee Cup Selection
FrontStreet Coffee uses 180ml tulip coffee cups when making cappuccino. Compared to round-bottomed coffee cups, the tall, narrow-bottomed, wide-top cylindrical cups better highlight the "hat" shape of cappuccino.
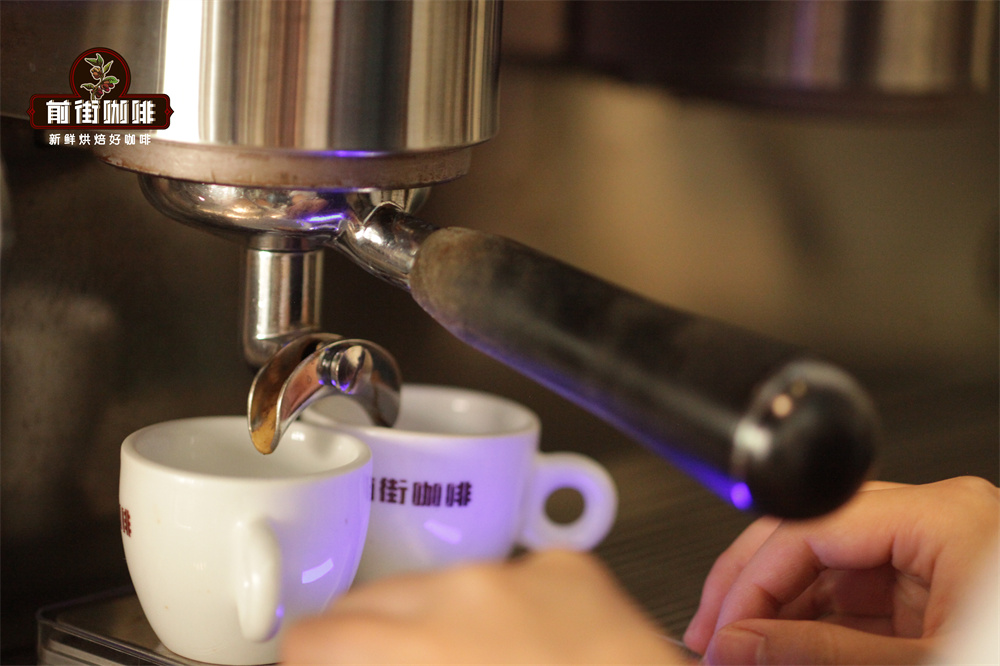
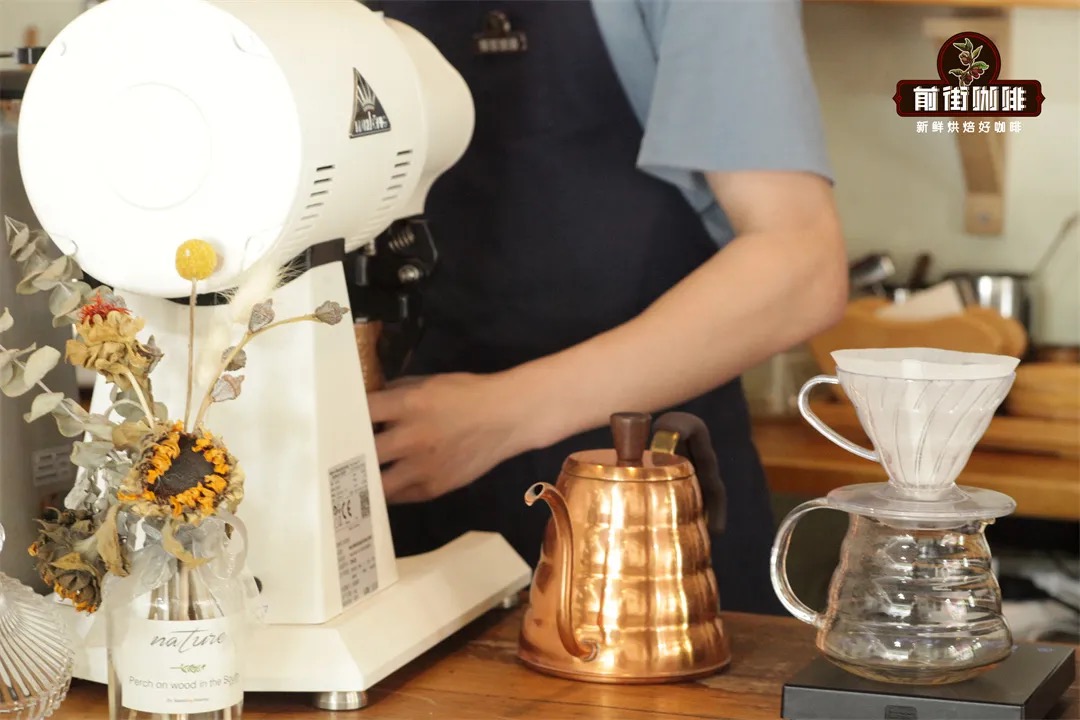
Espresso Extraction
FrontStreet Coffee uses a blend of Sherry barrel-aged and sun-dried Yirgacheffe coffee beans called "Sunflower Warm Sunshine" for their espresso beverages. To make a single portion of cappuccino, the extraction recipe is 20g of coffee grounds to extract 35g of coffee liquid, divided into two portions, with an extraction time of 27 seconds. (You can also make a single espresso directly; FrontStreet Coffee's extraction parameters are 12g of coffee grounds to extract 30g of coffee liquid, with an extraction time of 23 seconds.)
Using Chilled Fresh Milk
Fresh milk better preserves the proteins and milk fat. Protein is key to forming foam, while milk fat further stabilizes the foam, slowing down collapse rate, and also adds a rich texture to the coffee.
Foam Frothing
Use a small milk pitcher and pour in 150ml of chilled fresh milk. Before the steam wand enters the pitcher, purge it to release condensed steam water from the steam holes. Place the steam wand 1cm below the milk surface and turn on the steam switch. When the steam contacts the milk surface, it will make a hissing sound. This step is called aeration, which is the first step in forming foam.
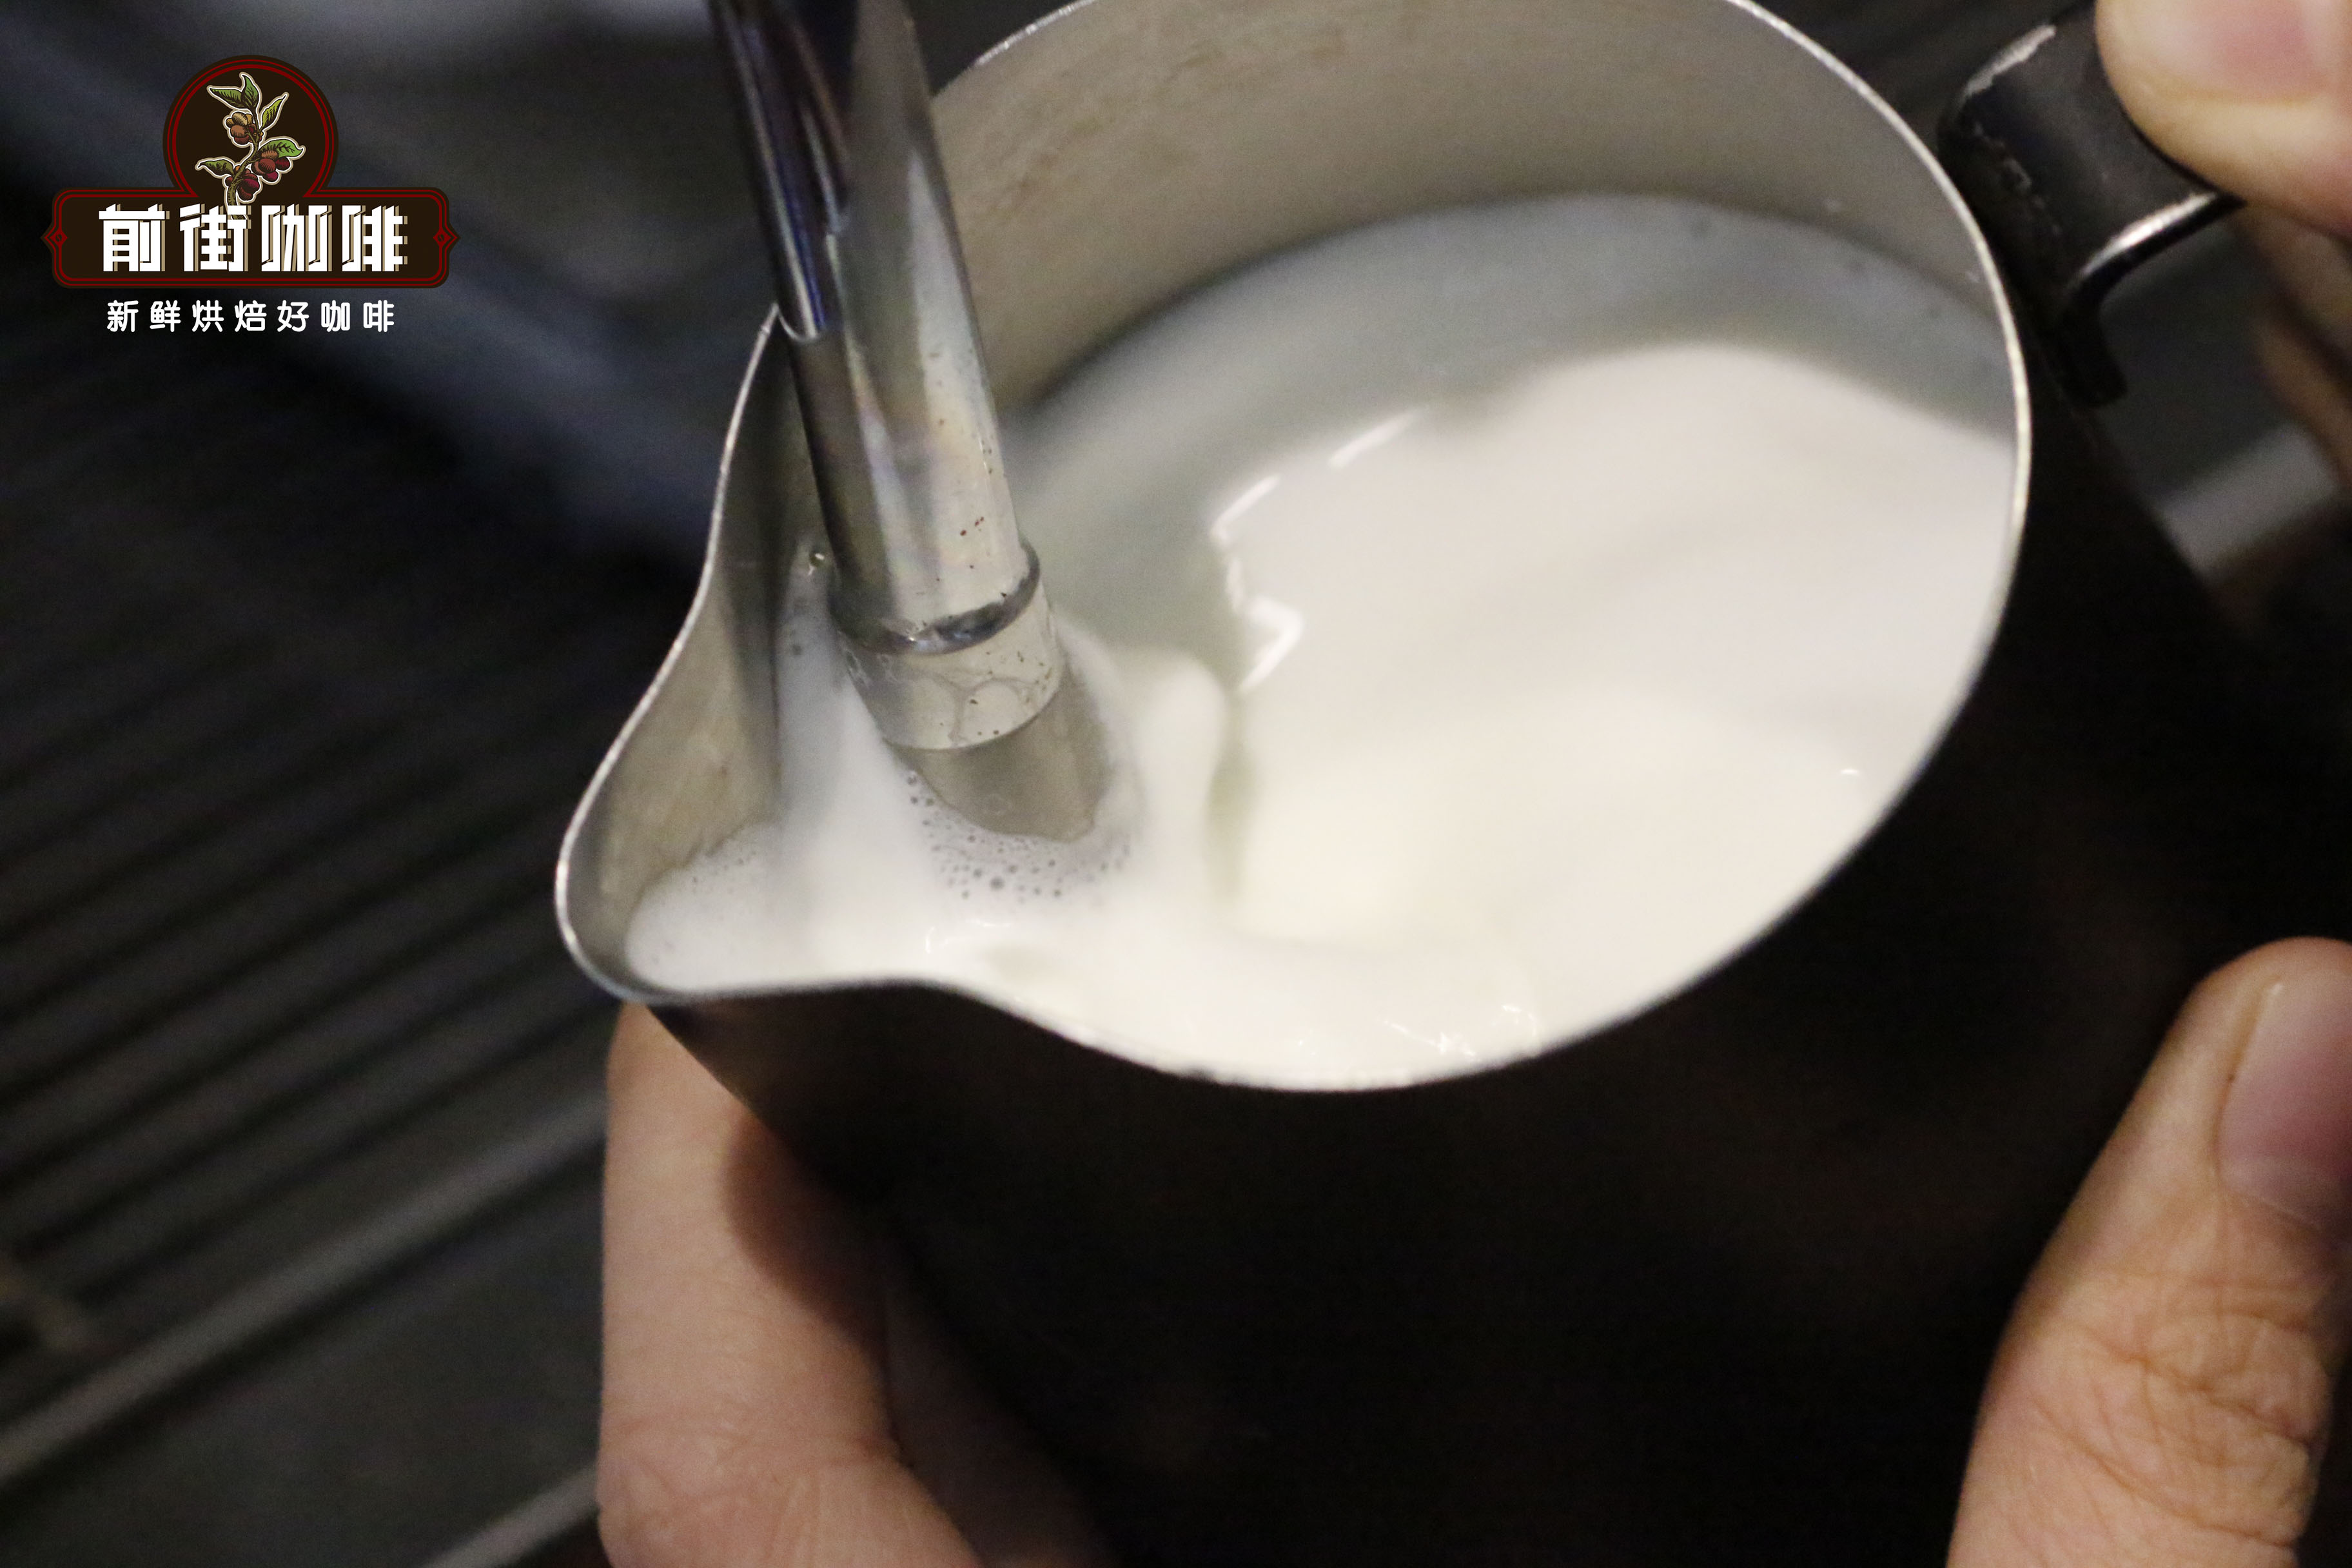
The longer the aeration time, the thicker the foam! For cappuccino, the foam thickness needs to be 1.5cm, so when frothing, stop aeration after hearing 6-7 hissing sounds, and adjust the pitcher to a 45-degree angle to create a vortex that sweeps away large bubbles (at this point, the hissing sound stops). The milk is ready when heated to about 55 degrees Celsius.
Shake the Pitcher Before Pouring to Prevent Foam and Milk Separation
After stopping the frothing process, foam and milk will begin to separate. We need to find a pivot point on the table surface, then rotate the wrist to shake the pitcher clockwise at a consistent speed, keeping the milk and foam in a blended state before pouring.
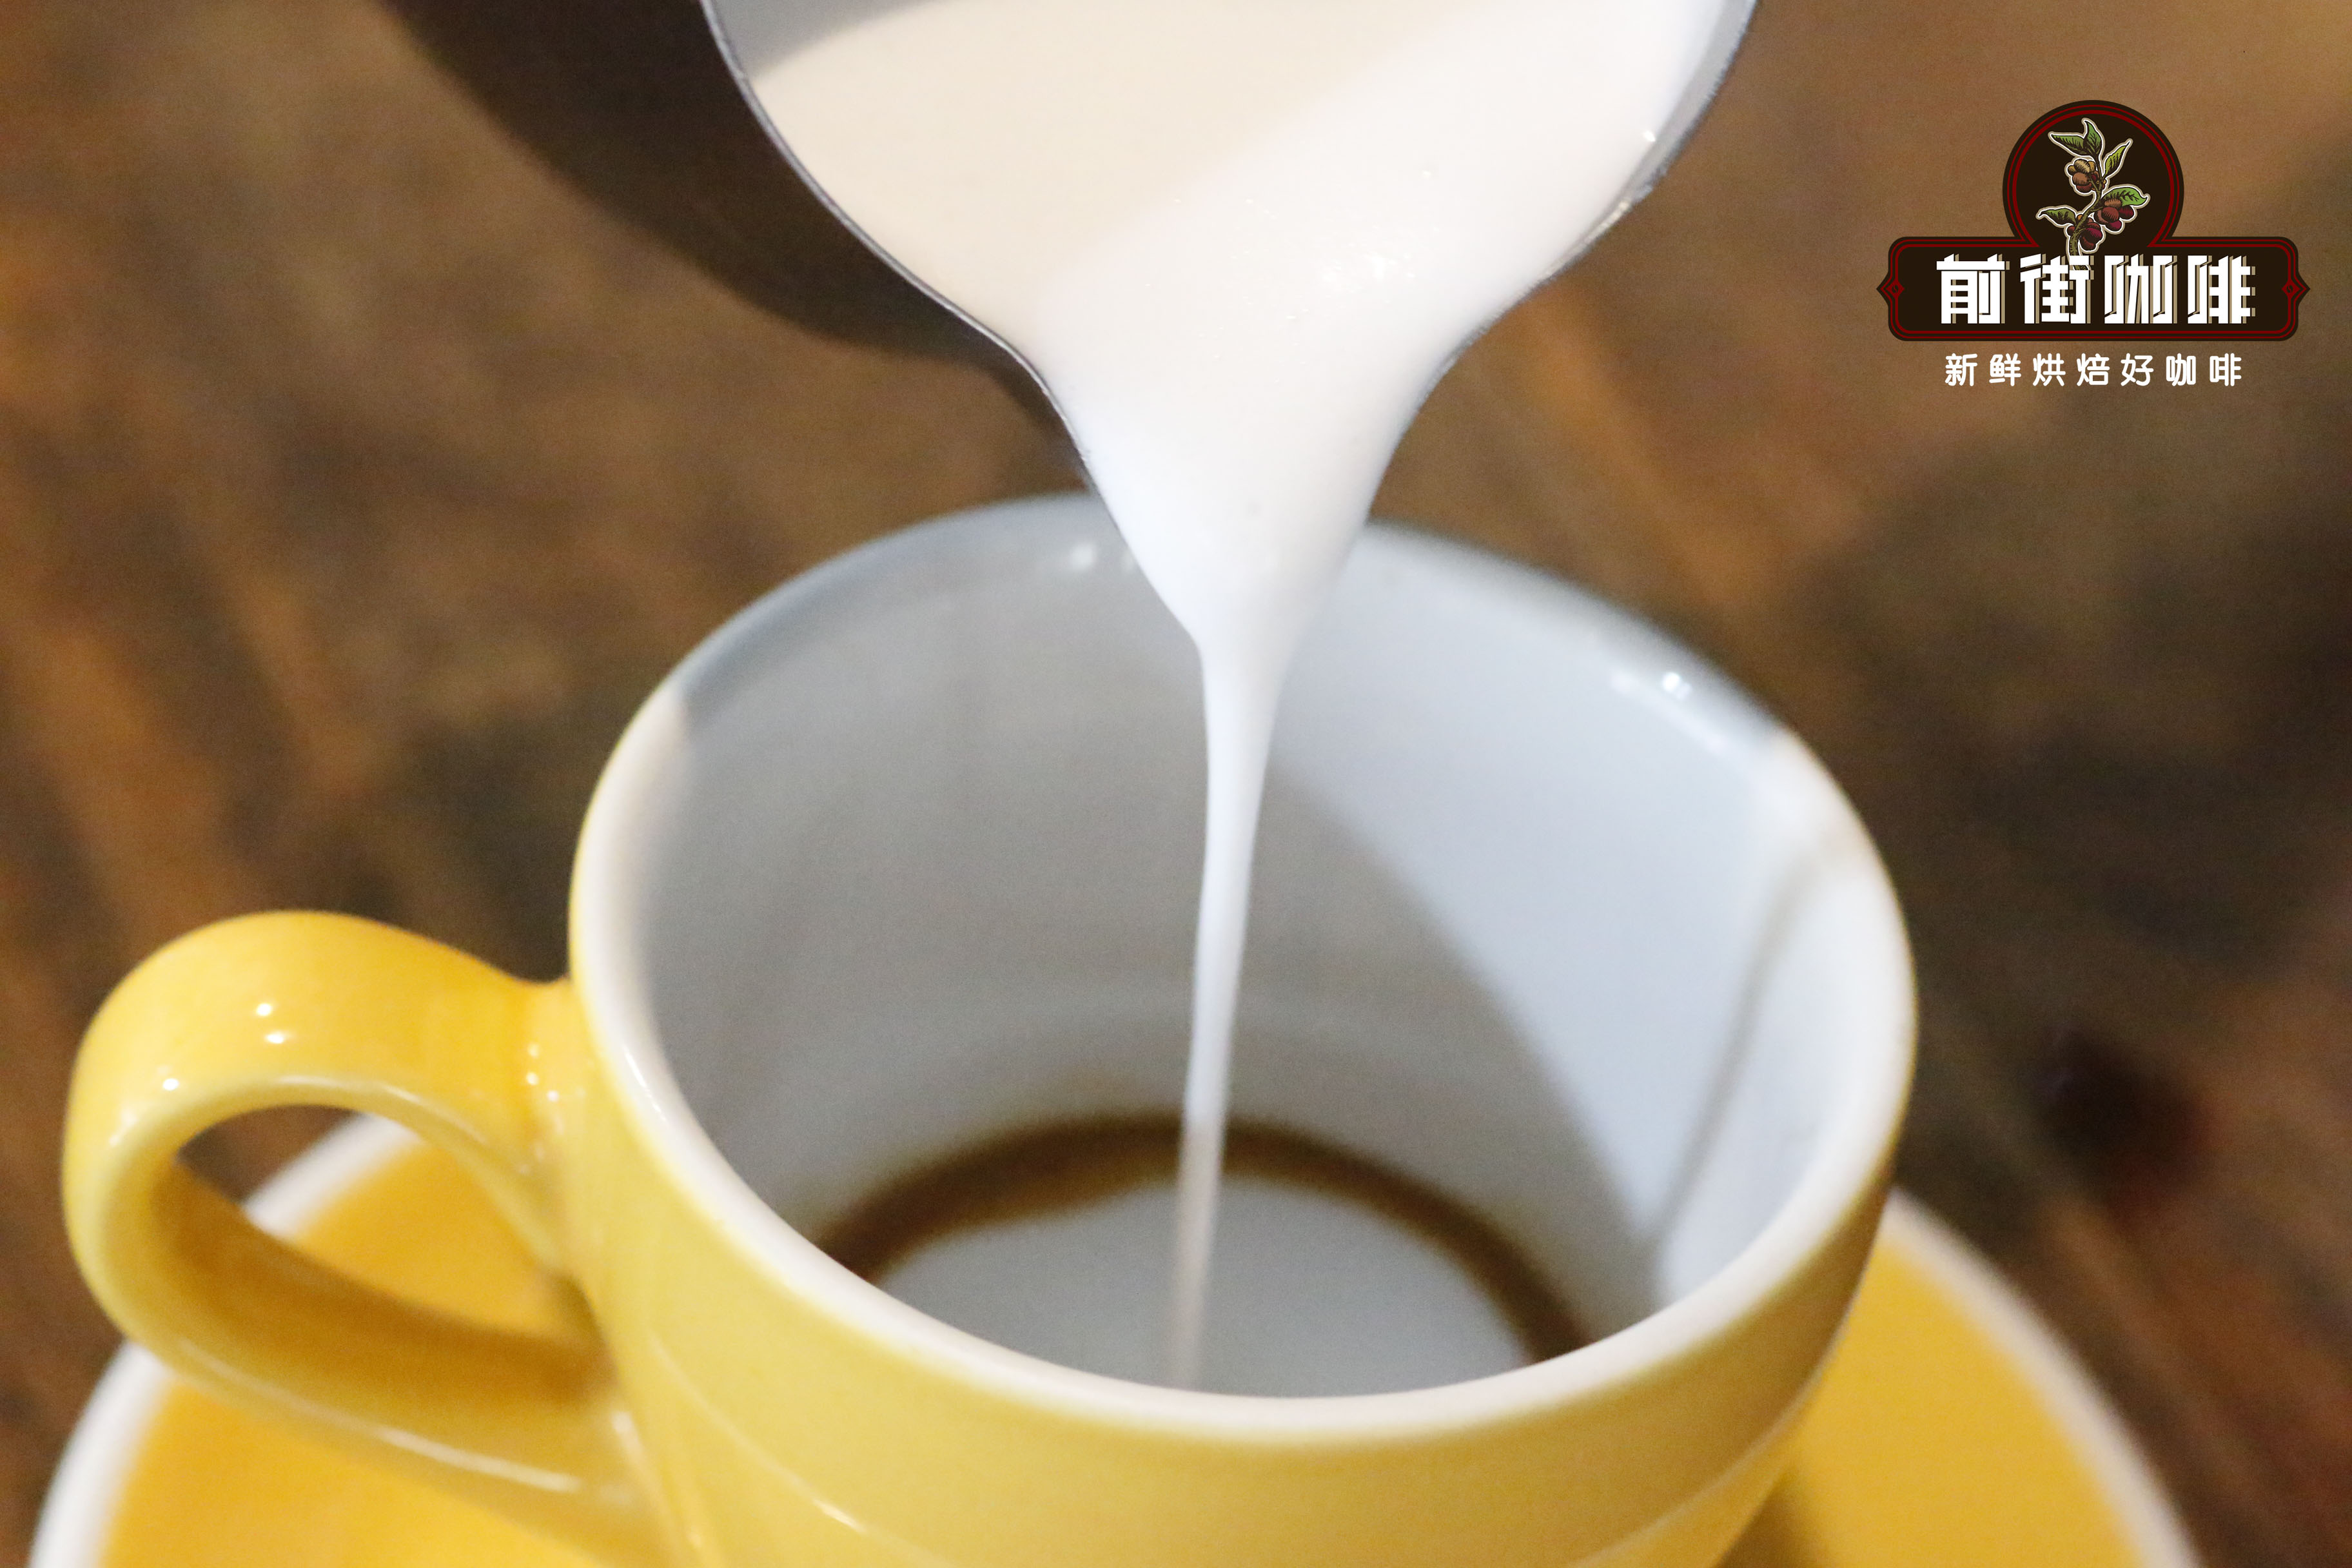
Pouring the Foam into Espresso
As FrontStreet Coffee mentioned above, when pouring milk, we cannot disperse the espresso oils. If we pour milk directly, the coffee oils will definitely disperse. Therefore, we need to pour the foam first, creating a protective layer between the milk and the oils before pouring the milk. However, milk is heavier than foam, so what's poured first will definitely be milk... How can we ensure the foam is poured first?
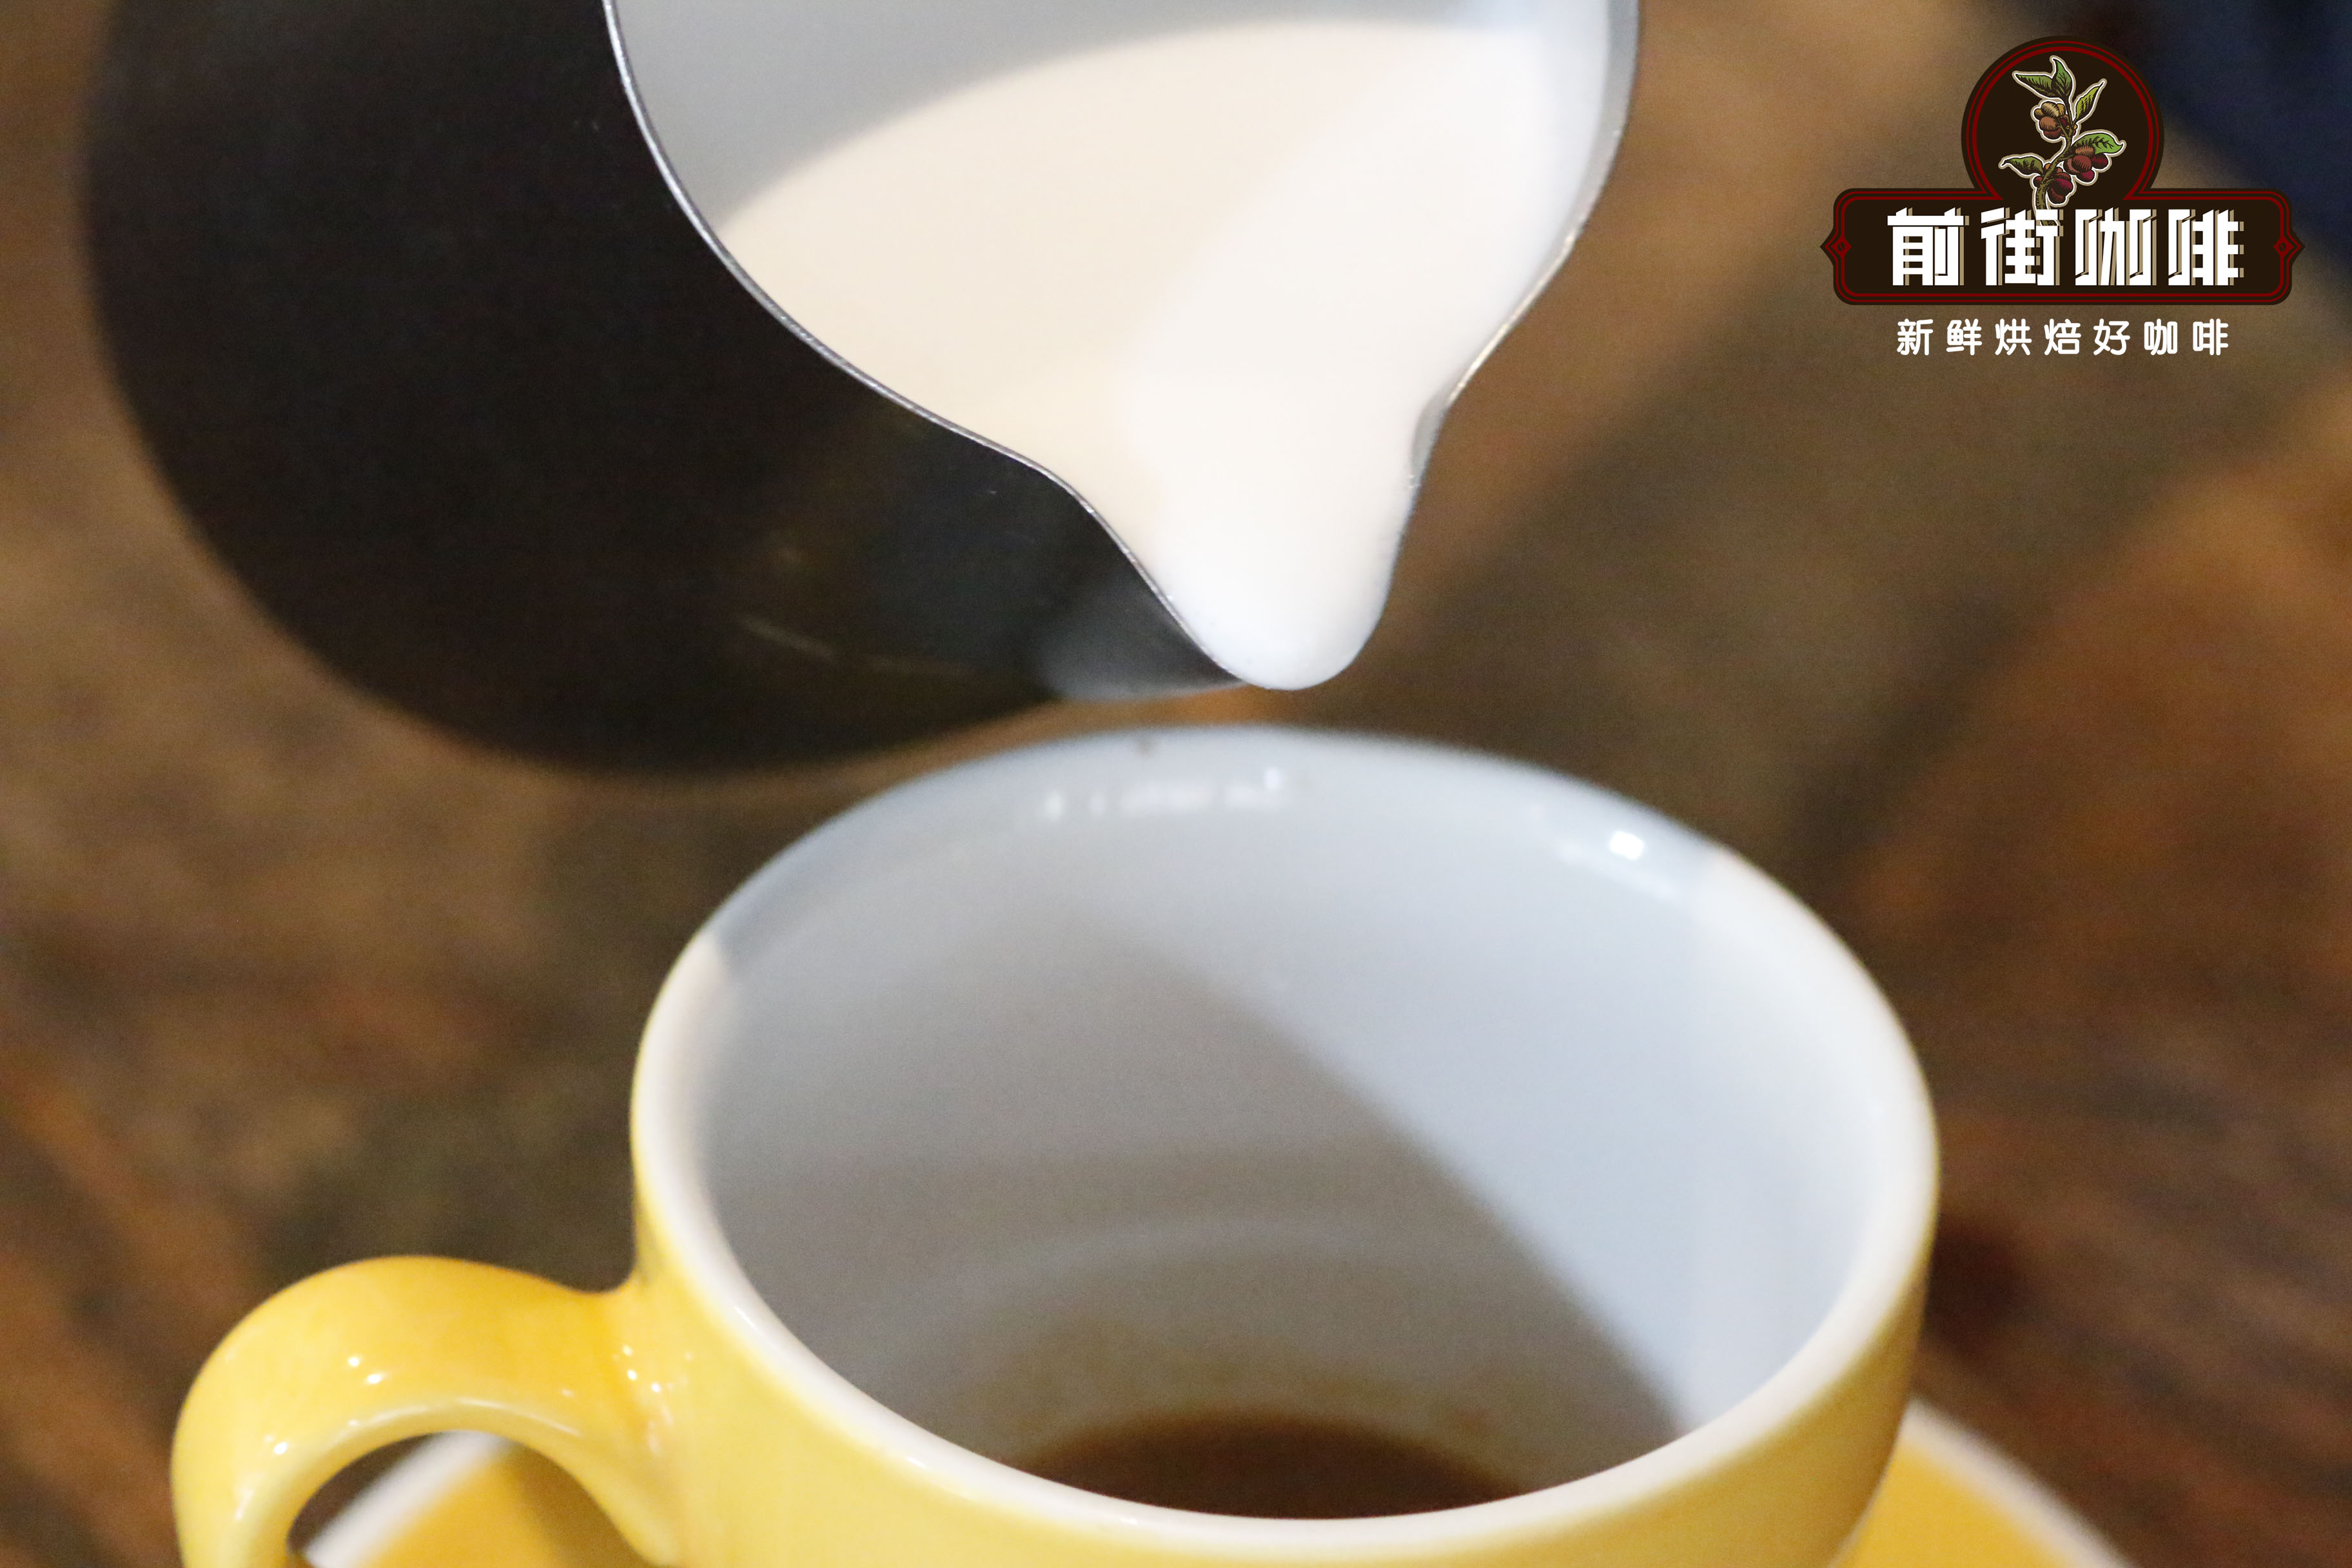
(Key point) Align the pitcher spout with the center of the espresso surface, then tilt the pitcher slightly to a near-pouring state but don't pour yet - pause for a moment!!! Let the foam gather at the pitcher spout before slowly pouring into the center. When pouring the foam, there's no need to swirl for blending or shake your wrist - just maintain a stable posture and pour the foam directly into the center.
FrontStreet Coffee is a long-established specialty coffee roaster in Guangzhou China, selling freshly roasted beans from its own farm in Yunnan as well as dozens of carefully selected single-origin beans from around the world for both pour-over and espresso. The products deliver consistently excellent quality and great value, with shipping within 24 hours. Guangzhou’s FrontStreet Coffee shop is recommended by many coffee lovers, and the beans are now available online at the Tmall 。
Important Notice :
前街咖啡 FrontStreet Coffee has moved to new addredd:
FrontStreet Coffee Address: 315,Donghua East Road,GuangZhou
Tel:020 38364473

- Prev

What Coffee Beans Make the Best Iced Latte? A Step-by-Step Guide
Iced latte may seem simple - just add ice, pour milk, then coffee - but creating a truly delicious iced latte requires careful understanding and technique. First point: Selecting suitable ingredients. With its apparent simplicity, the iced latte has become an essential item on nearly every coffee shop's menu
- Next
Beginner's Coffee Guide: Key Points for Pour-Over Coffee Novices & Recommended Filter Drippers for Beginners
Pour-over coffee was originally created to make coffee preparation simpler. With changing times and improved quality of life, people increasingly enjoy the process of making pour-over coffee while pursuing deeper research and higher standards. This continuous innovation and pursuit has led to many misconceptions that trap many beginners. / Misconception 1: Coffee brewing techniques For brewing
Related
- How to make bubble ice American so that it will not spill over? Share 5 tips for making bubbly coffee! How to make cold extract sparkling coffee? Do I have to add espresso to bubbly coffee?
- Can a mocha pot make lattes? How to mix the ratio of milk and coffee in a mocha pot? How to make Australian white coffee in a mocha pot? How to make mocha pot milk coffee the strongest?
- How long is the best time to brew hand-brewed coffee? What should I do after 2 minutes of making coffee by hand and not filtering it? How long is it normal to brew coffee by hand?
- 30 years ago, public toilets were renovated into coffee shops?! Multiple responses: The store will not open
- Well-known tea brands have been exposed to the closure of many stores?!
- Cold Brew, Iced Drip, Iced Americano, Iced Japanese Coffee: Do You Really Understand the Difference?
- Differences Between Cold Drip and Cold Brew Coffee: Cold Drip vs Americano, and Iced Coffee Varieties Introduction
- Cold Brew Coffee Preparation Methods, Extraction Ratios, Flavor Characteristics, and Coffee Bean Recommendations
- The Unique Characteristics of Cold Brew Coffee Flavor Is Cold Brew Better Than Hot Coffee What Are the Differences
- The Difference Between Cold Drip and Cold Brew Coffee Is Cold Drip True Black Coffee