What is Milk Foam: The Principles and Methods of Milk Frothing and Factors Affecting It
Professional coffee knowledge exchange. For more coffee bean information, please follow Coffee Workshop (WeChat official account: cafe_style).
Introduction
Many coffee enthusiasts who venture into espresso have a desire to create beautiful latte art. The prerequisite for creating elegant patterns is the ability to produce fine, dense milk foam. Of course, fine, dense milk foam isn't just for aesthetics—it also enhances the texture of a milk-based coffee drink. In this issue, FrontStreet Coffee will teach you how to froth milk!
Milk Frothing Methods
There are many ways to froth milk, but they generally fall into two main categories: one is simultaneous frothing and texturing, where the milk frothing and texturing stages are combined; the other separates the frothing and texturing stages, meaning you first froth the milk and then texture the foam. For better explanation, this guide will share the separate-stage method to help you better understand the process.
Preparing for Milk Frothing
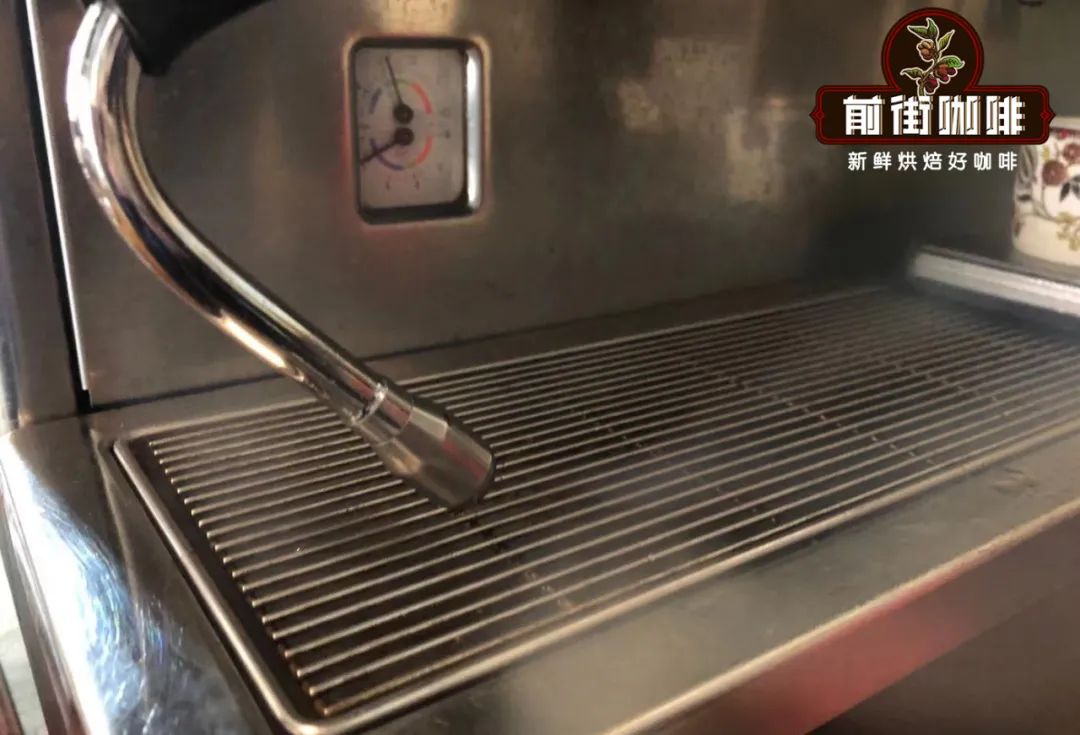
First, you need a steam wand—most semi-automatic espresso machines come equipped with one. Next, you need a container for the milk, such as a milk pitcher or latte art pitcher (professional tools will make the process twice as effective).
Finally, there's the milk selection. Whether you use room temperature or cold milk, whole or skim milk, all can be frothed. However, if you want better texture, flavor, and more stable, long-lasting foam, FrontStreet Coffee still recommends using cold, refrigerated whole fresh milk.
The Principle of Milk Frothing
When you turn on the steam wand, you'll notice it has 4 steam holes (different brands and models may vary—some have single holes, 2 holes, or 3 holes). If we partially submerge the wand in the milk's surface and turn it on, air enters to froth the milk; if fully submerged in the milk, it won't froth—it will only heat the milk through hot steam!

Milk Frothing Demonstration
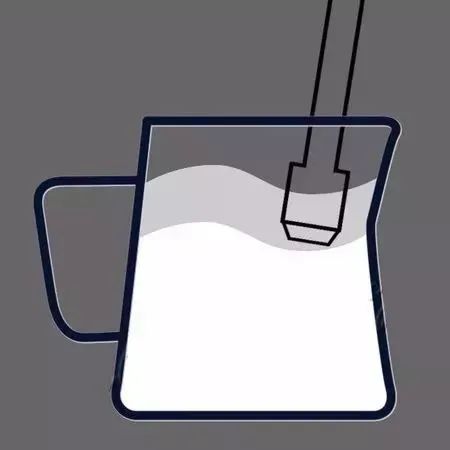
1. Optimal milk volume for frothing: Frothing milk requires a reasonable volume. FrontStreet Coffee recommends using 40-60% of the pitcher's total capacity. Too little or too much milk will test your frothing skills. Of course, besides this factor, you also need to consider how much milk you'll actually use for one cup of coffee to avoid excessive waste. For the 550ML pitcher used by FrontStreet Coffee, we pour in 250ML of milk (just reaching the bottom of the pitcher's spout).
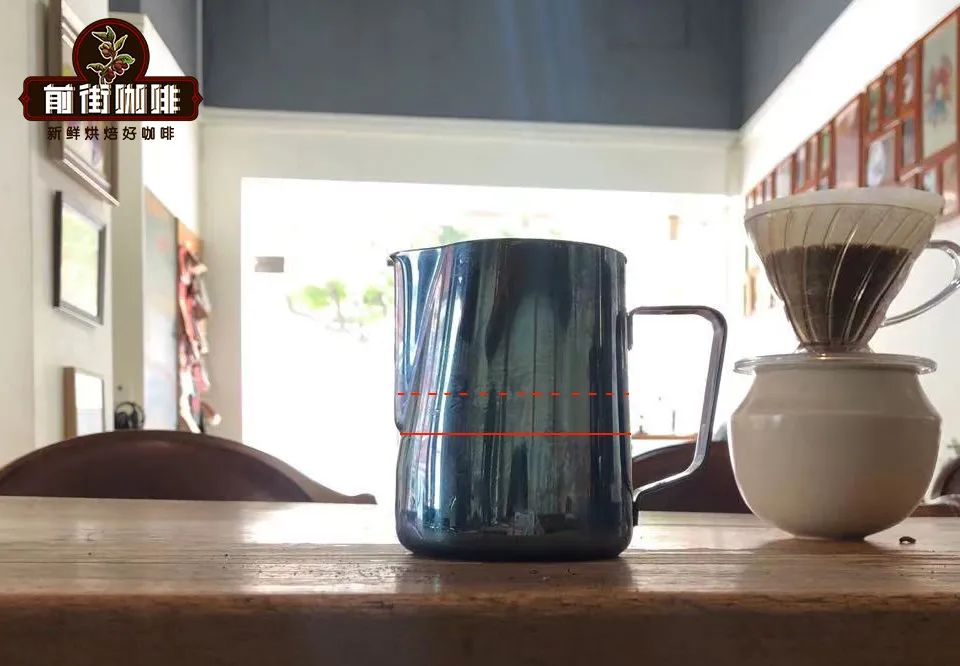
(Solid line shows milk level, dashed line shows volume after frothing)
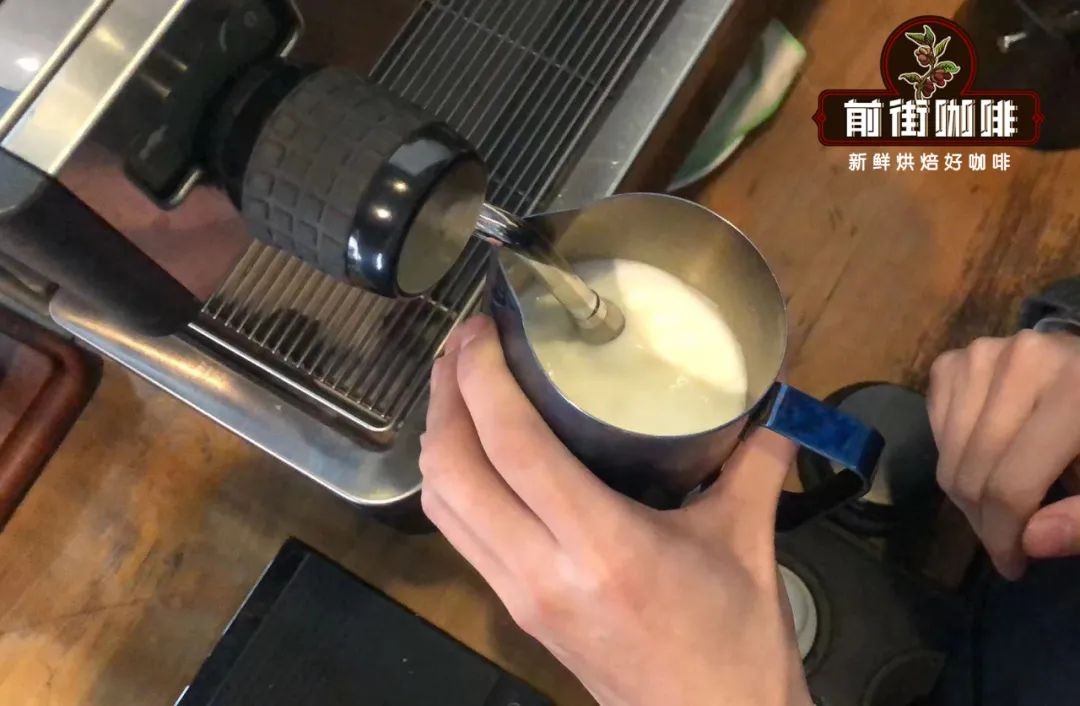
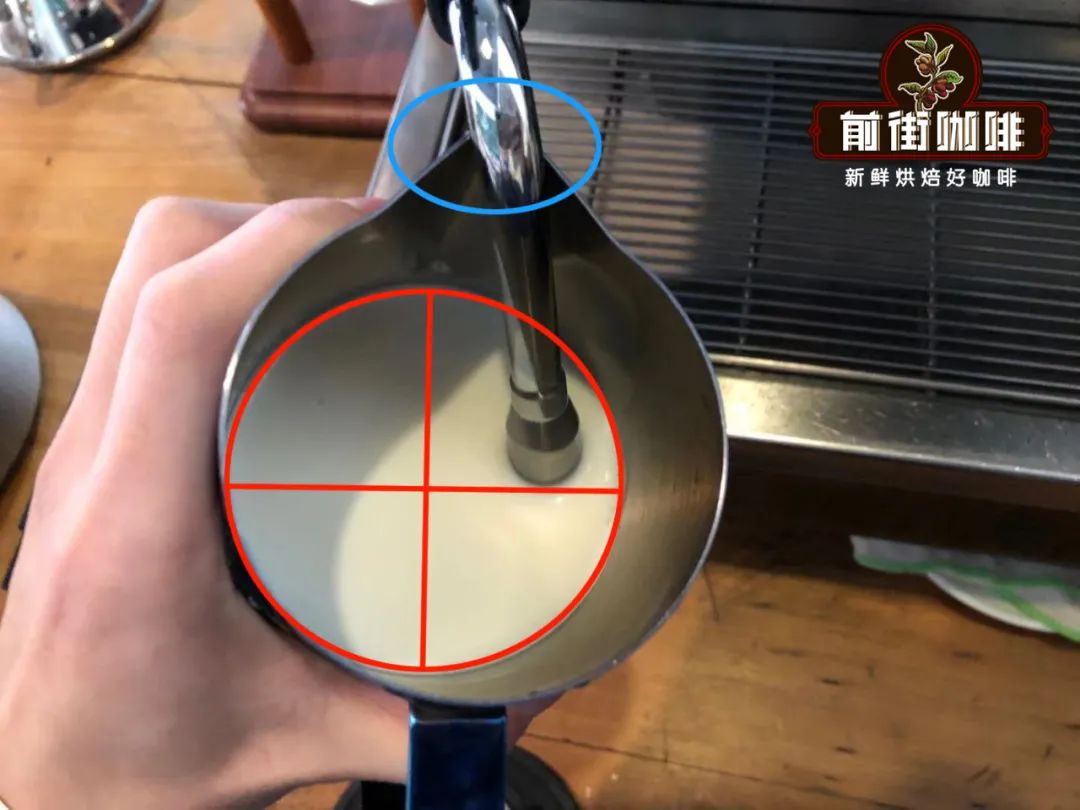
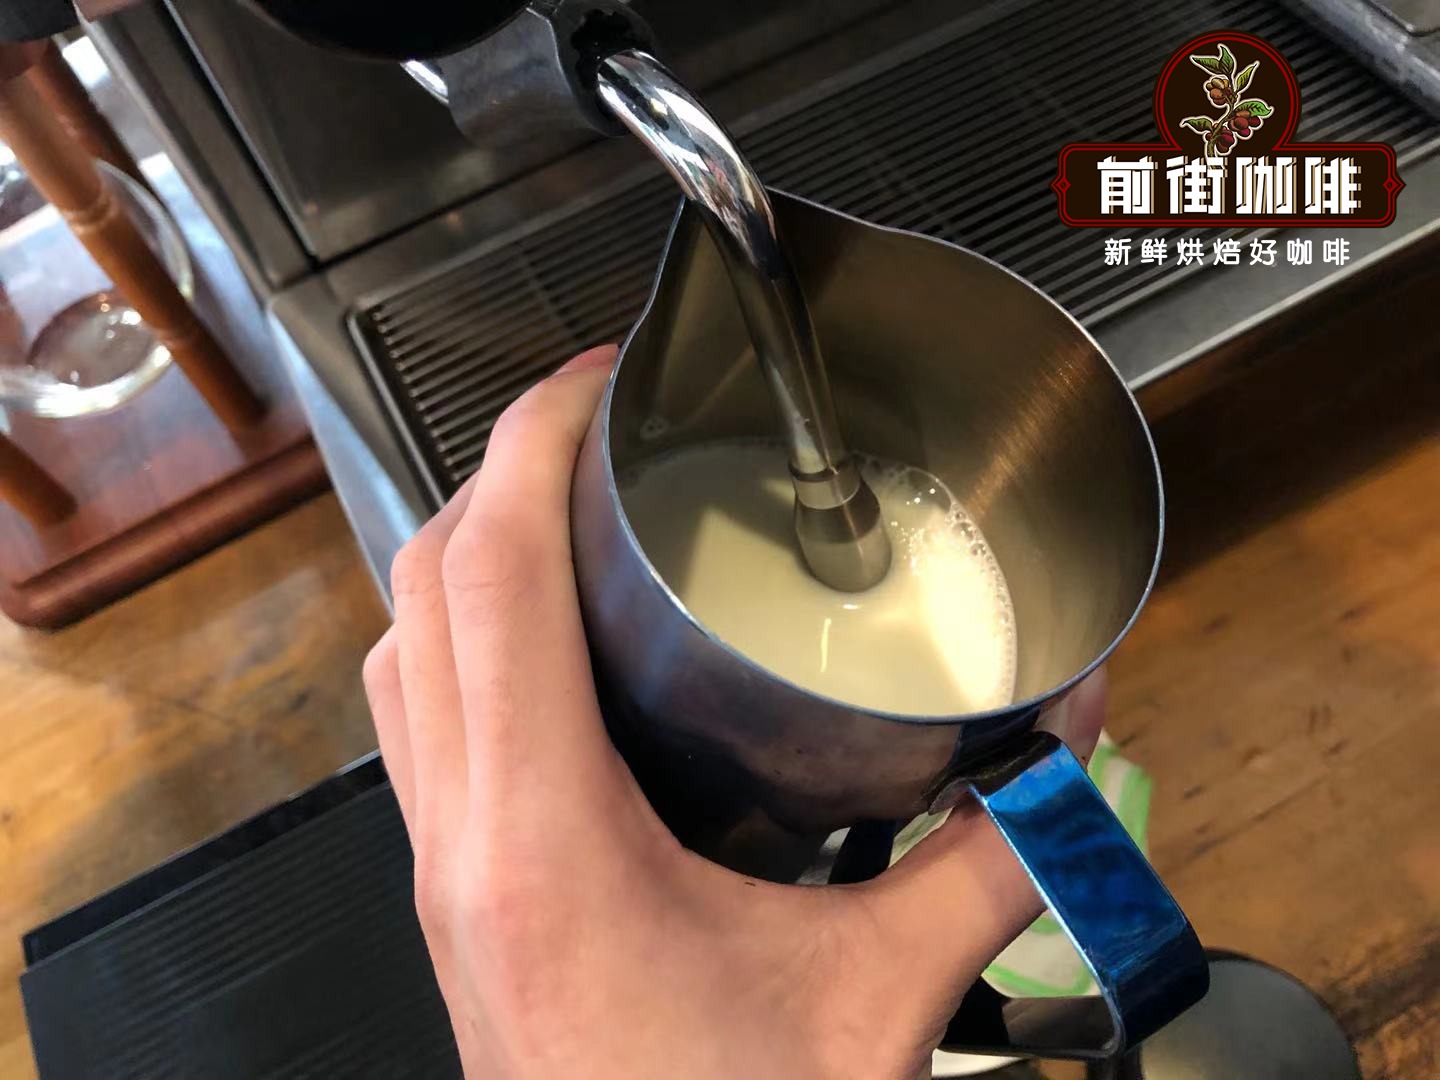
2. Frothing position: Before starting, turn on the steam wand to release condensed water vapor (turn it off after releasing). Then position the steam wand at a 45-degree angle, using the pitcher's spout to stabilize the wand's position. This time, we'll create a counterclockwise steam vortex, with the steam wand positioned on the right side of the liquid surface center cross, in a partially submerged state.
3. Frothing stage: Turn on the steam switch, and you'll hear a "hissing" sound—this is the frothing stage. The frothing time varies depending on the desired foam thickness (longer frothing time means thicker foam). Generally, frothing milk from 50% to 60% volume (latte foam thickness) takes about 3 seconds. The milk should rotate uniformly to form a vortex.
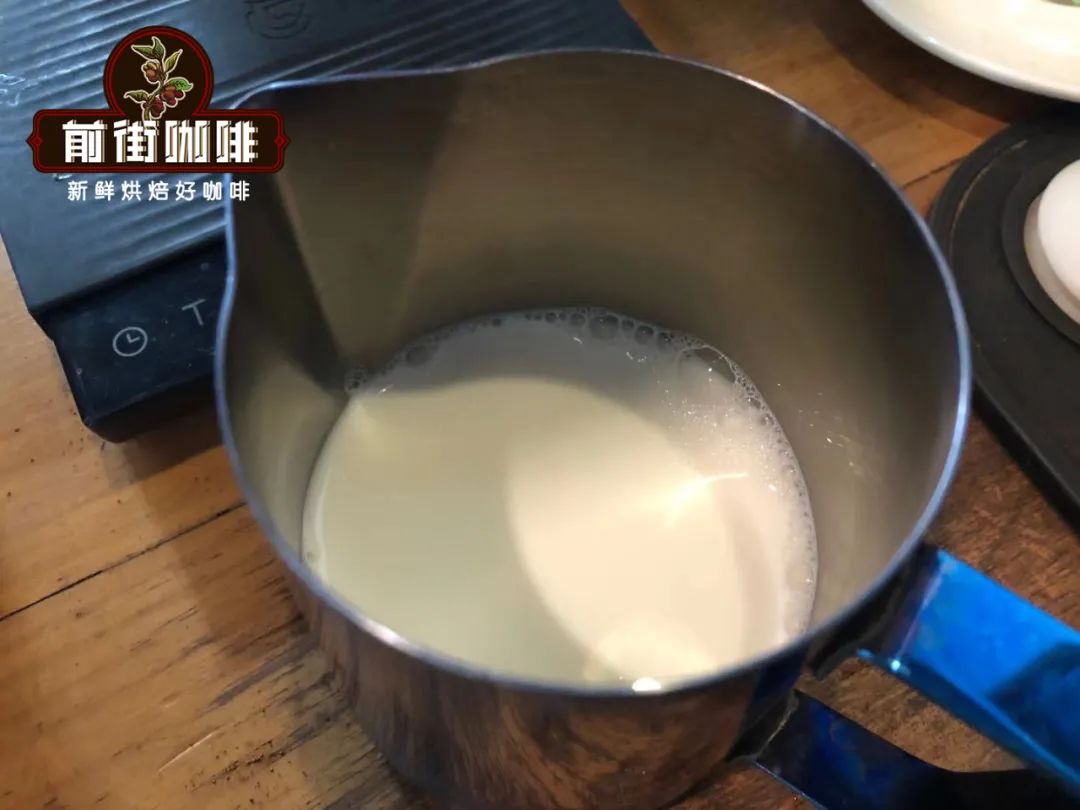
4. Texturing stage: Now you need to fully submerge the steam holes for heating only, no more frothing. Don't bury the steam holes at the very bottom—recommend placing them in the foam layer, which helps with texturing (making coarse foam finer). When should you stop? This depends on your milk temperature, generally controlled between 55-65°C. Too high a temperature will cause protein denaturation (generally, heat-induced protein denaturation in food occurs around 60°C).
Fine, dense milk foam, when shaken, presents a yogurt-like solidified texture, with a delicate surface that reflects like a mirror—exceptionally smooth.
What's the Ideal Temperature for Milk Frothing?
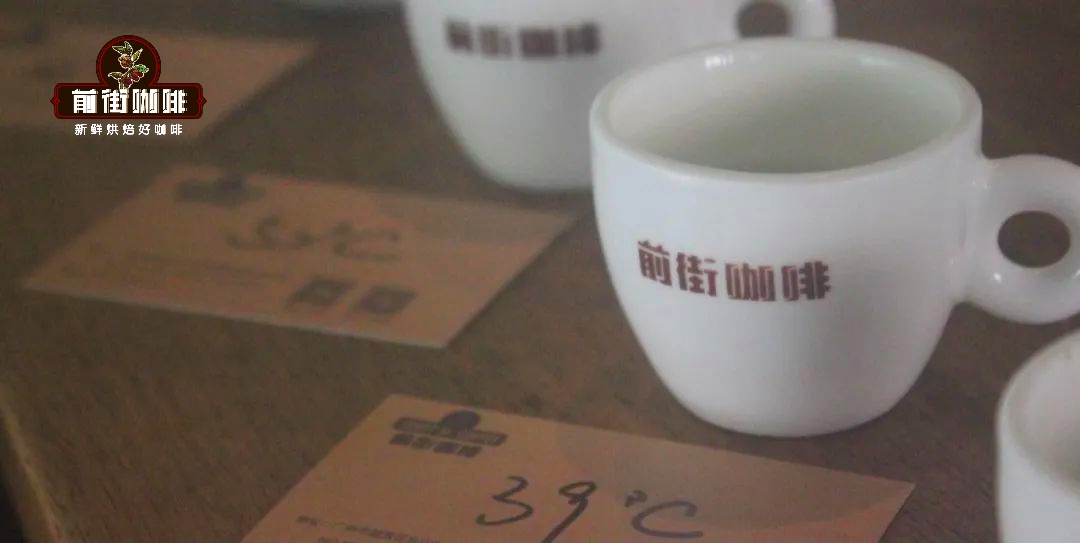
To explore how temperature affects coffee, FrontStreet Coffee experimented with milk temperature as a variable, tasting milk at different temperatures, lattes made with milk at different temperatures, and observing how different milk temperatures affect latte art.
| Milk Temperature | Milk Texture & Sweetness | Milk Fluidity | Latte Flavor |
|---|---|---|---|
| Group A: 4°C (unfrothed) | Smooth, medium sweetness | ||
| Group B: 39°C | Smooth, medium sweetness | Relatively high | Slightly thin foam, noticeable milk sweetness |
| Group C: 52°C | Silky smooth, medium-high sweetness | High | Moderate foam thickness, high sweetness perception, overall pleasant |
| Group D: 71°C | Dense, low sweetness | Low | Slightly thick foam, overall temperature too high, uncomfortable to drink |
From the results, it's clear that the milk temperature in Group C is most suitable—high sweetness, dense foam, and not so hot as to burn the mouth or be uncomfortable to drink.
But why do we get these results? We need to understand what milk contains.
Fat
Fat affects milk's richness, quality, and foam persistence. The higher the fat content, the richer the milk and the longer the foam lasts. Another effect of fat on foam is that less fat content allows proteins to better embrace the air introduced during frothing, creating more foam.
Sugar
The sugar in milk is lactose, which is the source of sweetness we can directly perceive, even without adding extra sugar. However, as temperature increases, our perception of sweetness becomes harder to detect, just as we often say: "Haste makes waste" (literally "anxious person can't eat hot tofu"), which reflects that when food is at high temperatures, our senses have difficulty tasting its flavors.
Protein
When frothing milk, as temperature rises, proteins initially in a tangled state gradually unwind, transforming into a form that's hydrophilic at one end and hydrophobic at the other. When we inject steam during frothing, the hydrophobic ends avoid the water in milk and embed themselves in air bubbles, causing the bubble surface to form a barrier of hydrophilic ends—this is also called "surfactant."
The quality of protein surfactants also determines foam quality. However, once temperature exceeds 70°C, proteins denature or decompose, which causes the bubbles maintained by proteins to burst, thereby spoiling the foam.
From the above, we can conclude that the recommended milk frothing temperature is between 50°C and 60°C. Proper heating helps us create dense foam and more noticeable sweetness. At the same time, we must be careful not to let the temperature get too high—once proteins are heated above 70°C, they will denature or decompose, causing foam to burst, and excessive temperature also makes coffee difficult to drink.
For more specialty coffee beans, please add FrontStreet Coffee on private WeChat, ID: kaixinguoguo0925
FrontStreet Coffee is a long-established specialty coffee roaster in Guangzhou China, selling freshly roasted beans from its own farm in Yunnan as well as dozens of carefully selected single-origin beans from around the world for both pour-over and espresso. The products deliver consistently excellent quality and great value, with shipping within 24 hours. Guangzhou’s FrontStreet Coffee shop is recommended by many coffee lovers, and the beans are now available online at the Tmall 。
Important Notice :
前街咖啡 FrontStreet Coffee has moved to new addredd:
FrontStreet Coffee Address: 315,Donghua East Road,GuangZhou
Tel:020 38364473

- Prev
Key Tips for Frothing Milk: Espresso Machine Milk Frothing Methods & How to Make Perfect Espresso Coffee
Professional Coffee Knowledge Exchange - Complete guide to milk frothing techniques using espresso machines. Learn how to create perfect microfoam for latte art and delicious espresso-based drinks. Follow Coffee Workshop (WeChat public account: cafe_style) for expert tips on milk frothing methods, steam wand techniques, and achieving the ideal froth consistency for professional-quality coffee beverages at home.
- Next

How to Easily Make Iced Coffee with FrontStreet Coffee Drip Bags! Homemade Iced Coffee Tips
Professional barista exchange Please follow Coffee Workshop (WeChat official account cafe_style) Many people love drinking hot coffee because they enjoy the rich, aromatic flavor that comes with that warm mouthfeel. However, it's been really hot lately, and during these scorching summer days, even indoors feels like it's burning..... At times like these, a glass of refreshingly cold iced coffee becomes the blissful taste of summer relief! Follow us and
Related
- How to make bubble ice American so that it will not spill over? Share 5 tips for making bubbly coffee! How to make cold extract sparkling coffee? Do I have to add espresso to bubbly coffee?
- Can a mocha pot make lattes? How to mix the ratio of milk and coffee in a mocha pot? How to make Australian white coffee in a mocha pot? How to make mocha pot milk coffee the strongest?
- How long is the best time to brew hand-brewed coffee? What should I do after 2 minutes of making coffee by hand and not filtering it? How long is it normal to brew coffee by hand?
- 30 years ago, public toilets were renovated into coffee shops?! Multiple responses: The store will not open
- Well-known tea brands have been exposed to the closure of many stores?!
- Cold Brew, Iced Drip, Iced Americano, Iced Japanese Coffee: Do You Really Understand the Difference?
- Differences Between Cold Drip and Cold Brew Coffee: Cold Drip vs Americano, and Iced Coffee Varieties Introduction
- Cold Brew Coffee Preparation Methods, Extraction Ratios, Flavor Characteristics, and Coffee Bean Recommendations
- The Unique Characteristics of Cold Brew Coffee Flavor Is Cold Brew Better Than Hot Coffee What Are the Differences
- The Difference Between Cold Drip and Cold Brew Coffee Is Cold Drip True Black Coffee