Beginner's Guide to Coffee Latte Art: Simple Heart Latte Art Tutorial for Espresso Lattes

Espresso coffee art is the ultimate expression of blending hot milk and coffee liquid. When making milk coffee at FrontStreet Coffee, customers often request latte art. In latte art, steaming milk foam is crucial—only by creating smooth, textured foam can the full flavor of milk coffee be expressed. Today, FrontStreet Coffee will teach everyone how to steam milk foam and create some simple latte art patterns.

How FrontStreet Coffee Chooses
FrontStreet Coffee has selected a blend as the standard offering for espresso coffee in their shops. Currently, they use a blend combining FrontStreet Coffee's sherry barrel-processed coffee beans with FrontStreet Coffee's natural-processed Yirgacheffe Red Cherry Project beans.
Coffee Bean Information
Coffee Bean Name: Frontsteet Sunflower Warm Sunshine Espresso Blend
Blend Bean Source: Frontsteet Honduras Sherry Barrel, Frontsteet Yirga Red Cherry Project Natural Process
Cupping Notes: Vanilla, cream, fermented wine aroma, citrus, chocolate

Extraction Parameters
Coffee Dose: 14.5 grams
Espresso Yield: 20 grams
Extraction Time: 28 seconds

How FrontStreet Coffee Steams Milk Foam
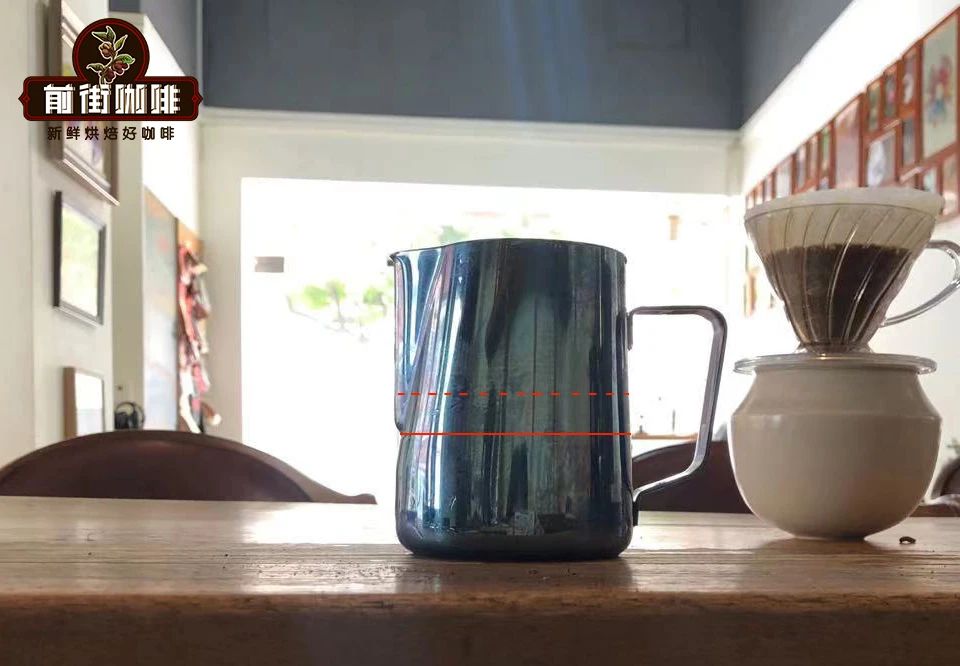
1. Milk Pitcher and Milk Quantity
If your milk pitcher is 450ml, you should use approximately 200-250ml of milk. If the pitcher is 500-650ml, use about 300-350ml of milk.
2. Open Steam Wand and Purge
Before steaming milk foam, purge the steam wand to clear condensed water from the steam tube.

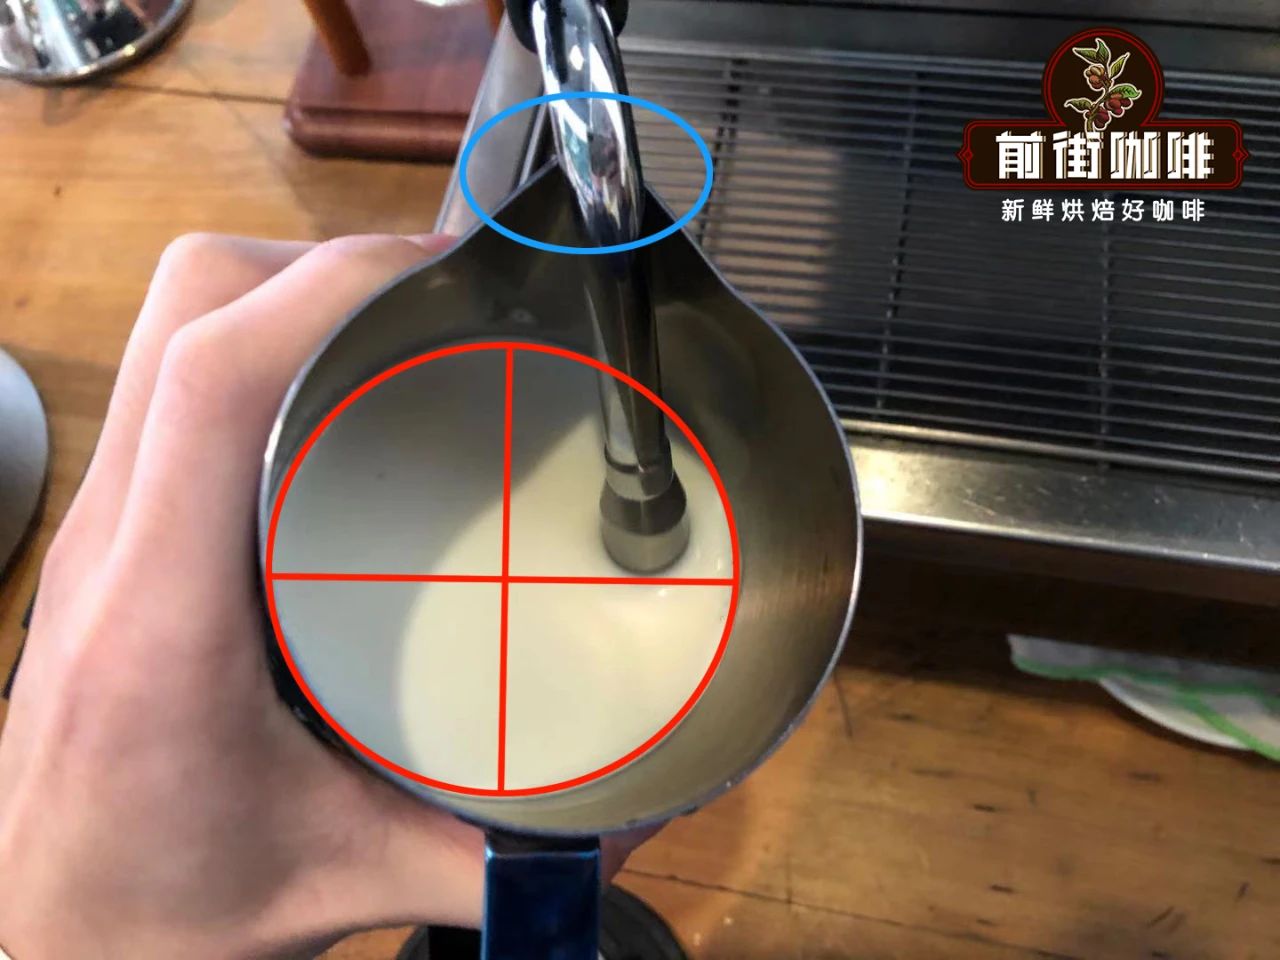
3. Milk Pitcher Positioning Angle
Position the steam wand holes toward the 2-3 o'clock or 9-10 o'clock position. The steam wand tip should be submerged 2/3 into the milk—not too deep, and avoid touching the pitcher's walls and bottom. Also, don't position it too shallow, or large bubbles will continuously form on the surface.
4. Milk Frothing
Draw surface air into the milk to create foam. You'll hear a "hissing" sound of air being drawn in. (If you hear a piercing noise or no sound after turning it on, it means you're not in the frothing process).
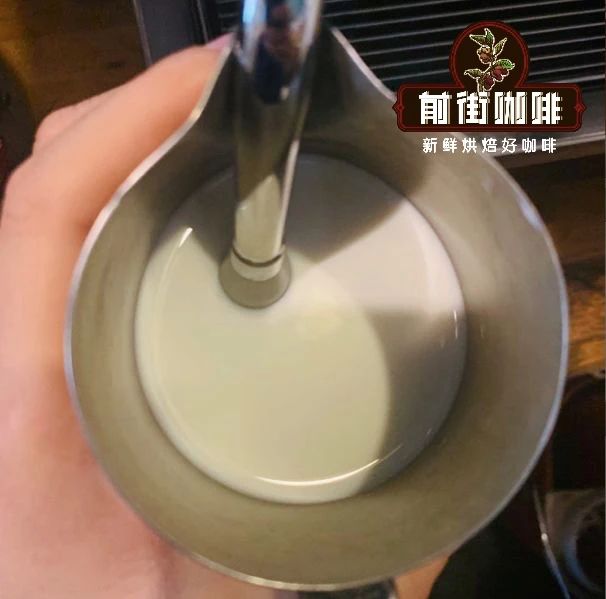
5. Texturing
Eliminate large bubbles and layering through a vortex. Adjust the angle between the steam wand and milk (not the contact point) to create a vortex in the pitcher. Through this vortex, tear apart the foam created during frothing, breaking large bubbles into fine ones, and allowing the upper foam to merge with the lower milk.
Stop the frothing process at the right time—when the milk temperature reaches 55-65°C, turn off the steam and then remove the steam wand.

6. Tap the Pitcher After Steaming
The purpose is to burst any remaining large bubbles on the foam surface, making it look smoother and more delicate.
How FrontStreet Coffee Creates Latte Art
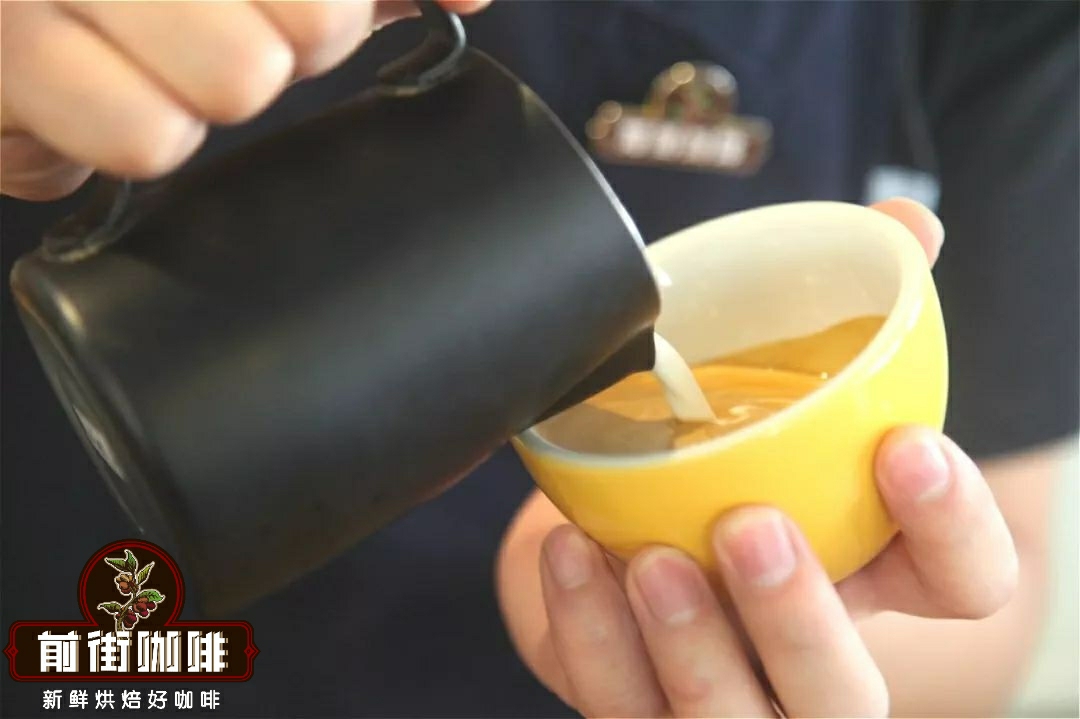
1. Heart
① Lower the milk pitcher close to the cup and begin pouring from the center of the liquid surface.
② While holding the cup steady with your left hand, increase the flow rate with your right hand and gradually straighten the pitcher. You'll see the foam floating on top gradually forming a circle and slowly expanding.
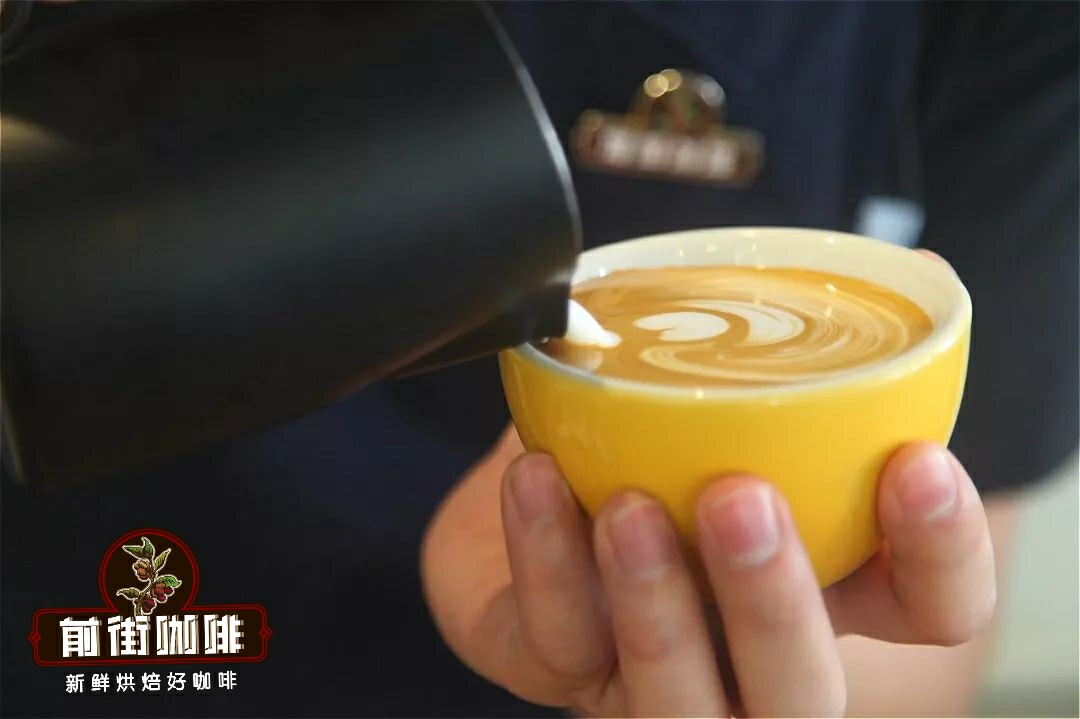
③ When the cup reaches nearly 180°, the foam circle has taken shape. Raise the pitcher in place while reducing the flow (be careful not to push forward while raising). Use the downward impact of the milk flow to press the upper coffee liquid down, and you'll see the original circle develop a heart-shaped groove with side flows converging toward the center.
④ Once the heart-shaped groove appears, you can push forward to create the pointed tail of the heart.

⑤ A solid heart is born.

2. Leaf
1. First, fully blend the milk with coffee liquid. Shake the latte art pitcher from the center of the cup backward to create an onion heart pattern until the cup is 8/10 full, then stop pouring milk.
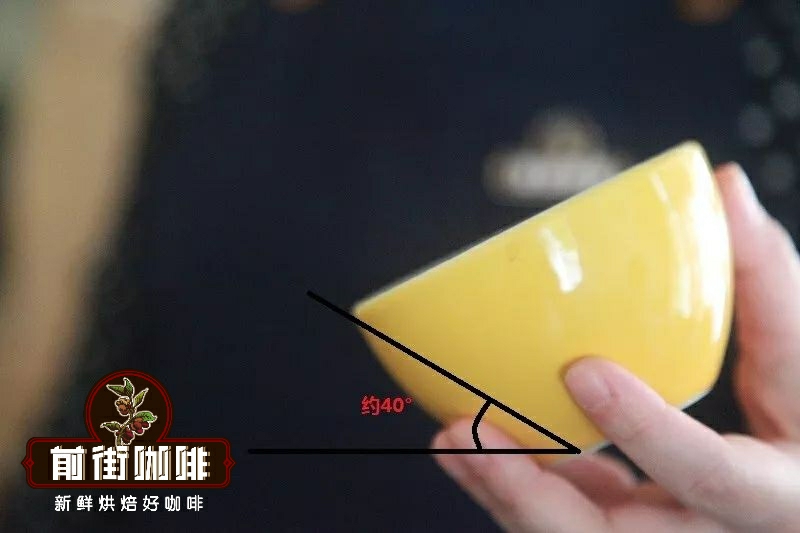
2. Rotate the cup 180 degrees. At this point, tilt your cup slightly and place the milk pitcher behind the original pattern to begin pouring milk.
3. Begin pushing forward to create a circular arc, then a second and third, raising the angle to form a heart. Pull all the lines to finish, and the reverse pattern will appear.

3. Tulip
1. Blend the milk and coffee well, find the center point of the cup, get close to the cup and increase the flow to maximum until a white ball appears on the coffee surface, then stop pouring.
2. The second pouring point should be slightly further back. Pour with high flow until a white ball appears, then stop pouring.
4. Repeat step 3 several times to create a tulip.
5. After the last heart appears, raise the angle and reduce the flow to a thin line, finishing with a straight line.

For more specialty coffee beans, please add FrontStreet Coffee on private WeChat, ID: kaixinguoguo0925
FrontStreet Coffee is a long-established specialty coffee roaster in Guangzhou China, selling freshly roasted beans from its own farm in Yunnan as well as dozens of carefully selected single-origin beans from around the world for both pour-over and espresso. The products deliver consistently excellent quality and great value, with shipping within 24 hours. Guangzhou’s FrontStreet Coffee shop is recommended by many coffee lovers, and the beans are now available online at the Tmall 。
Important Notice :
前街咖啡 FrontStreet Coffee has moved to new addredd:
FrontStreet Coffee Address: 315,Donghua East Road,GuangZhou
Tel:020 38364473

- Prev
What is the Optimal Bean Aging Period for Freshly Roasted Coffee Beans for Pour-Over and Espresso?
As for espresso blend coffee beans, when prepared with pressure-based espresso machines, they require at least 7-15 days of bean aging. If you need to use them urgently, you can open the coffee bag in advance and let the beans oxidize in the air for 12-24 hours before use. Very fresh blend coffee beans will perform differently in ESPRESSO in terms of mouthfeel
- Next

Yirgacheffe G1 Natural vs Washed Processing: Flavor Profile, Variety Characteristics and Processing Method Overview
The natural-processed Yirgacheffe Aricha G1 features vibrant citrus and lemon acidity, with blooming apricot blossom aromatics, explosive walnut-like nutty fragrances, and subtle notes of cinnamon, clove, and rosemary spices. The palate delivers exceptional honey and brown sugar sweetness, incredibly smooth and captivating, reminiscent of
Related
- How to make bubble ice American so that it will not spill over? Share 5 tips for making bubbly coffee! How to make cold extract sparkling coffee? Do I have to add espresso to bubbly coffee?
- Can a mocha pot make lattes? How to mix the ratio of milk and coffee in a mocha pot? How to make Australian white coffee in a mocha pot? How to make mocha pot milk coffee the strongest?
- How long is the best time to brew hand-brewed coffee? What should I do after 2 minutes of making coffee by hand and not filtering it? How long is it normal to brew coffee by hand?
- 30 years ago, public toilets were renovated into coffee shops?! Multiple responses: The store will not open
- Well-known tea brands have been exposed to the closure of many stores?!
- Cold Brew, Iced Drip, Iced Americano, Iced Japanese Coffee: Do You Really Understand the Difference?
- Differences Between Cold Drip and Cold Brew Coffee: Cold Drip vs Americano, and Iced Coffee Varieties Introduction
- Cold Brew Coffee Preparation Methods, Extraction Ratios, Flavor Characteristics, and Coffee Bean Recommendations
- The Unique Characteristics of Cold Brew Coffee Flavor Is Cold Brew Better Than Hot Coffee What Are the Differences
- The Difference Between Cold Drip and Cold Brew Coffee Is Cold Drip True Black Coffee