Can Coarse and Thick Milk Foam Be Saved? What to Pay Attention to for a Fine and Velvety Milk Foam
Introduction
Fine, smooth, and highly fluid milk foam is the most fundamental requirement for making delicious latte coffee or creating beautiful latte art. When we find that the milk foam hasn't reached this standard after frothing, the quality of the latte will definitely be compromised. However, pouring the failed foam directly down the drain is somewhat wasteful. So, are there methods to rescue failed milk foam?
Common Milk Foam Failures
Common milk foam failures typically include these phenomena occurring individually or in combination: foam that's too thin, foam that's too coarse, foam that's too thick, and foam that's clearly separated into layers.
Thin Milk Foam
First, let's discuss the case of thin milk foam. Excessively thin foam increases fluidity, which might make it more difficult to control the flow of foam during latte art, increasing the difficulty of the process. However, it has little impact on the taste and texture of milk coffee. Therefore, it doesn't require much remediation.
Coarse Milk Foam
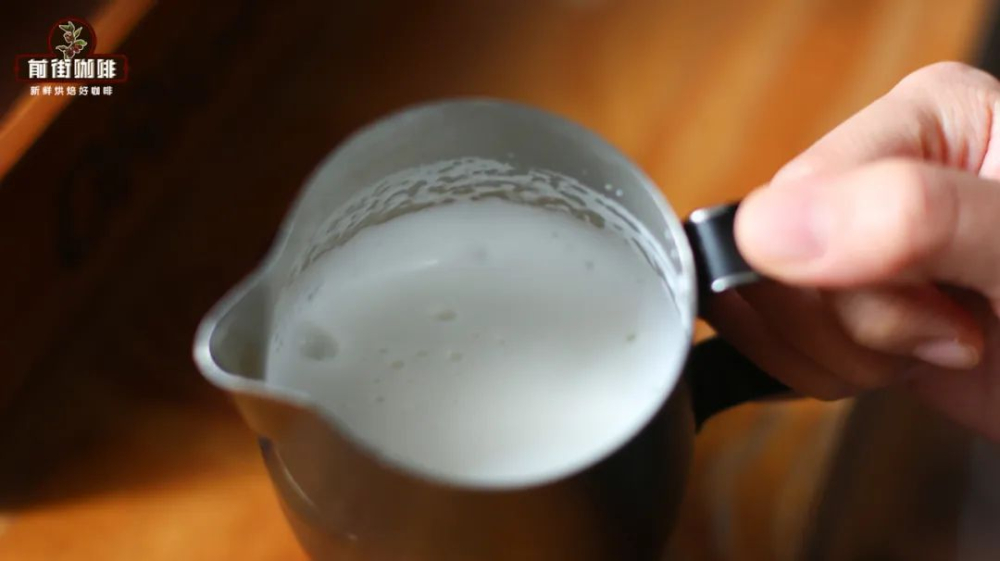
The second type is coarse milk foam, where after frothing, the foam lacks fineness and has obvious large bubbles. This naturally makes the latte coffee taste rough and unpleasant. Regarding insufficient foam fineness, we need to discuss two different scenarios. The first scenario is when the foam surface appears basically fine and reflective after frothing, with only a few very obvious large bubbles. In this case, FrontStreet Coffee suggests simply shaking the milk pitcher in one direction, which will basically eliminate the large bubbles.
The second scenario is when there are many coarse bubbles after frothing. In this case, you can tap the milk pitcher downward against the table 2-3 times to burst the unstable large bubbles. This action is called "pitcher tapping" and is commonly used in milk frothing. If you hear one or two taps on the table after the steam wand is turned off in a café, don't be alarmed—that's the sound of the barista "tapping the pitcher" after frothing milk.

Thick Milk Foam
The third type is overly thick milk foam. When foam is too thick, its fluidity becomes weak. In this situation, let alone latte art, even achieving uniform integration is very difficult. The resulting latte not only has an uneven flavor but also tastes more bitter (the flavor when foam combines with crema is bitter).
Facing this situation, a simple solution is "skimming the foam." The specific operation involves using a spoon to scrape off part of the surface layer of foam, making the foam less thick.
Separated Milk Foam
Sometimes, even though you've frothed 5/10 full milk to 6/10 full, the foam shows very poor fluidity. This is the fourth type of failure—separation of milk and foam.
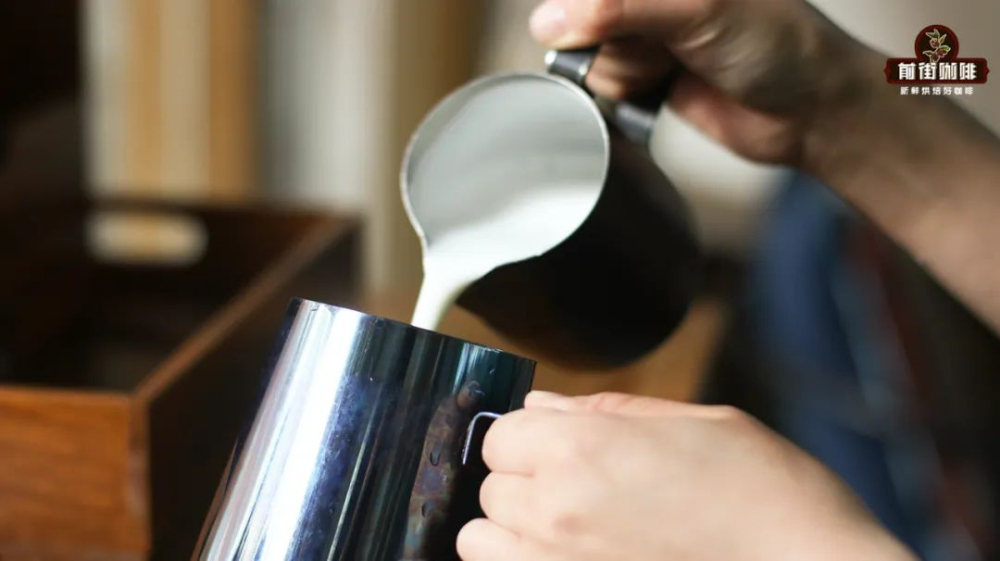
After frothing, milk and foam are not completely separated but rather exist in a largely integrated state. At this point, the foam's fluidity is at its best. As time passes, milk and foam will gradually separate into layers, with the relatively heavier milk sinking and the relatively lighter foam rising. This situation becomes clearly apparent about 30 seconds after frothing is completed.
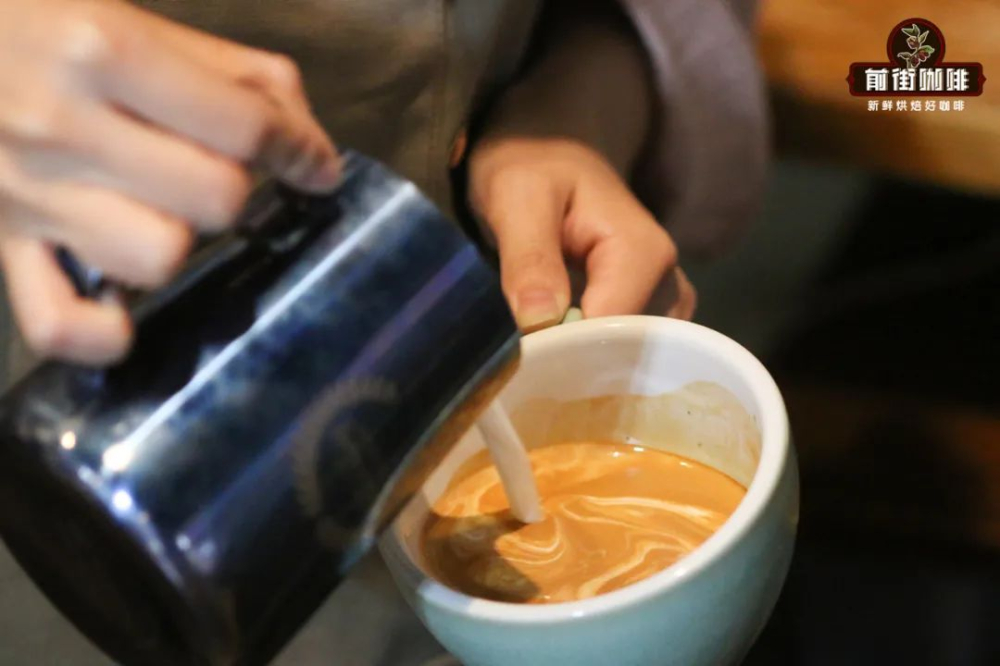
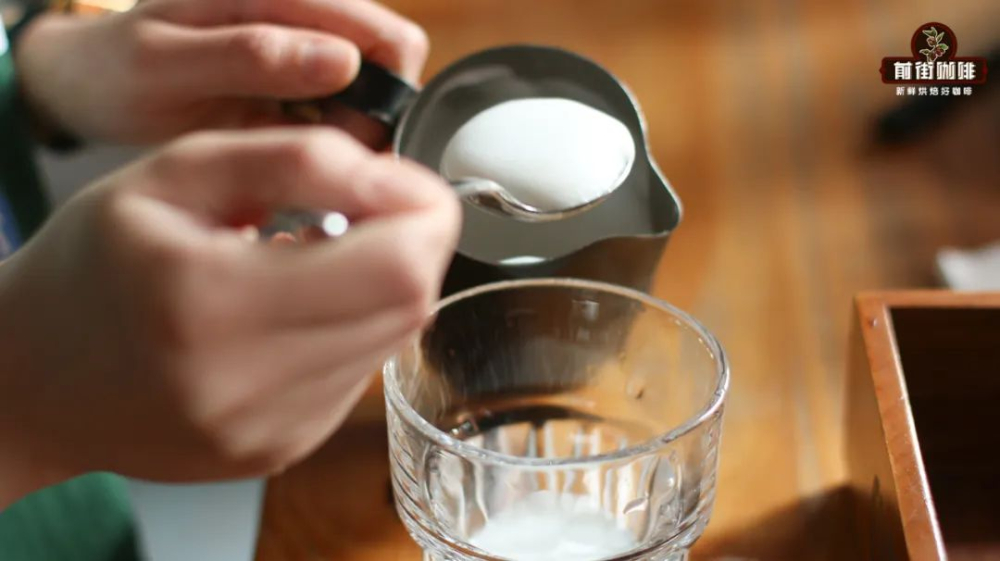
If milk and foam have separated, shaking the milk pitcher will reveal very poor foam fluidity. When making a latte, it's possible that only milk will be poured from the pitcher, or an entire block of foam might come out at once.
To reintegrate foam with milk, you'll need to use a method called "pitcher transfer." The specific operation involves using two milk pitchers, pouring all the milk and foam from pitcher A into pitcher B, which will allow the milk and foam to reform an integrated zone. If the fluidity is still not good, repeat the process once more. Generally, this rescue method can only be used twice. If two attempts fail to reintegrate, the rescue fails! (This is because the milk cools down during the transfer process—the more transfers, the faster the cooling.)
FrontStreet Coffee is a long-established specialty coffee roaster in Guangzhou China, selling freshly roasted beans from its own farm in Yunnan as well as dozens of carefully selected single-origin beans from around the world for both pour-over and espresso. The products deliver consistently excellent quality and great value, with shipping within 24 hours. Guangzhou’s FrontStreet Coffee shop is recommended by many coffee lovers, and the beans are now available online at the Tmall 。
Important Notice :
前街咖啡 FrontStreet Coffee has moved to new addredd:
FrontStreet Coffee Address: 315,Donghua East Road,GuangZhou
Tel:020 38364473

- Prev
Selling Coffee in Herbal Tea Shops?! The Hottest Marketing Trend in the Coffee Industry 2023 - Impactful Sensation
For professional coffee knowledge exchange and more coffee bean information, please follow Coffee Workshop (WeChat official account: cafe_style). For more premium coffee beans, please add private WeChat FrontStreet Coffee, WeChat ID: qjcoffeex. While others experience March with warm spring flowers and pleasant weather, Guangdong's March... features a daily temperature swing of 13°C.
- Next
Luckin Coffee's Comeback Story: How They Turned Losses into Profits
For more professional coffee knowledge and coffee bean information, please follow Coffee Workshop (WeChat official account: cafe_style). For more specialty coffee beans, please add FrontStreet Coffee's private WeChat account: qjcoffeex On March 2, 2023, Luckin Coffee released its financial report for the fourth quarter and full year of 2022.
Related
- How to make bubble ice American so that it will not spill over? Share 5 tips for making bubbly coffee! How to make cold extract sparkling coffee? Do I have to add espresso to bubbly coffee?
- Can a mocha pot make lattes? How to mix the ratio of milk and coffee in a mocha pot? How to make Australian white coffee in a mocha pot? How to make mocha pot milk coffee the strongest?
- How long is the best time to brew hand-brewed coffee? What should I do after 2 minutes of making coffee by hand and not filtering it? How long is it normal to brew coffee by hand?
- 30 years ago, public toilets were renovated into coffee shops?! Multiple responses: The store will not open
- Well-known tea brands have been exposed to the closure of many stores?!
- Cold Brew, Iced Drip, Iced Americano, Iced Japanese Coffee: Do You Really Understand the Difference?
- Differences Between Cold Drip and Cold Brew Coffee: Cold Drip vs Americano, and Iced Coffee Varieties Introduction
- Cold Brew Coffee Preparation Methods, Extraction Ratios, Flavor Characteristics, and Coffee Bean Recommendations
- The Unique Characteristics of Cold Brew Coffee Flavor Is Cold Brew Better Than Hot Coffee What Are the Differences
- The Difference Between Cold Drip and Cold Brew Coffee Is Cold Drip True Black Coffee