What is Coffee Cupping? A Detailed Guide to Cupping Process and Parameters with Visual Examples! Why Can't Pour-Over Replace Cupping?
Why Cupping Instead of Pour-Over?
Many places use cupping to test the quality and characteristics of coffee beans. But many coffee enthusiasts wonder why cupping is used instead of pour-over, which can better extract coffee flavors.
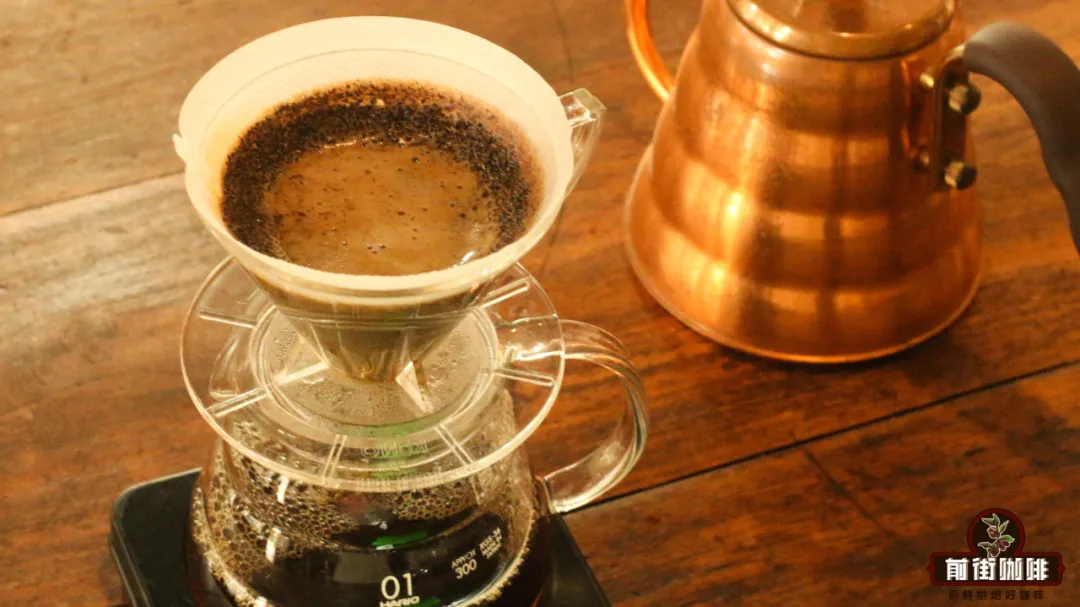
The reason is quite simple—the difference between pour-over and cupping lies in the degree of human intervention and convenience. The answer can be found in the origins of cupping. Cupping originated in the United States in 1980 and was first applied to coffee bean trading! Coffee merchants developed this method to prevent purchasing coffee beans with major defect flavors by sampling and extracting them for evaluation. However, given the large volume of samples needed, using pour-over or other extraction methods would be extremely time-consuming, and it would be difficult to ensure that brewing personnel could consistently perform at the same level to reveal the beans' true characteristics. Therefore, a fast, convenient method with minimal human influence was needed to extract coffee. Thus, cupping was born under these circumstances.

By directly steeping coffee grounds with water, not only can the time for batch operations be reduced, but the influence of manual technique can also be eliminated, allowing for better appreciation of the beans' original flavors—this was the initial purpose of choosing cupping. As time progressed, the application of cupping expanded beyond trade between merchants. Various coffee-related competitions, evaluations, and research all began using cupping to test coffee beans. For everyone involved, cupping is indeed the best way to evaluate bean quality and formulate various plans (brewing, roasting, blending, etc.).
Home Cupping Guide
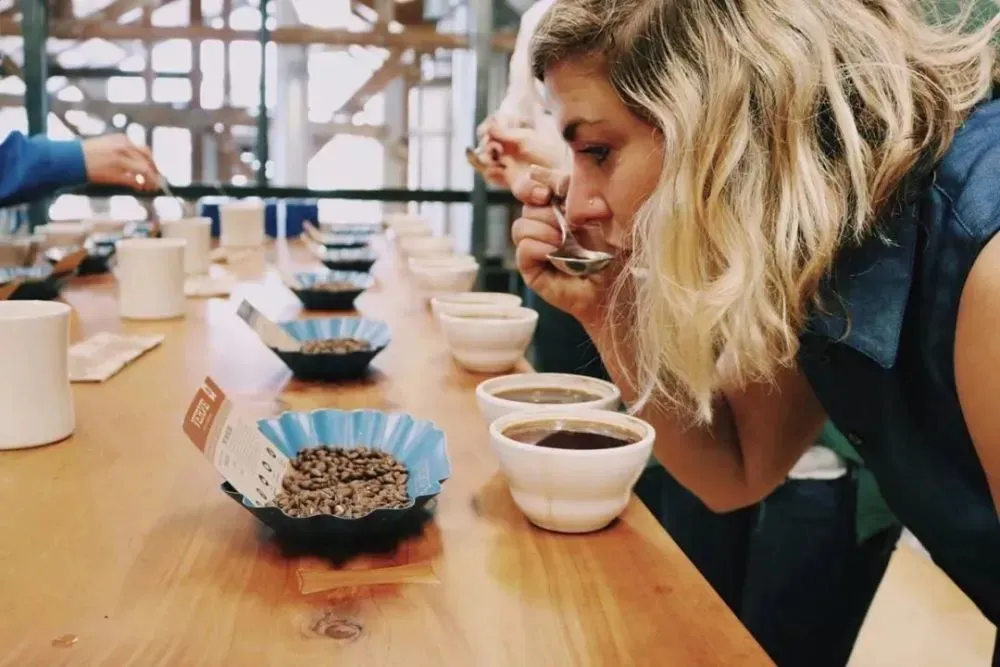
Of course, you can also try cupping at home. Cupping not only helps us better appreciate the inherent flavors of coffee beans but also improves our coffee tasting abilities. So next, FrontStreet Coffee will share the specific parameters and procedures for cupping!
Cupping Parameters
Cupping extraction parameters follow a unified standard, and all cupping sessions use the following parameters:
- Coffee amount: Determined by the size of your cupping bowl
- Coffee-to-water ratio: 1:18.18
- Grind size: 75% pass-through rate with a #20 sieve
- Water temperature: 94°C
- Water quality: TDS 75-250ppm
- Steeping time: 4 minutes
- Tasting method: Slurping
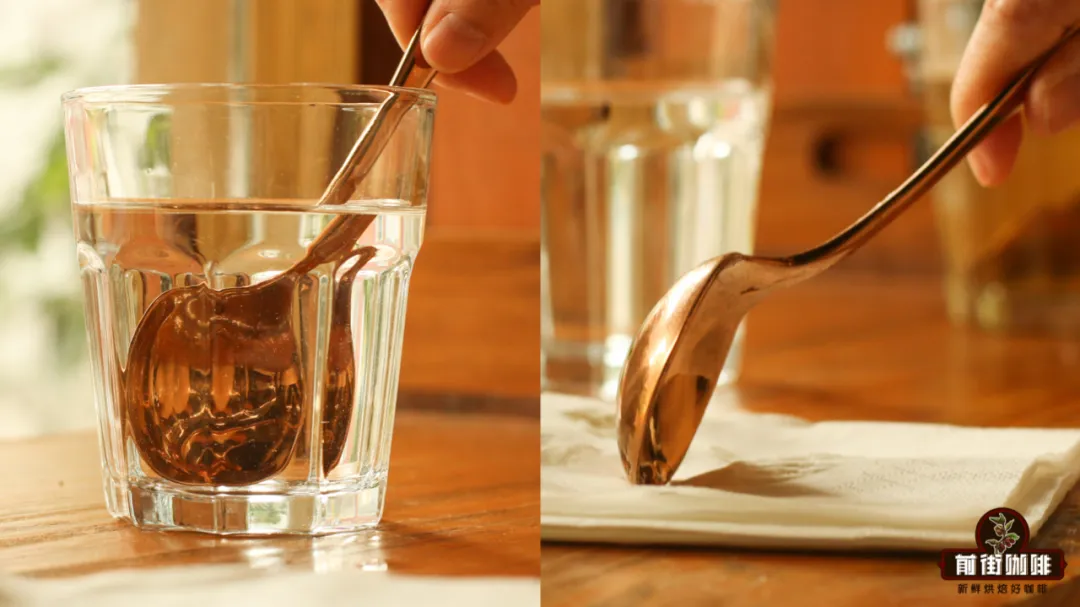
In addition to the cupping bowl and spoon, we need to prepare two extra glasses of water and paper towels. The water is for rinsing the spoon, and paper towels are for absorbing moisture!
Cupping Procedure
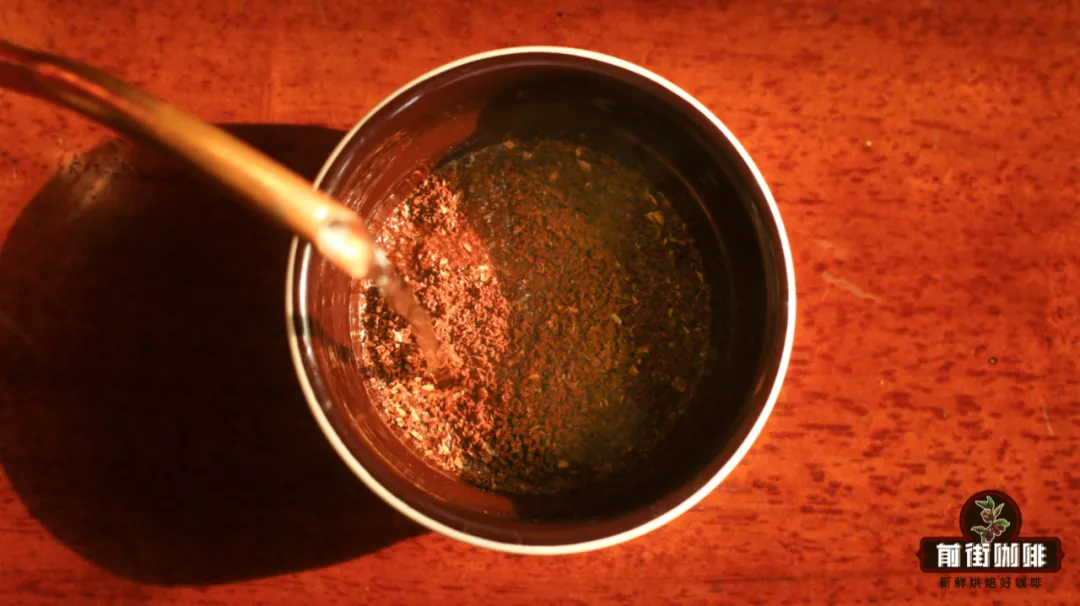
1. Grinding Coffee
The first step in cupping is grinding the coffee beans, then pouring the ground coffee into the cupping bowl. However, since we need to smell the dry aroma of the coffee grounds, we cannot immediately add water for steeping after grinding. Instead, we first appreciate the aroma it emits, then add water.
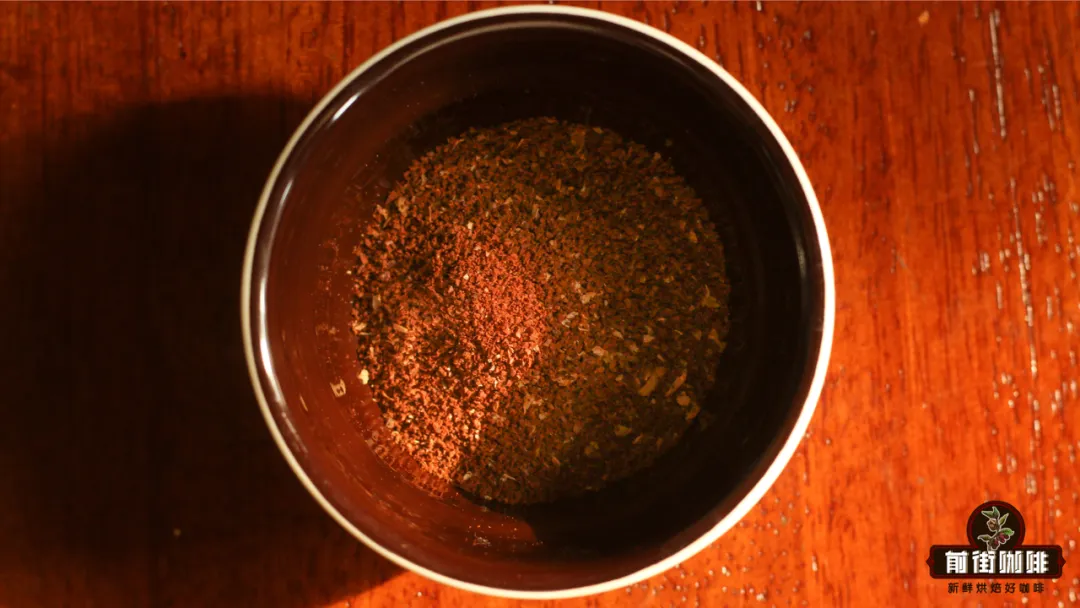
It's important to note that coffee aroma is volatile, so when smelling the dry fragrance during cupping, it's best to control the time within ten minutes. When not actively smelling, it's recommended to cover the bowl with any object to minimize air exposure.
2. Adding Hot Water
After confirming the dry aroma, we can proceed with adding water. If you have a professional cupping bowl, you don't need an electronic scale to measure the water amount—simply pour in the recommended amount of coffee and fill with hot water! (Remember to start the timer simultaneously when pouring water). During the 4-minute waiting period, we can smell the wet aroma of the coffee.
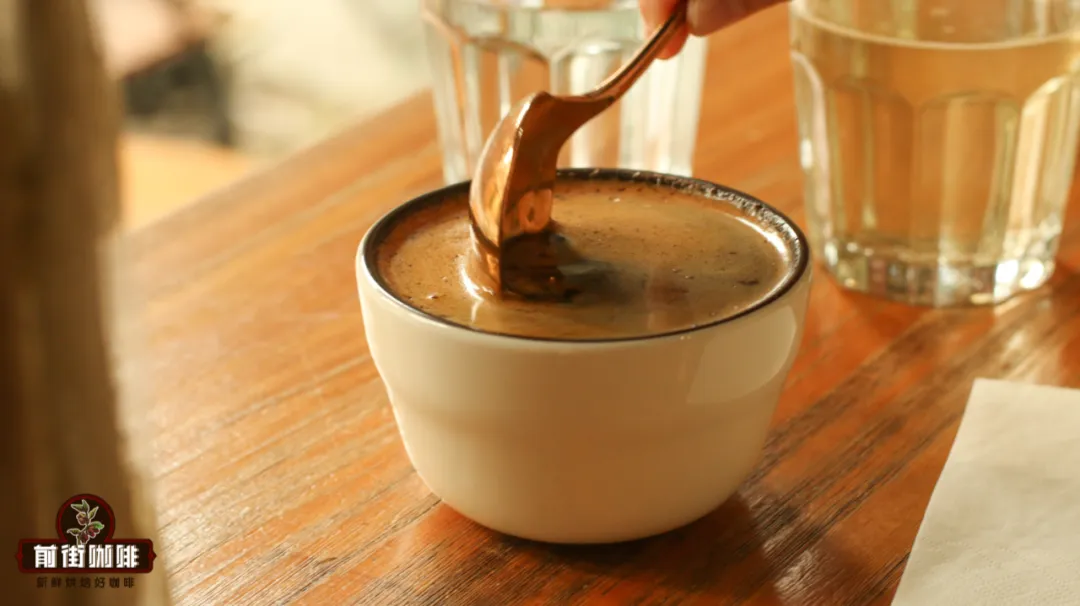
3. Breaking the Crust
When the 4 minutes are up, we can start breaking the crust! Use the cupping spoon to push through the surface three times (pushing from back to front). This action helps concentrate the coffee grounds in the corner, preparing for the next step of removing the grounds.
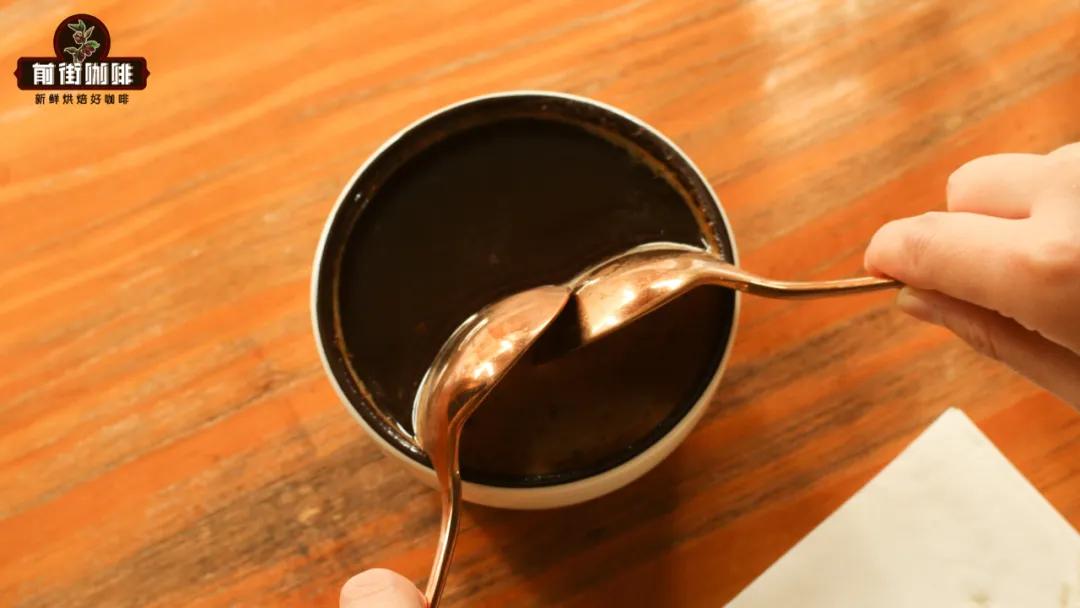
4. Removing the Crust
Breaking the crust and removing it are continuous actions! After breaking the crust, take out another cupping spoon and "surround" the coffee grounds to remove them. After removing the grounds once, we need to rinse the cupping spoon with water and use paper towels to absorb the moisture attached to the spoon, preventing cross-contamination and dilution.
5. Tasting
After removing the grounds, wait just one minute before beginning our tasting! Use the cupping spoon to scoop a spoonful of coffee liquid and bring it to your mouth, slurping it in. (Slurping can quickly cool and atomize the coffee liquid in your mouth, allowing us to better perceive the coffee flavors~) Similarly, after tasting, remember to rinse the spoon with water and absorb the moisture with paper towels to prevent cross-contamination!

- END -
FrontStreet Coffee
No. 10, Bao'an Qianjie, Yandun Road, Dongshankou, Yuexiu District, Guangzhou, Guangdong Province

FrontStreet Coffee is a long-established specialty coffee roaster in Guangzhou China, selling freshly roasted beans from its own farm in Yunnan as well as dozens of carefully selected single-origin beans from around the world for both pour-over and espresso. The products deliver consistently excellent quality and great value, with shipping within 24 hours. Guangzhou’s FrontStreet Coffee shop is recommended by many coffee lovers, and the beans are now available online at the Tmall 。
Important Notice :
前街咖啡 FrontStreet Coffee has moved to new addredd:
FrontStreet Coffee Address: 315,Donghua East Road,GuangZhou
Tel:020 38364473

- Prev

Tanzania | Introduction to Kilimanjaro Region Coffee Beans
Tanzania is located in the African region and is home to many renowned coffee-producing countries, such as Ethiopia, Kenya, Rwanda, and Tanzania. Among these, Tanzania stands as one of the three major coffee giants in Africa. The United Republic of Tanzania...
- Next

What Information Does Espresso Crema Convey? Why Can't the Crema for Latte Art Be Too Thick?
As we all know, crema is the hallmark substance of espresso, and it's precisely its appearance that distinguishes espresso from other coffees. However, the state of crema, like the taste of espresso itself, changes constantly every day! Sometimes thick, sometimes thin, sometimes silky and smooth
Related
- How to make bubble ice American so that it will not spill over? Share 5 tips for making bubbly coffee! How to make cold extract sparkling coffee? Do I have to add espresso to bubbly coffee?
- Can a mocha pot make lattes? How to mix the ratio of milk and coffee in a mocha pot? How to make Australian white coffee in a mocha pot? How to make mocha pot milk coffee the strongest?
- How long is the best time to brew hand-brewed coffee? What should I do after 2 minutes of making coffee by hand and not filtering it? How long is it normal to brew coffee by hand?
- 30 years ago, public toilets were renovated into coffee shops?! Multiple responses: The store will not open
- Well-known tea brands have been exposed to the closure of many stores?!
- Cold Brew, Iced Drip, Iced Americano, Iced Japanese Coffee: Do You Really Understand the Difference?
- Differences Between Cold Drip and Cold Brew Coffee: Cold Drip vs Americano, and Iced Coffee Varieties Introduction
- Cold Brew Coffee Preparation Methods, Extraction Ratios, Flavor Characteristics, and Coffee Bean Recommendations
- The Unique Characteristics of Cold Brew Coffee Flavor Is Cold Brew Better Than Hot Coffee What Are the Differences
- The Difference Between Cold Drip and Cold Brew Coffee Is Cold Drip True Black Coffee